Hey! I’m back from Europe but I haven’t posted in a long time since my phone was stolen in Berlin! (More on that later.) I still want to write about traveling because, let’s be honest, I’ve got the travel bug. I came back to Philadelphia on September 12, and two weeks later I moved to Austin! The weekend before moving, I took a road trip to Boston Calling Music Festival with four friends I met on Couchsurfing. I’ve always been asked a lot of questions about Couchsurfing, so I figured this would be a great topic to start up the blog again!
What is Couchsurfing?
Couchsurfing is a website, an app, and most importantly, a community found throughout the world. It’s a way for people to help each other, learn from each other, and have an enhanced traveling experience.
How does Couchsurfing work?
When I first joined Couchsurfing, I created a profile on the website with information about myself, my travels, whether or not I can host, etc. Before I ever surfed with anyone, a friend and I hosted a fellow student from Manchester last-minute and had an awesome time exchanging stories over pitchers at McGillin’s. I also met up with a lovely girl from Taiwan and brought her to VegFest in Philly. Soon enough, it was time for my backpacking trip.
When I knew I would be needing a place to stay in a new city I would either directly message hosts from that city or put up a public trip telling hosts that I would be around and I would need a place to stay. After getting in touch with hosts and arranging the length of my stay, I would show up at their place! I usually Couchsurfed for 2-3 days at a time, but the length of your stay is up to you and your host. While you’re there, some hosts want to show you around their city. Some prefer not to. Some want to get drinks with you and their friends, some want to have deep political conversations. Every experience is different, but every experience gives you a more authentic view of the city (in my opinion) than say, a hostel or a hotel.
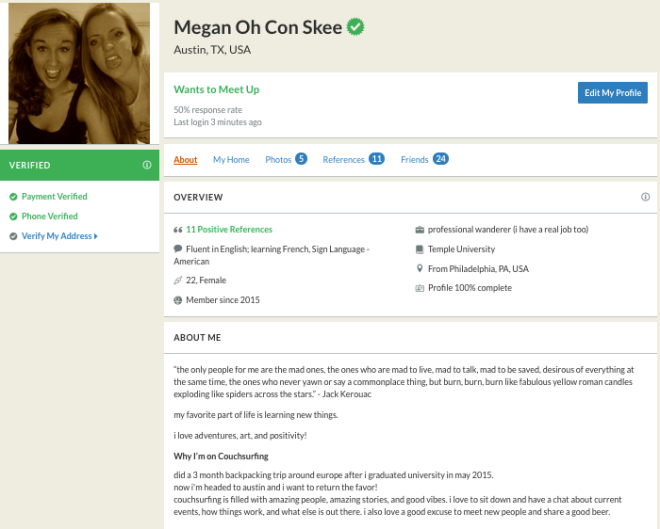
A little snippet of my Couchsurfing profile!
via couchsurfing.com
IS COUCHSURFING SAFE??
Would I do it if it wasn’t?
Being a young woman alone, I knew I would have to exercise more caution than most people on their travels. Although the Couchsurfing community (like the rest of the world) is for the most part full of lovely people with good intentions, I still used a few different methods to “screen” potential hosts.
- I checked out their “references”. Couchsurfing allows you to leave notes about each host/guest/traveler you come across. You can say your experience was positive, negative, or neutral, with details about your accommodations and time with your host. I made sure to read a few of the references and only stayed with people who only had positive references.
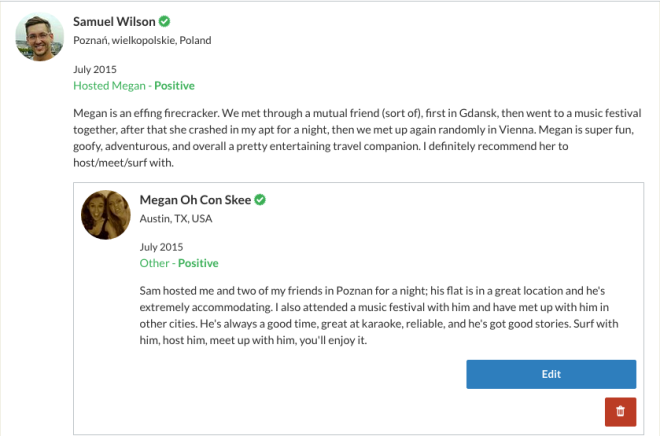
Sam and I left references for each other after we hung out at a music festival, I crashed at his place, and we met up in Vienna.
via couchsurfing.com
- I added them on Facebook (and did a little creeping). This isn’t necessary or required, but it was just another way to make sure I was in good hands during my trip.
- I checked to see if they were verified. Basically, if you pay 20 dollars to Couchsurfing you get a green check mark and you can have your phone number/address/existence verified. I think references are more telling/important than verification, but again, always nice to see that little check mark.
Four Reasons Why You Should Couchsurf on Your Next Adventure:
You learn from locals
As I mentioned earlier, Couchsurfing gives you more than a touristy experience. As much as I enjoy staying in a hostel with Americans, Brits, and Australians and using hostel maps to guide my wanderings, I also enjoyed talking to people who know what’s going on in Vienna, or who are pros at navigating Danish public transportation. I learned more about European politics from my Couchsurfing hosts than anyone or anything else – and that includes my formal education.
Ok, let’s just say it….it’s cheap.
Besides the $20 verification fee (which in my opinion isn’t 100% necessary), Couchsurfing is free! You get free accommodations while you travel. You get tips on where cheap beer/food is and any free events going on in the city. I try and buy my hosts a drink, gift, or make them food while I’m staying with them, but besides that, Couchsurfing is a great way to save money while traveling.
Meetups!
Even if you have accommodation throughout your travels, Couchsurfing meetups are another way to talk to people from all over the world. If I remember correctly, I went to a Couchsurfing meetup every day that I was in Berlin. Language exchanges at bars, free yoga classes at parks, picnics, happy hours….you name it, you can find an event for it on Couchsurfing. They’re not so common in America, but in Europe there are tons! Sometimes you can even find hosts at meetups.
You can also use it as a resource for pretty much anything.
Couchsurfing has discussion boards for each city where you can find local advice, rides to and from the city, events and more. It also has larger groups where you can post just about anything. As I mentioned before, when I made my way up to Boston for Boston Calling, I didn’t want to drive alone (or pay for gas alone). I posted on the Philadelphia & New York discussion boards that I would be driving up to Boston and could offer a ride, and by the time I left for Boston my car was full! I also have an Australian pen pal thanks to the “Alternative Ways of Living & Consuming” group.
Couchsurfing is a blast…I really enjoyed using it throughout my backpacking trip. This is just a brief overview of how you can use it, so if you have questions, leave them in the comments! Also, if you have suggestions for what I should write about next, let me know!! Thanks for reading!