The spring before my trip, I became obsessed with making candles. I had so many glass jars and a disgusting Pinterest habit (still do. Follow me.) I figured if I collected the materials for candles abroad and made them at home, I would be able to save space in my backpack AND save money. Win-win!
Keep those ticket stubs, friends, I have a use for them! And the use smells great!
Step 1: Collect Your Souvenirs!
I knew I was going to make these candles ahead of time, which gave me an excuse to hoard during my trip. I saved everything: metro passes, museum brochures, ticket stubs, festival schedules, maps….
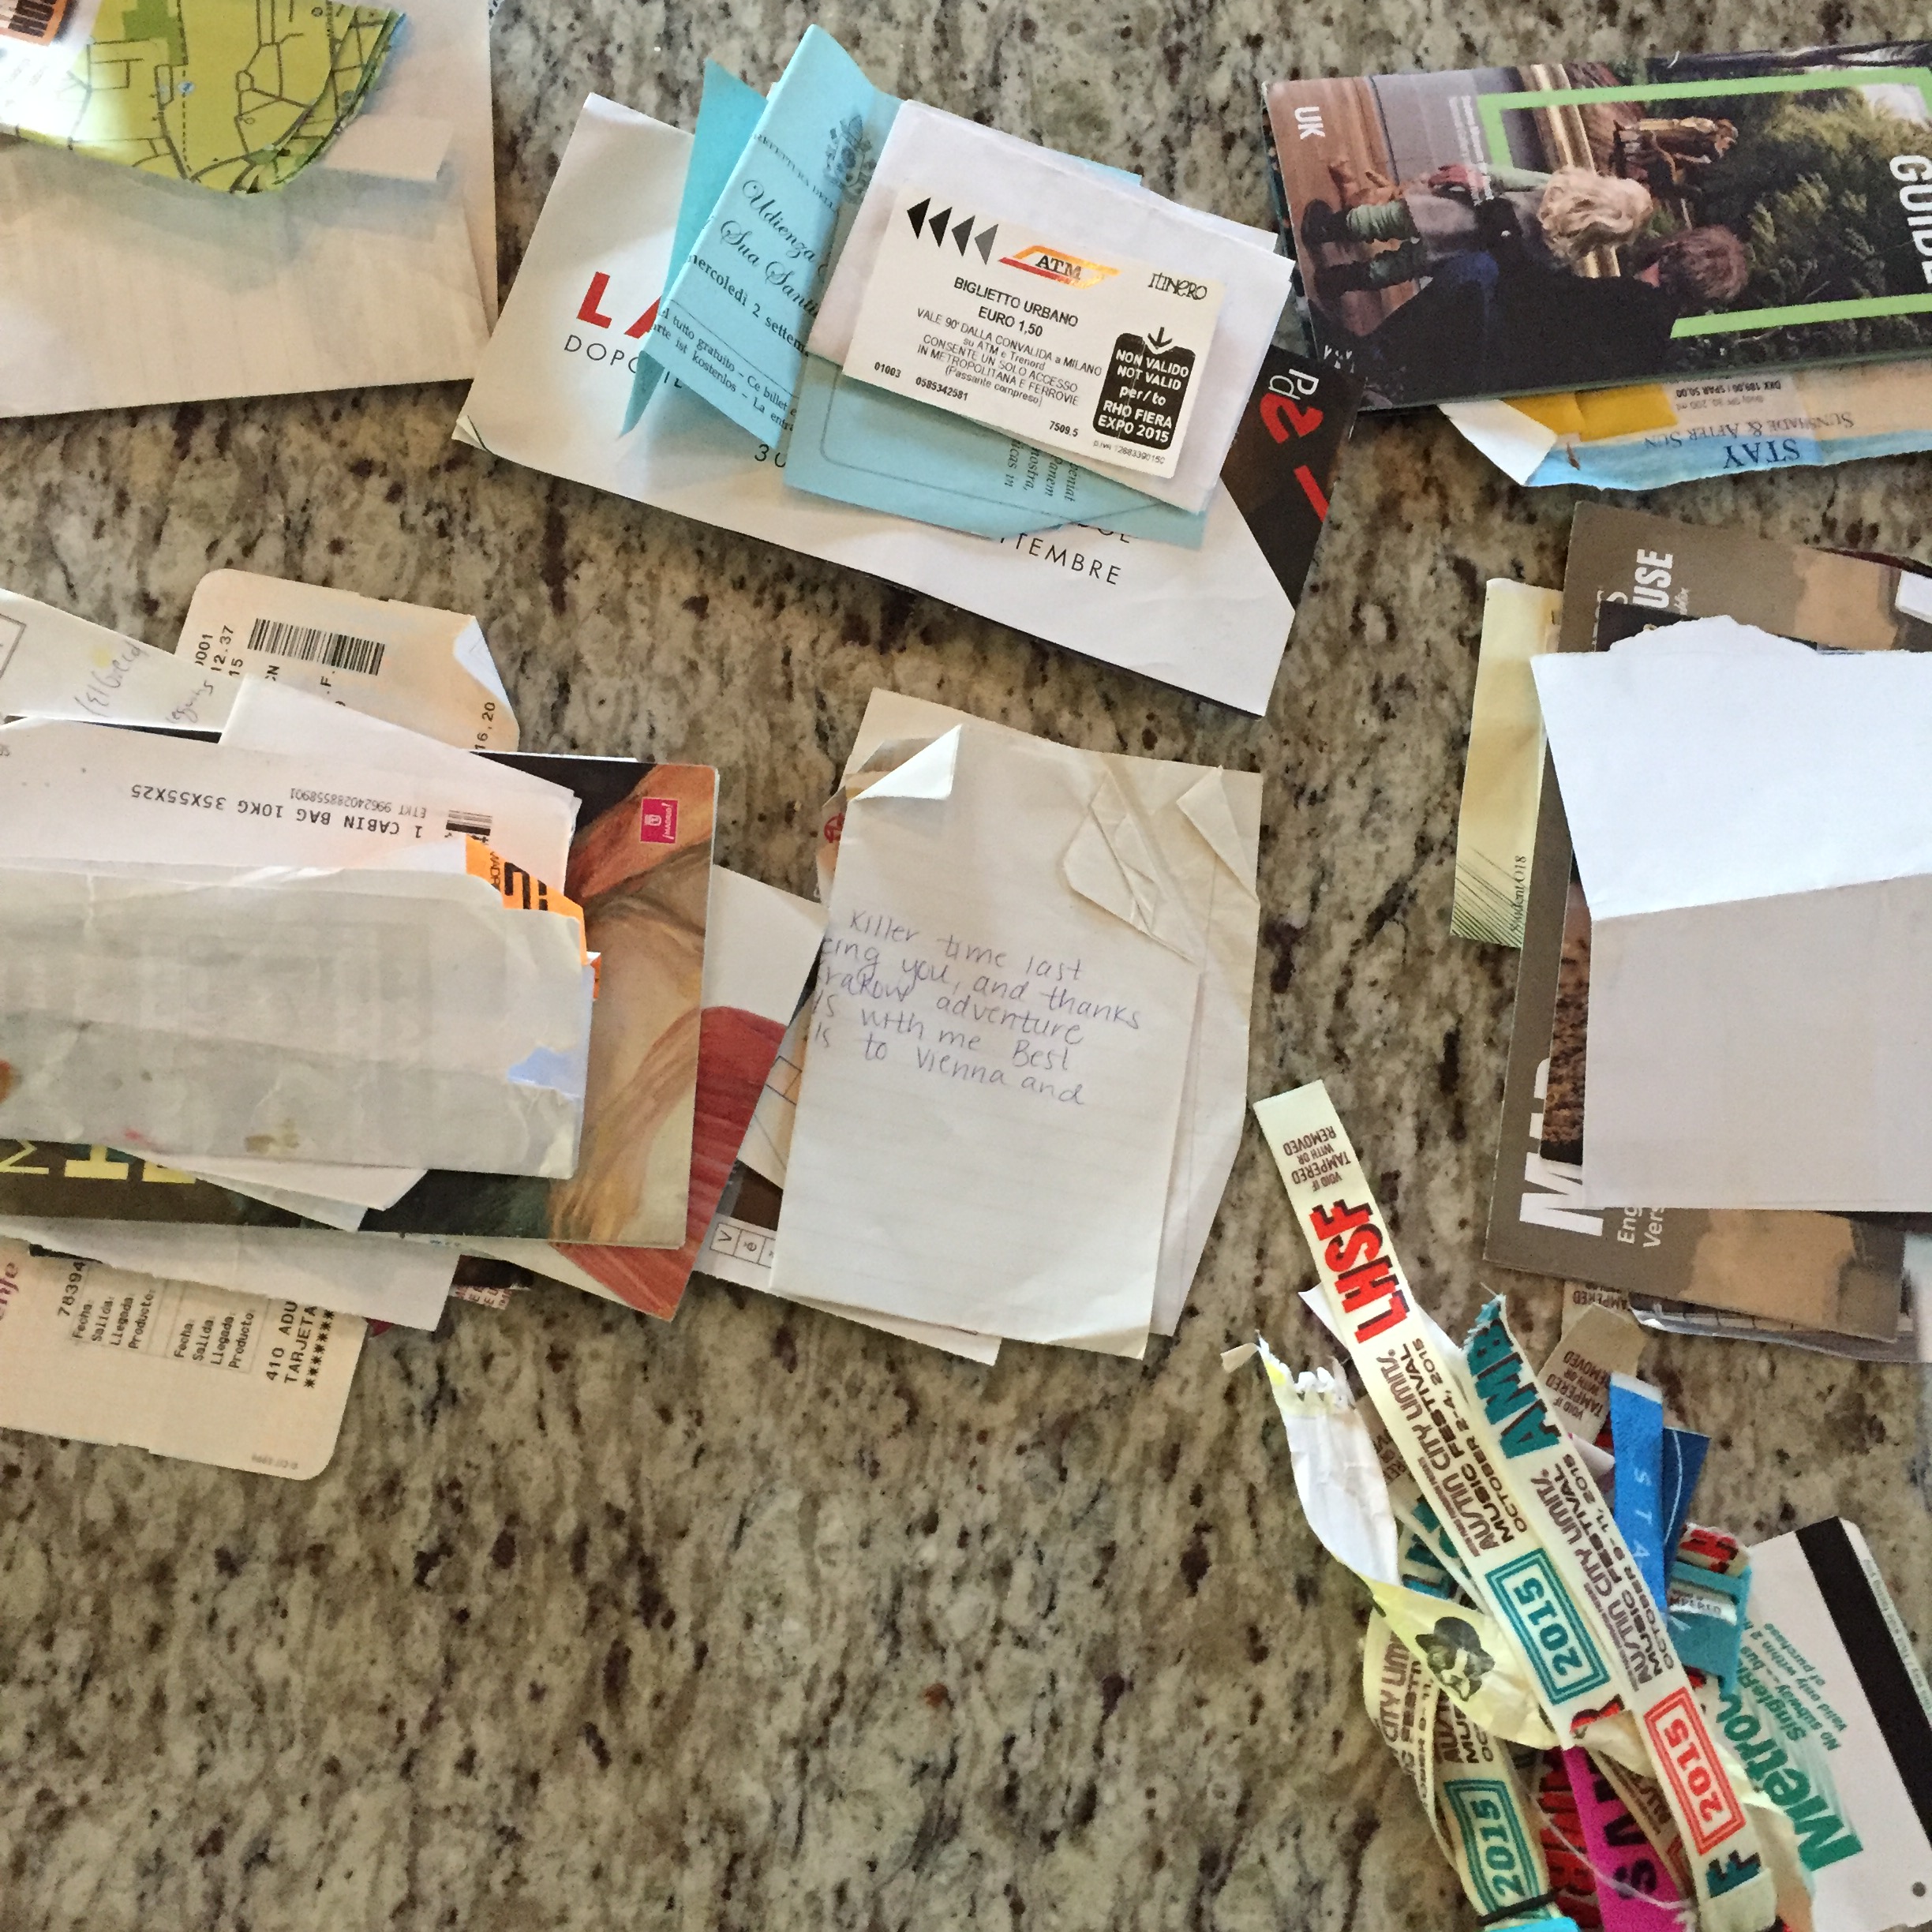
And this was AFTER I had thrown a bunch of things out in Berlin…AND Rome. I was a walking fire hazard. Peep my US collection in the bottom right corner…I can’t stop.
For the most part, the thinner the better. I glue all of my souvenirs to my candles (more on that later), so paper souvenirs have always worked best for me!
Step 2: Collect Your Materials!
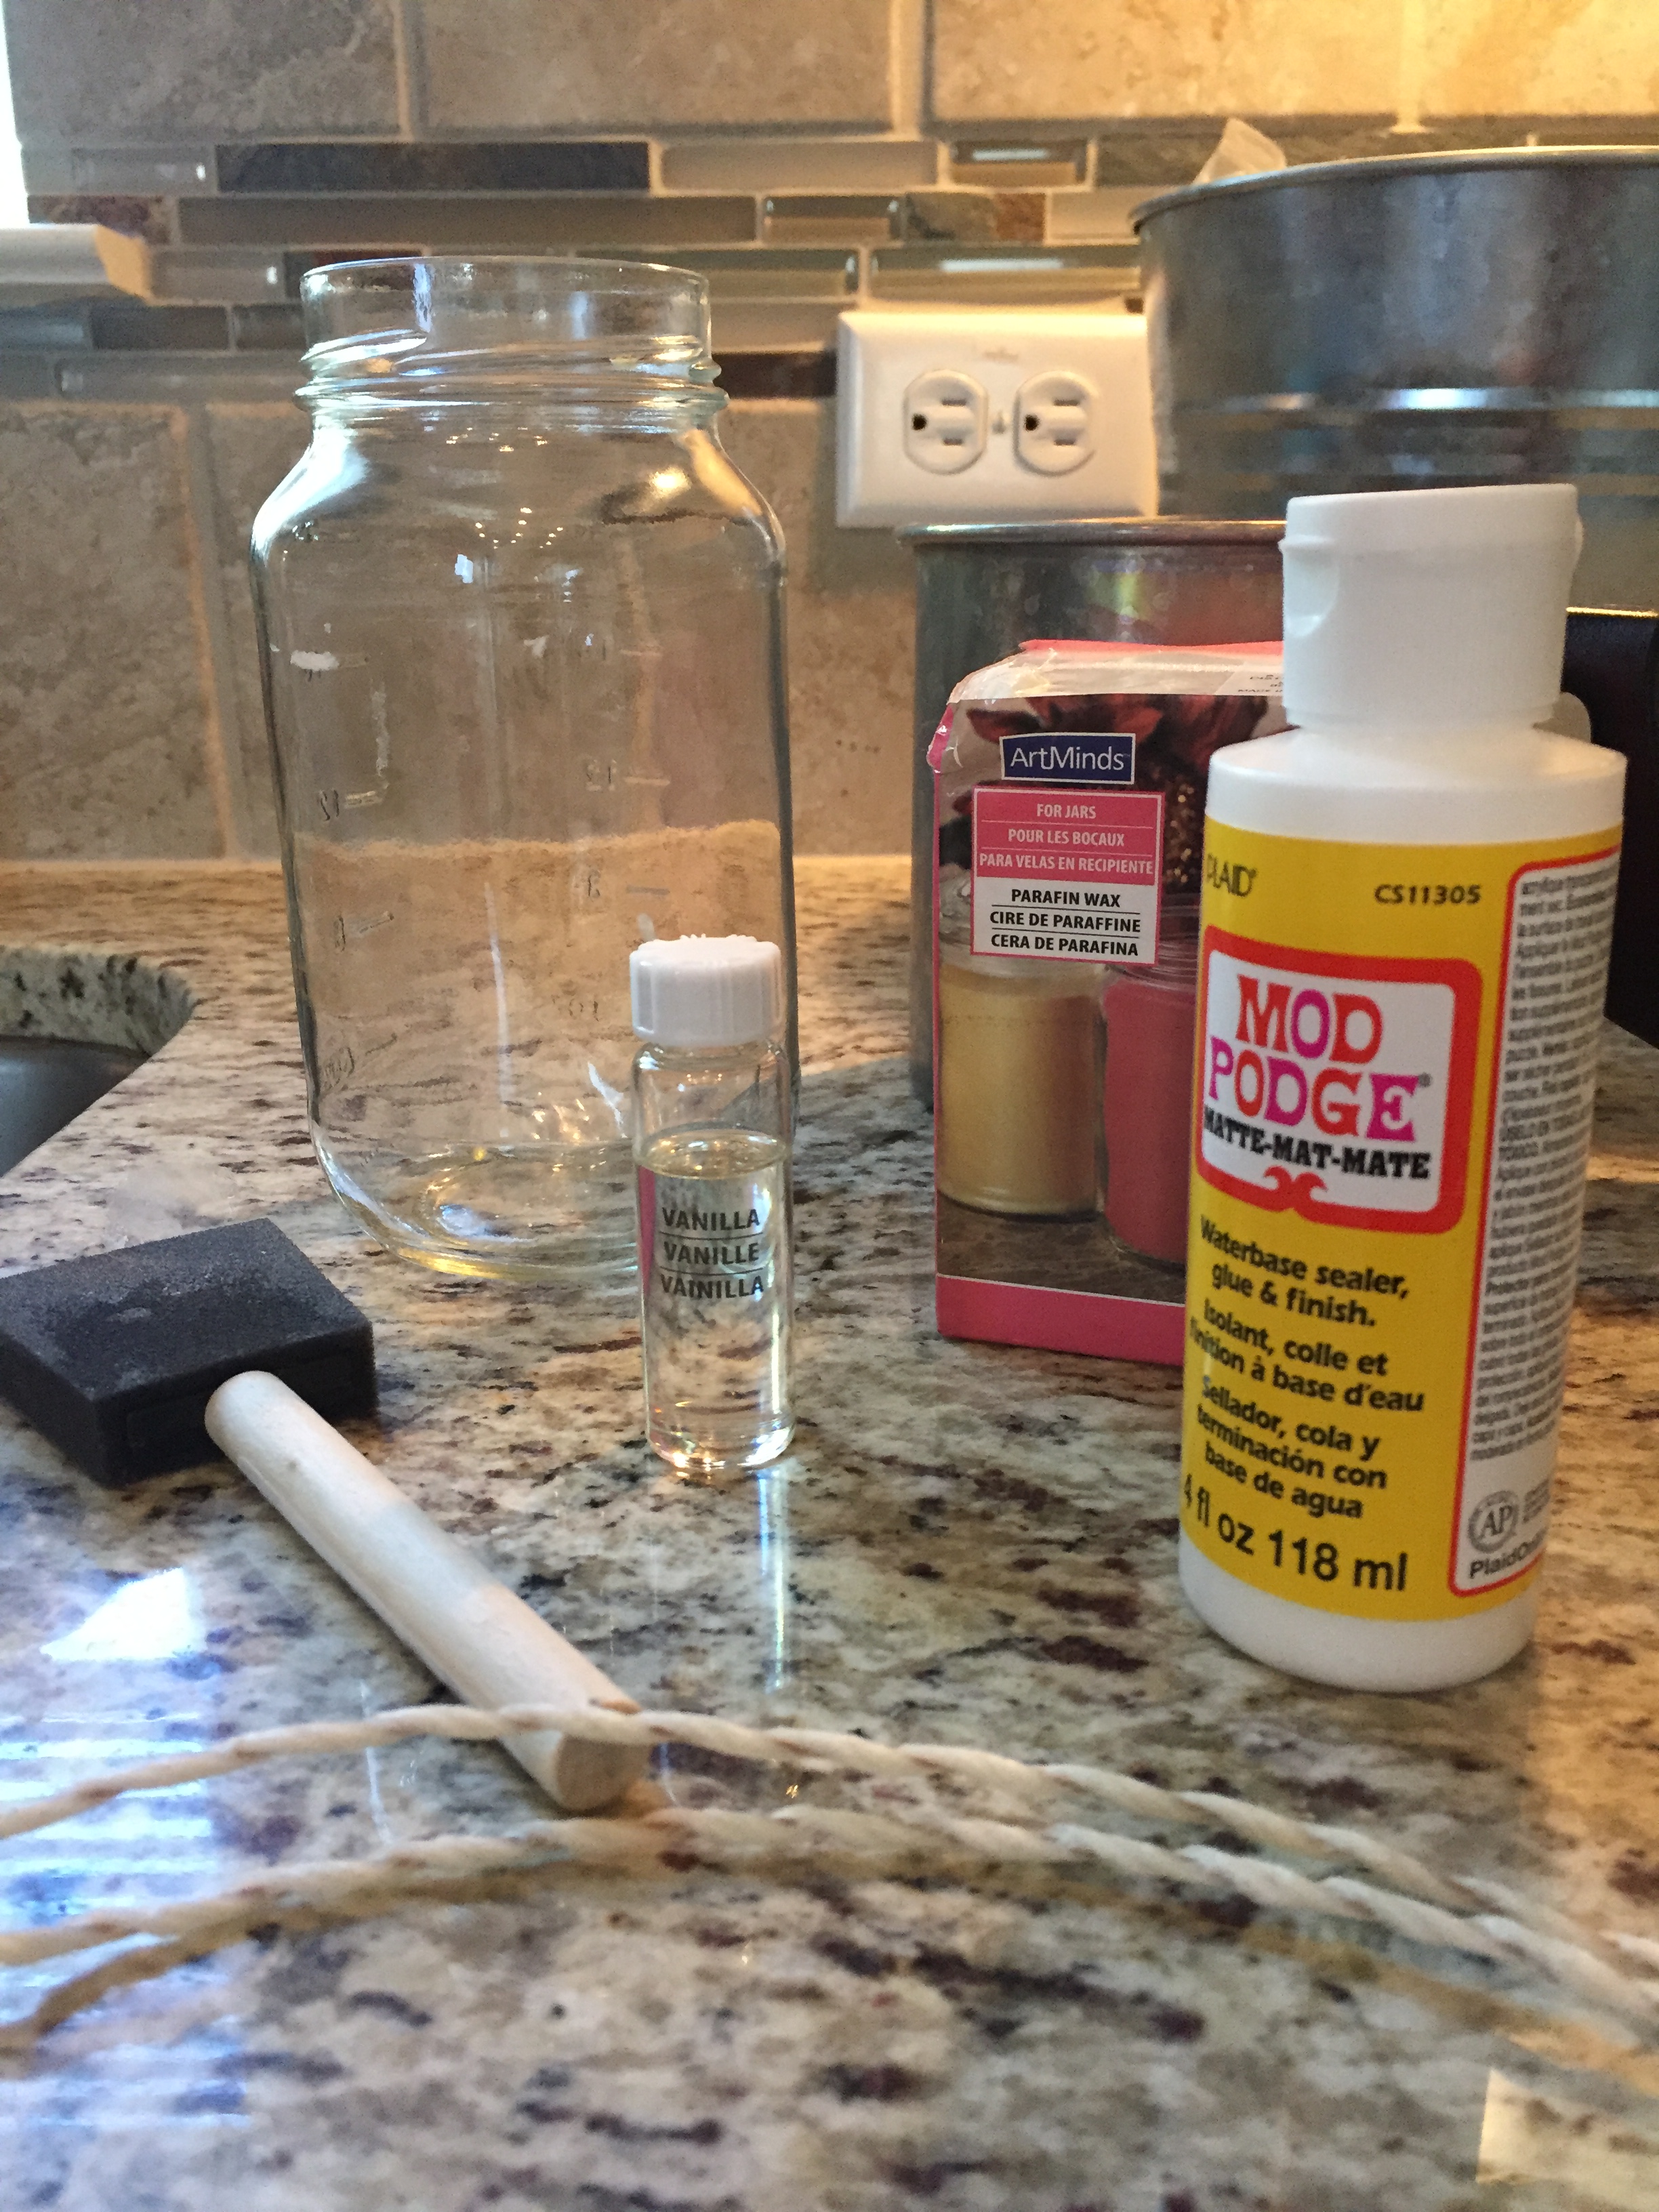
Here’s what you need for a basic souvenir candle:
- Glass Jar – of any kind. I’ve used mason jars, old pasta sauce jars, old shot glasses…anything.
- Mod Podge
- Candle Wicks
- Wax – I use soy wax! It’s easily accessible in bulk at any craft store or online. A pound and a half is plenty for a quart-sized mason jar.
- Pouring Pot – It’s a lifesaver, and a burn-preventer. I got mine for less than 10 bucks online? It’s a great way to keep your candlemaking separate from your other stovetop activities.
- Brush (0ptional) – It’s my favorite way to apply the Mod Podge
- Fragrance (optional) – I’m using vanilla. I just like the smell.
Step 3: Arrange and Apply Your Souvenirs!
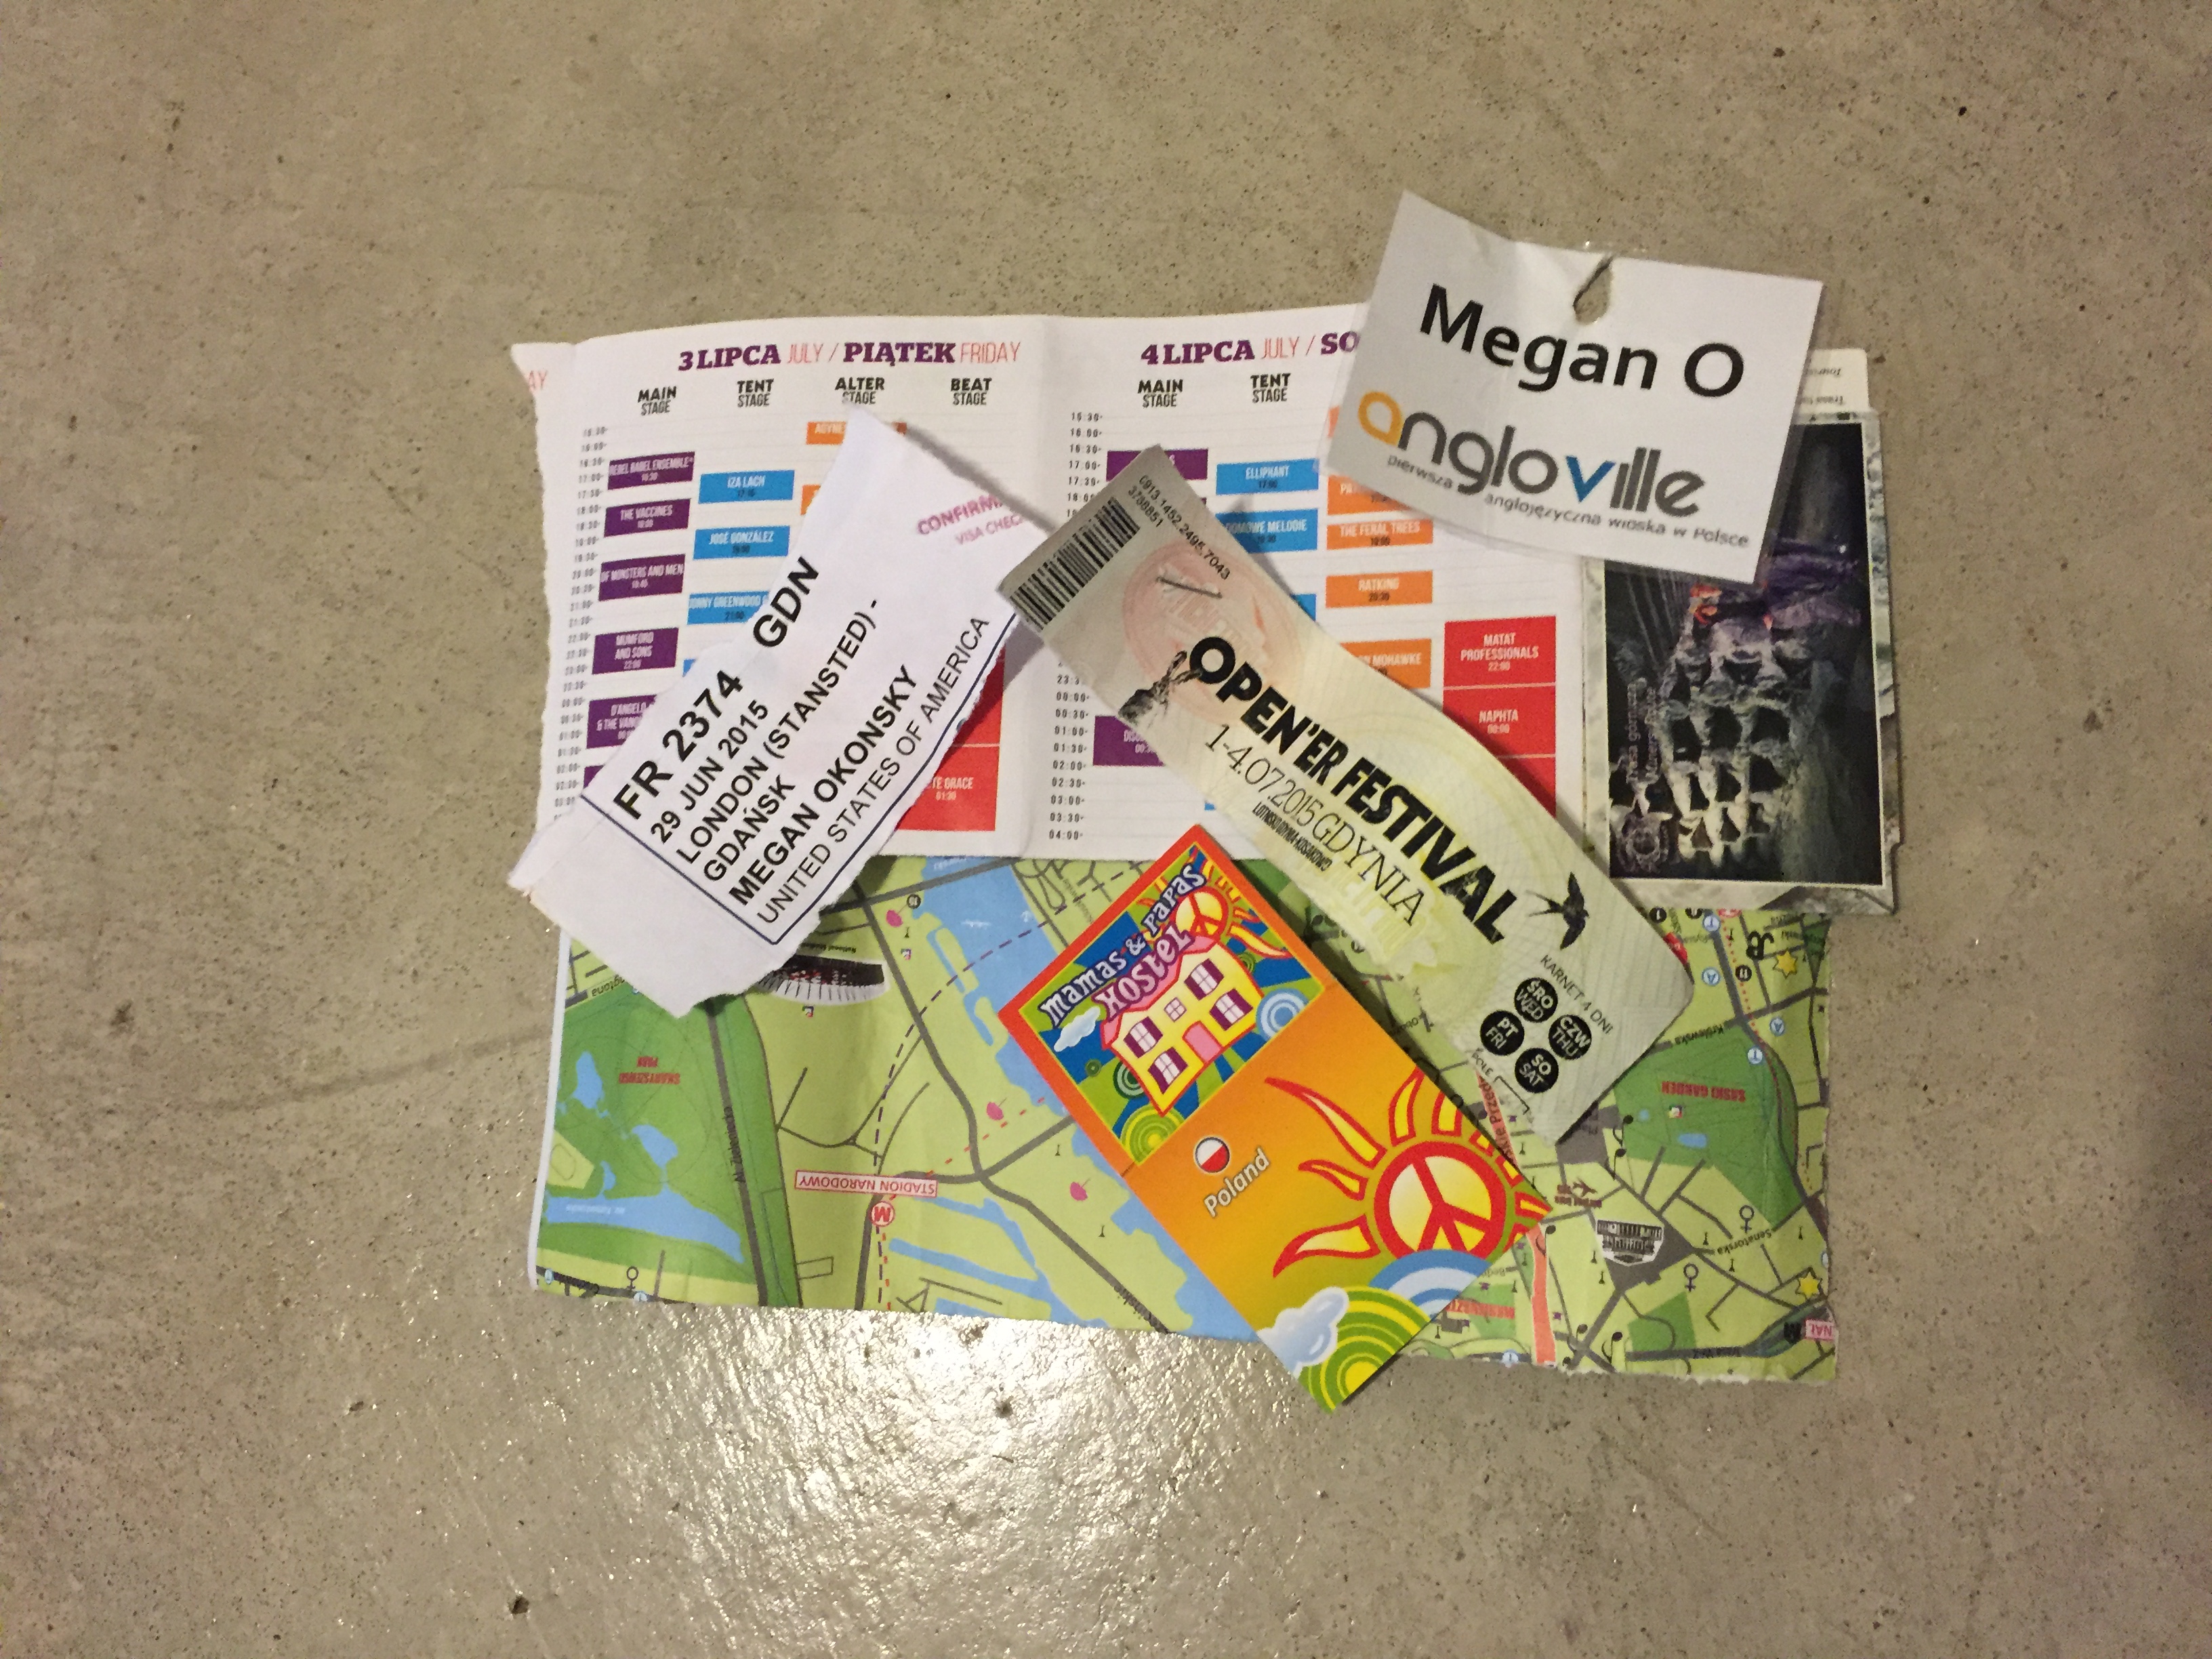
My Poland-themed candle!
I arranged mine by country, with big maps or festival schedules serving as the background and smaller souvenirs in front. This is the most fun part! Get creative.
You can apply your souvenirs in one of two ways! The easiest way is to Mod Podge them to the outside of the candle. Simple! I usually add a layer of Mod Podge to the back of the souvenirs and then another on top, just to secure it to the candle.
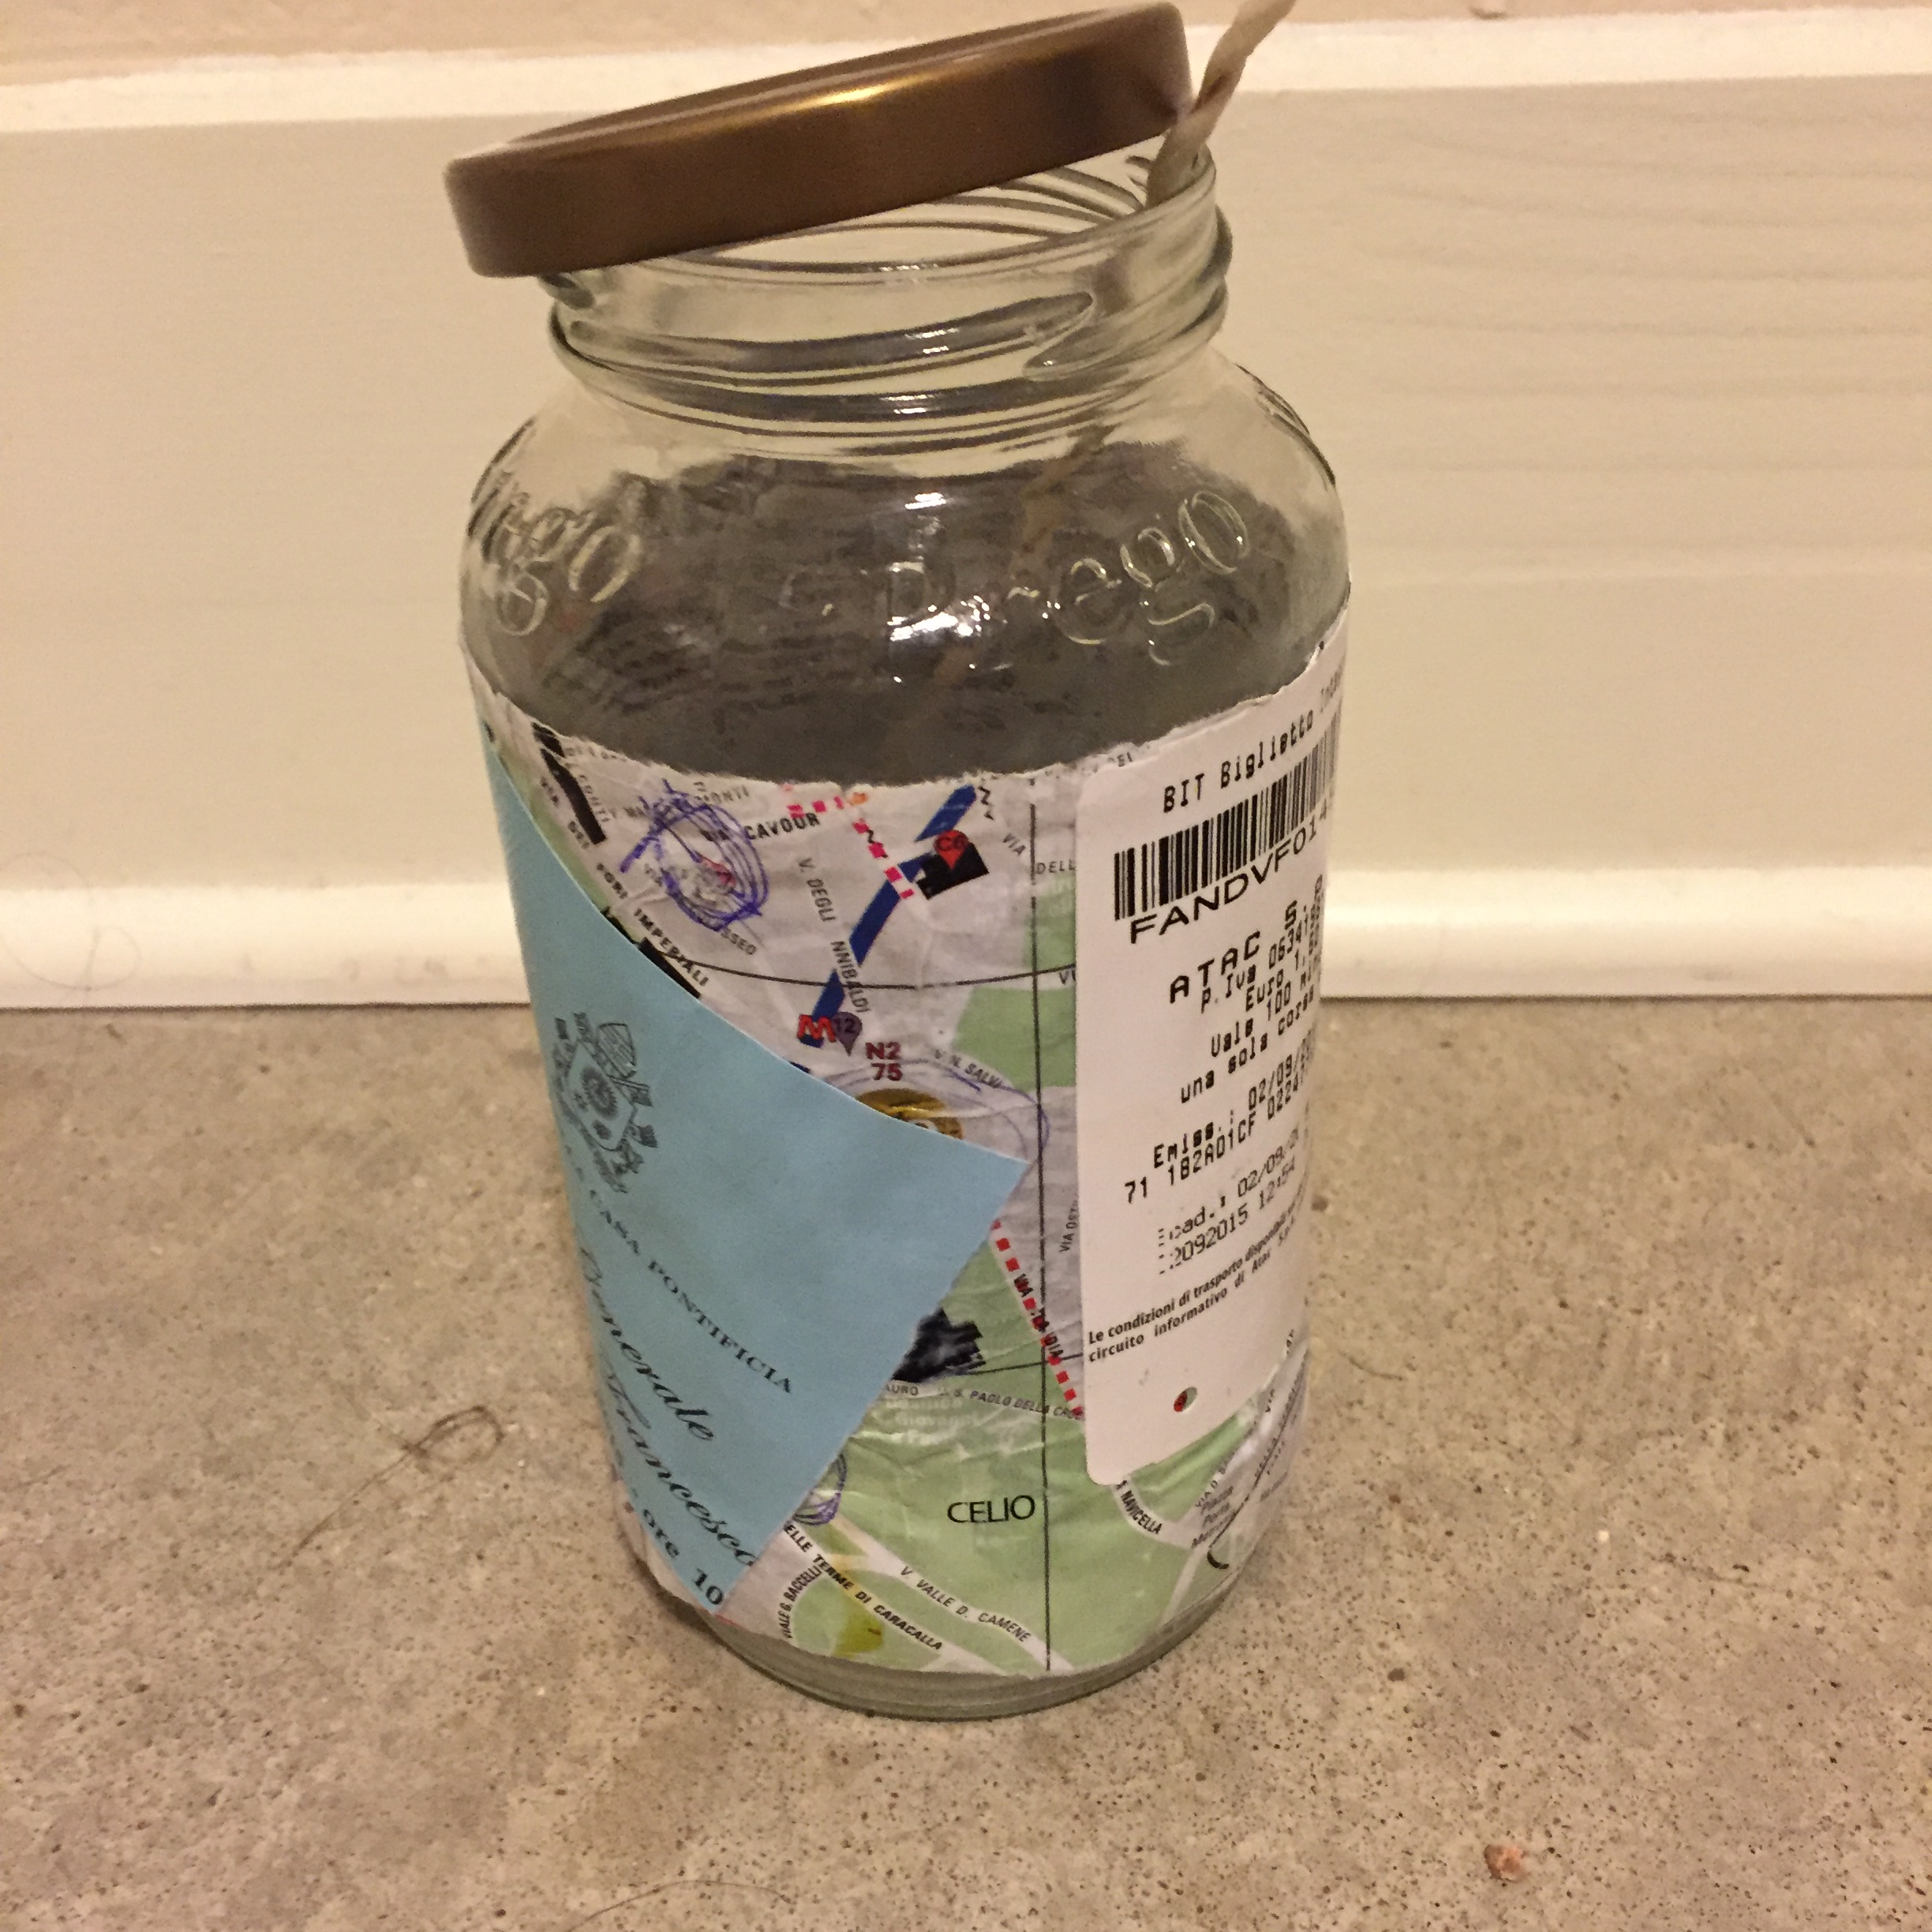
A Rome-Themed Candle with Souvenirs Glued on the Outside!
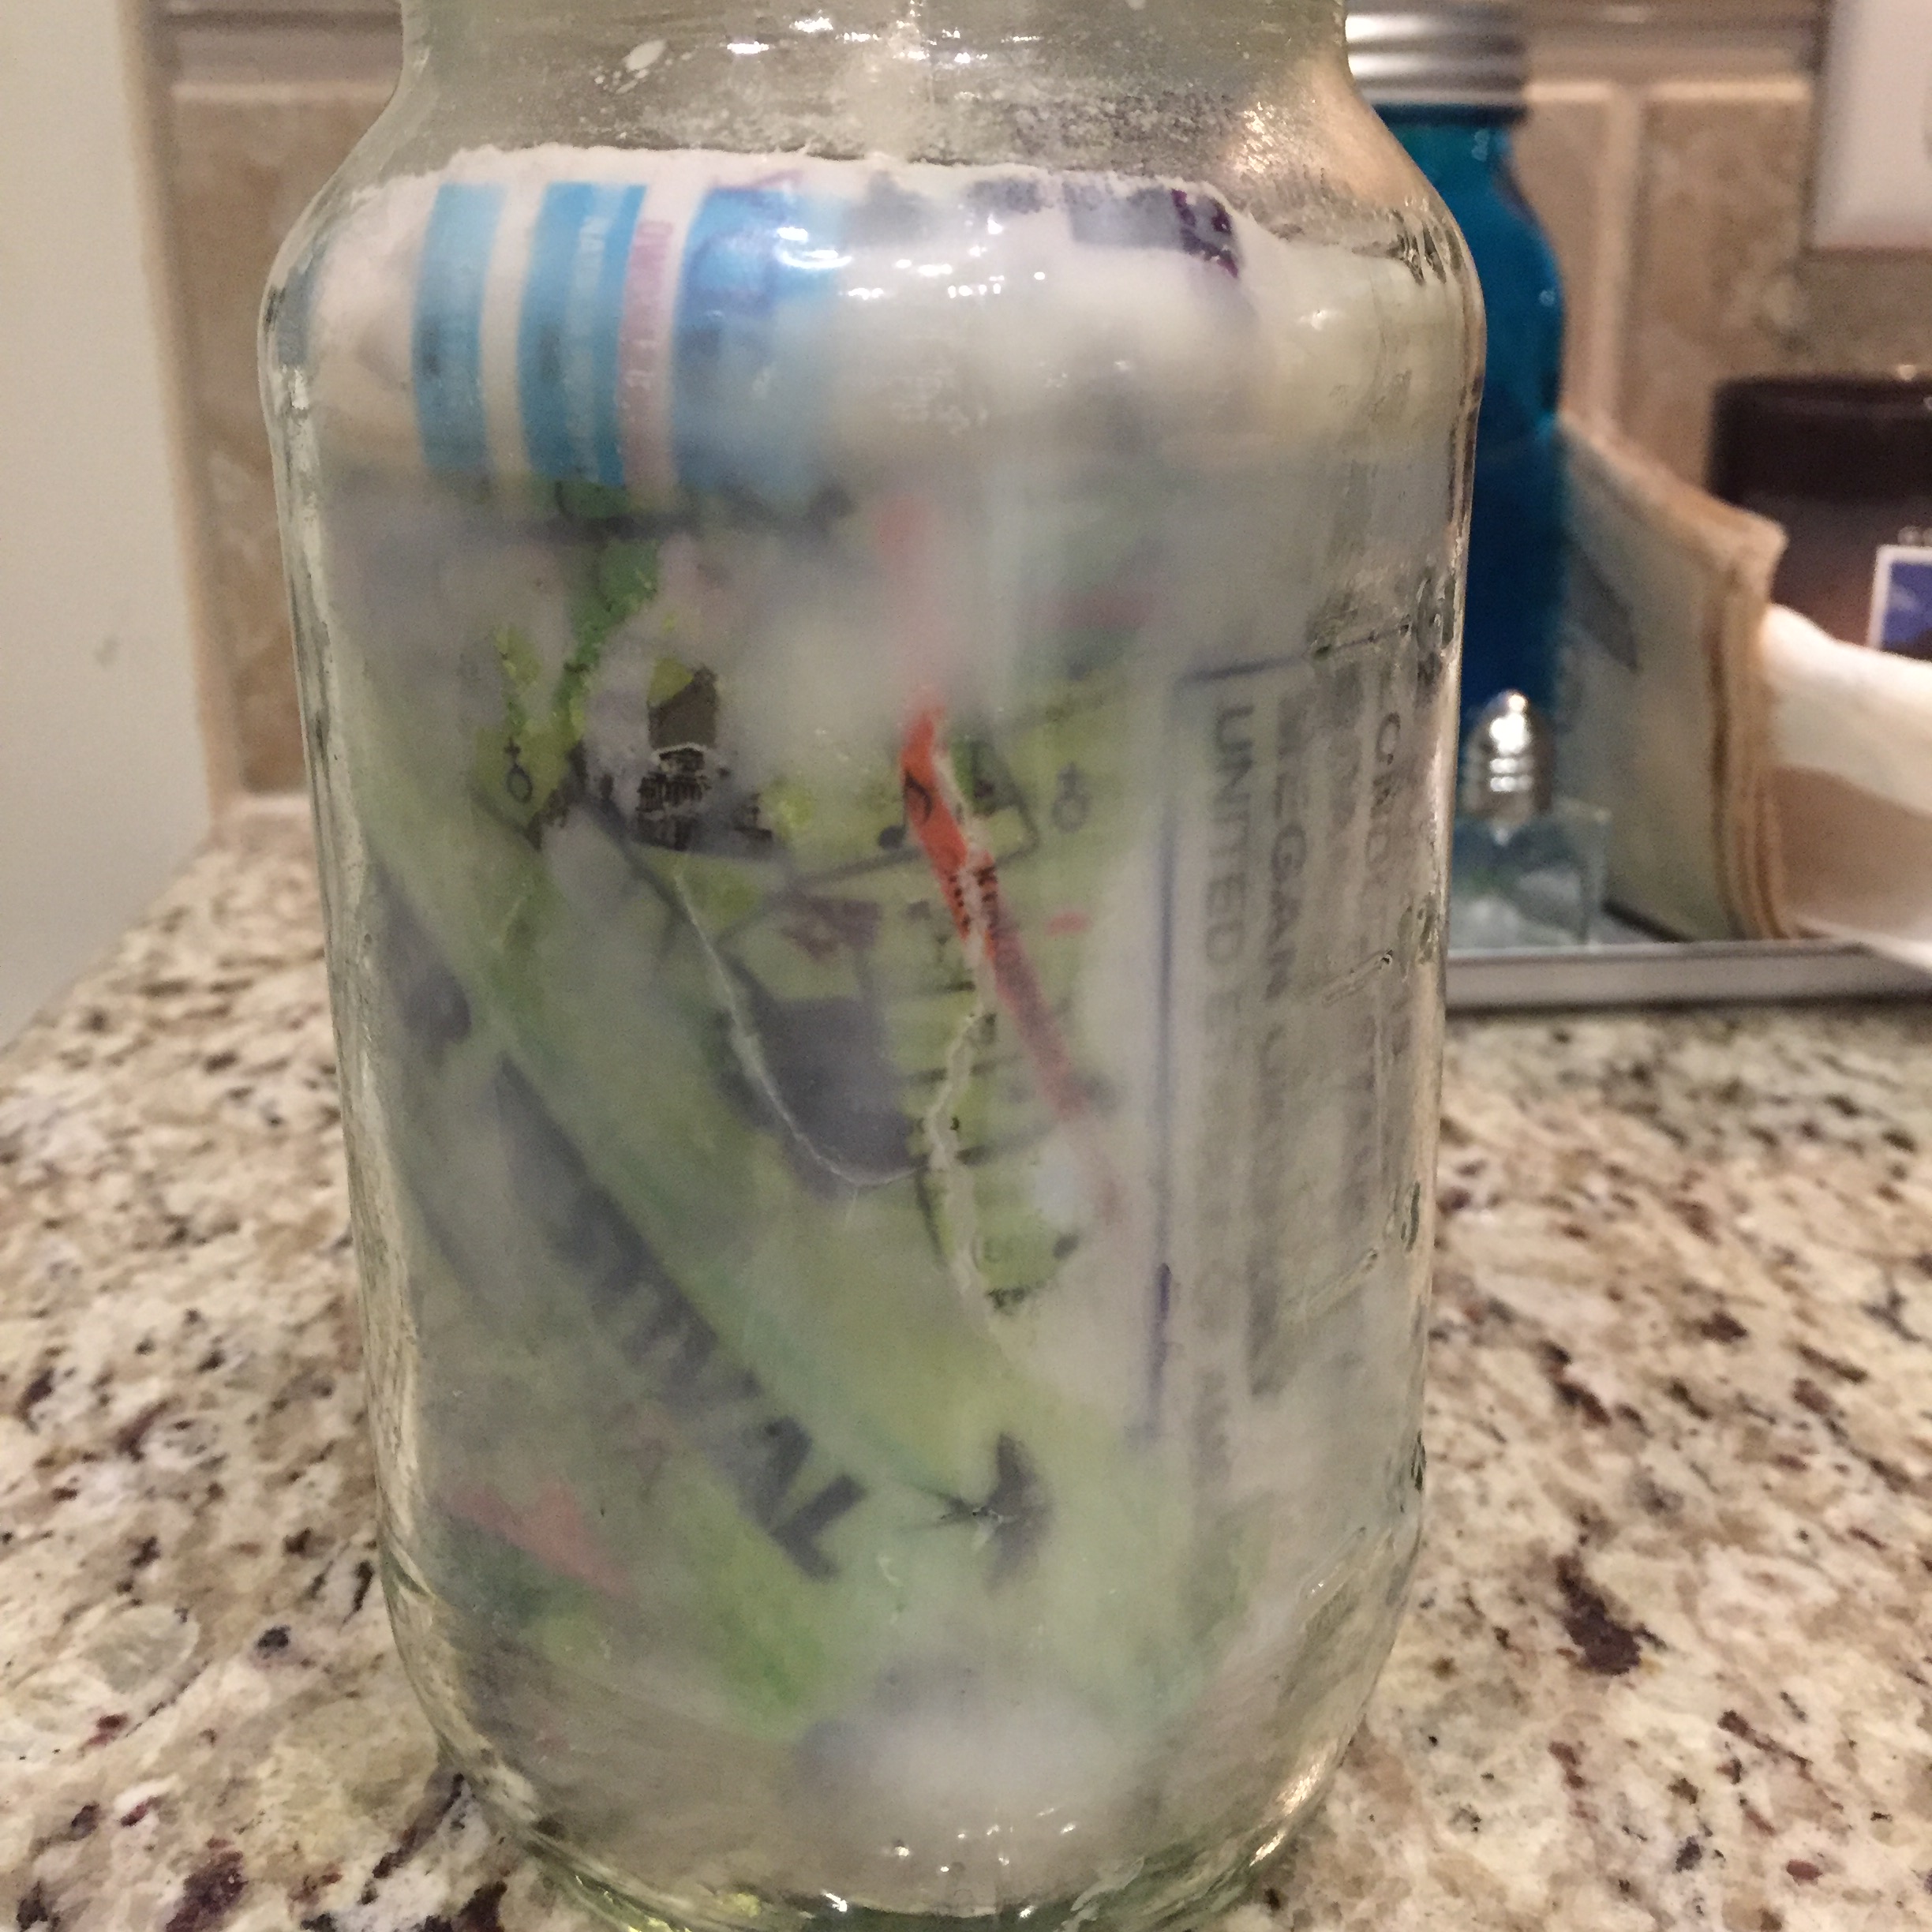
Recently, however, I’ve been experimenting with putting them on the inside of the candle! This method can be tricky, however, as the wax may make its way in between the souvenirs and hide them a bit. However, with the way my Poland candle turned out, I think it adds a bit of an artsy, nostalgic touch. (Check it out later in the post.)
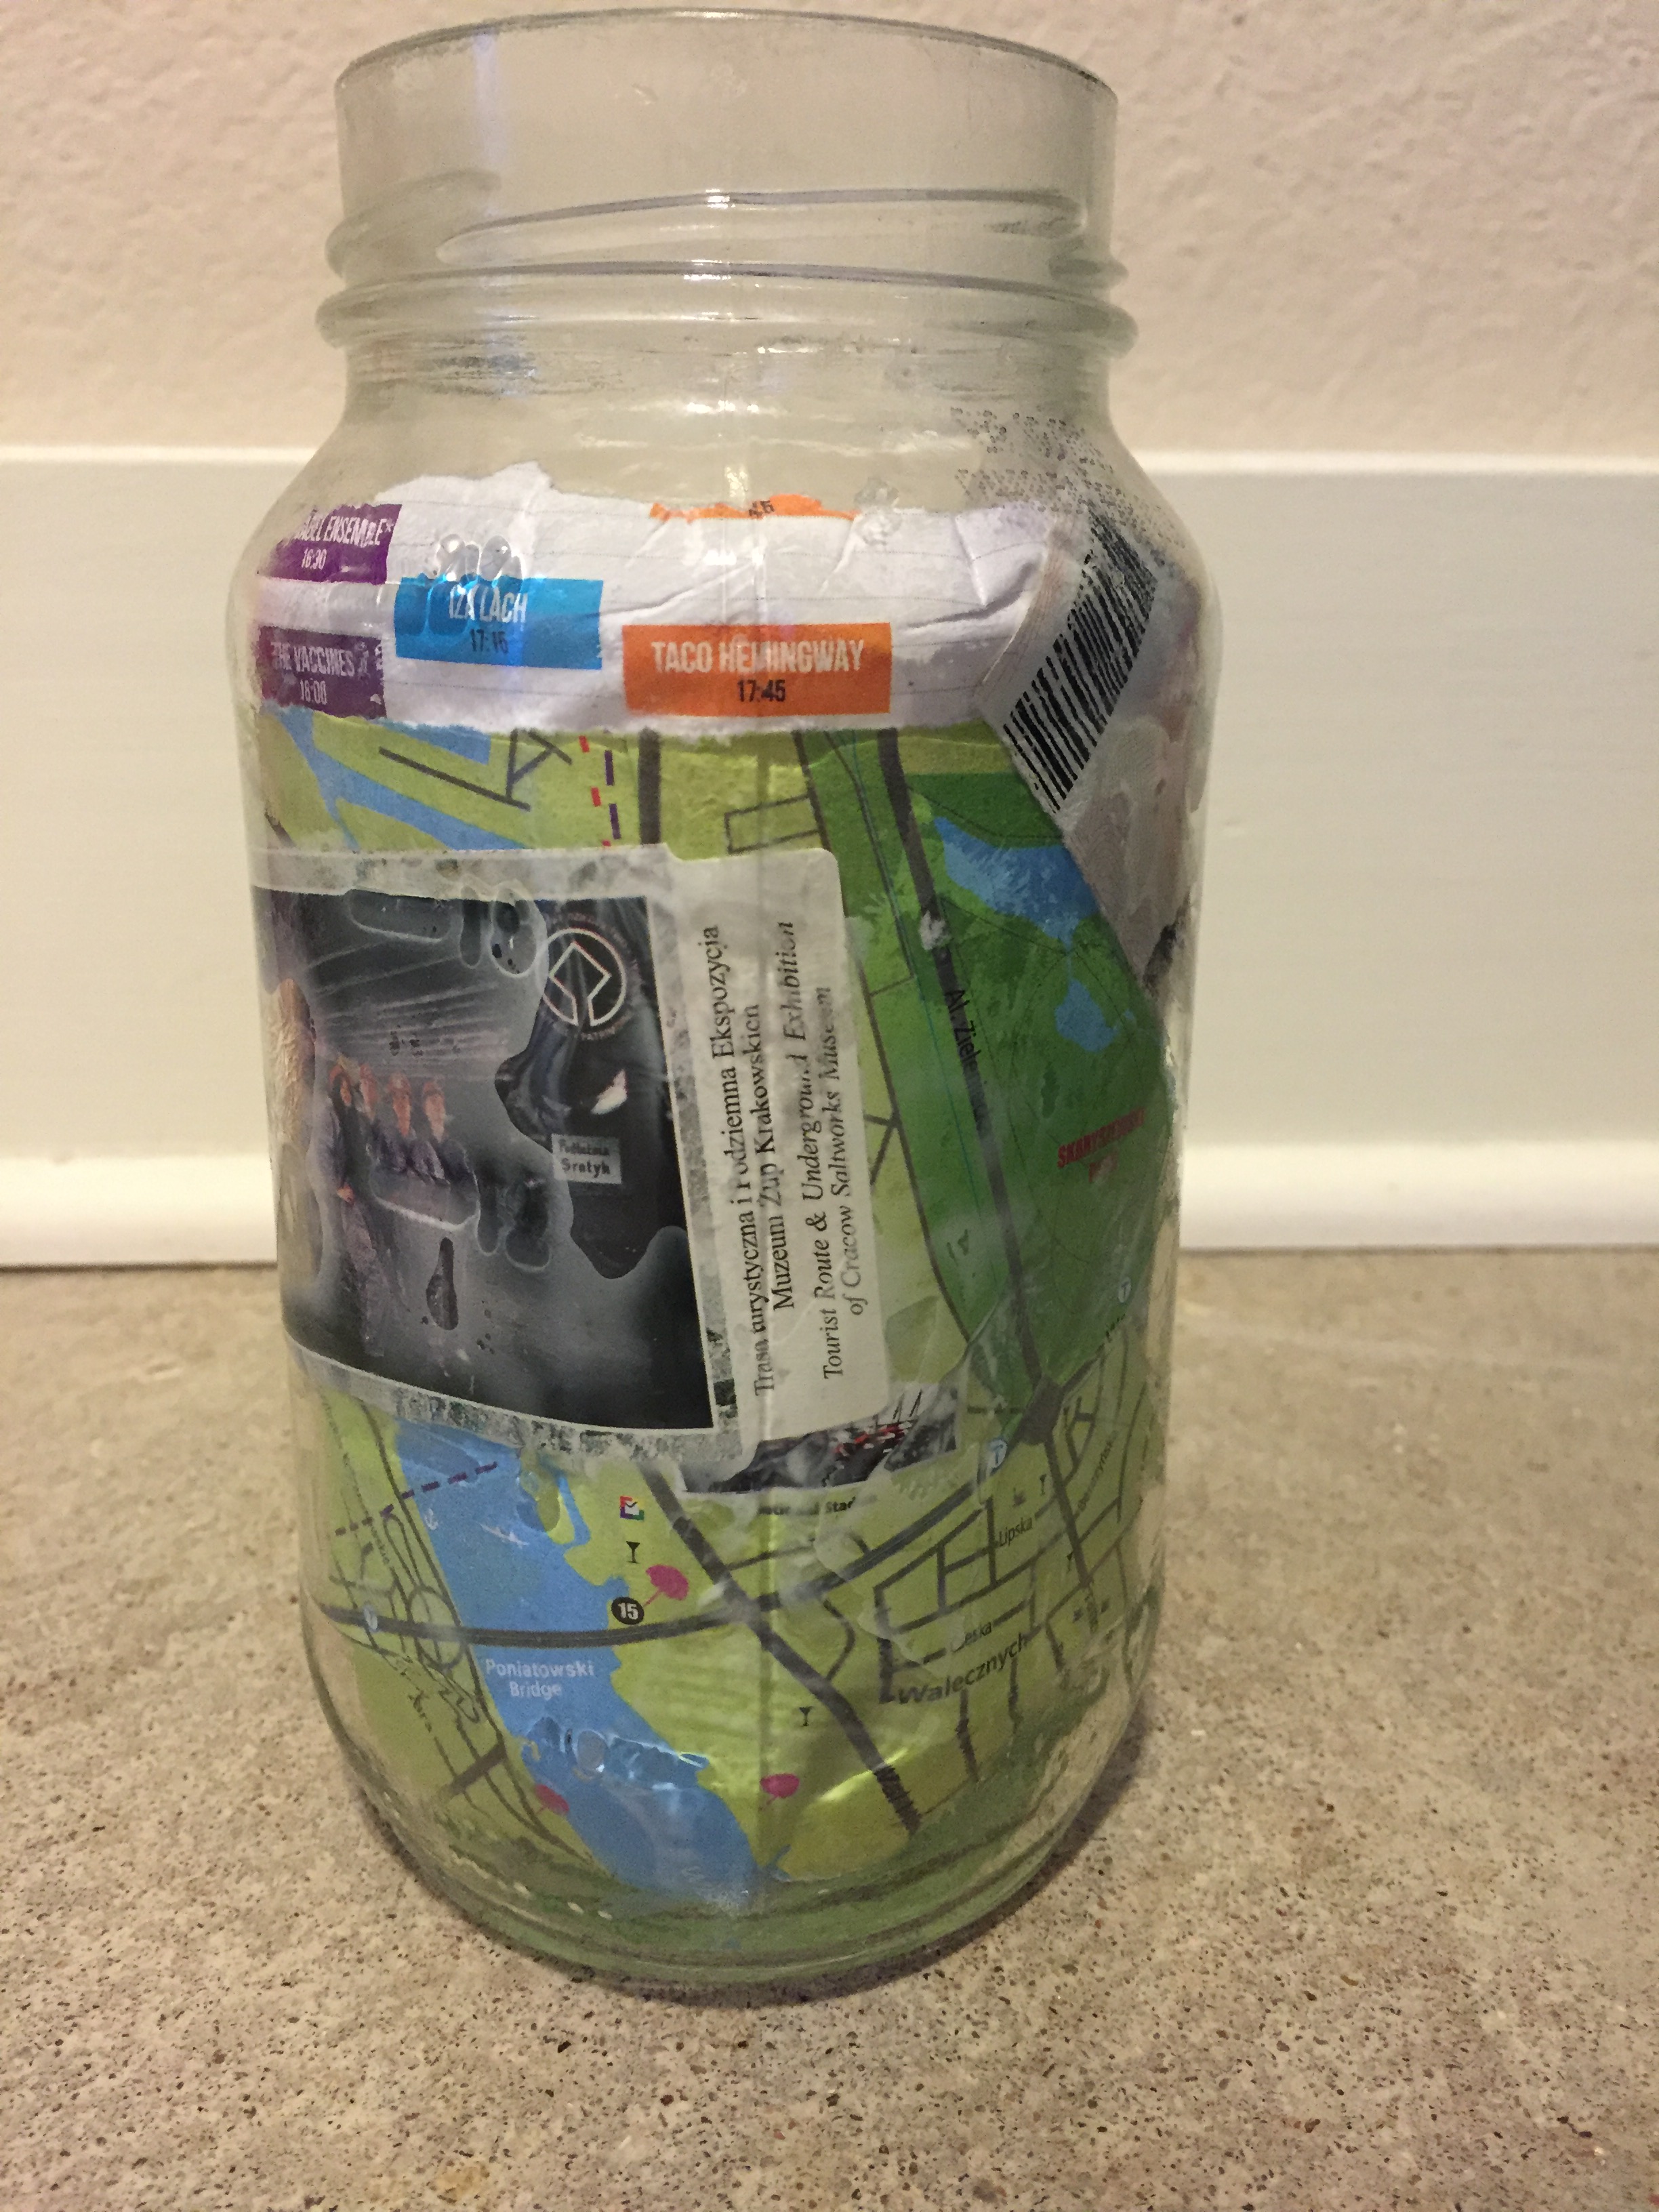
Poland-Themed Candle With Souvenirs Inside (Pre-Wax)
Step 4: Melt Your Wax, Add Fragrance (optional)
Put your pouring pot on your stovetop and add bulk wax. Turning the stove on low still melts the wax in no time. You don’t have to add too much fragrance, either…a few drops will do.
Step 5: Add Your Wick!
This is honestly the hardest part. Straighten the wick out, wrap the end around your brush (or a pencil, or a fork…) and steady…steady….there.

Step 6: Pour and Let it Harden!
Easy. The candles with souvenirs on the outside are going to look exactly the same before and after pouring wax, but the candles with souvenirs on the inside might be tricky.
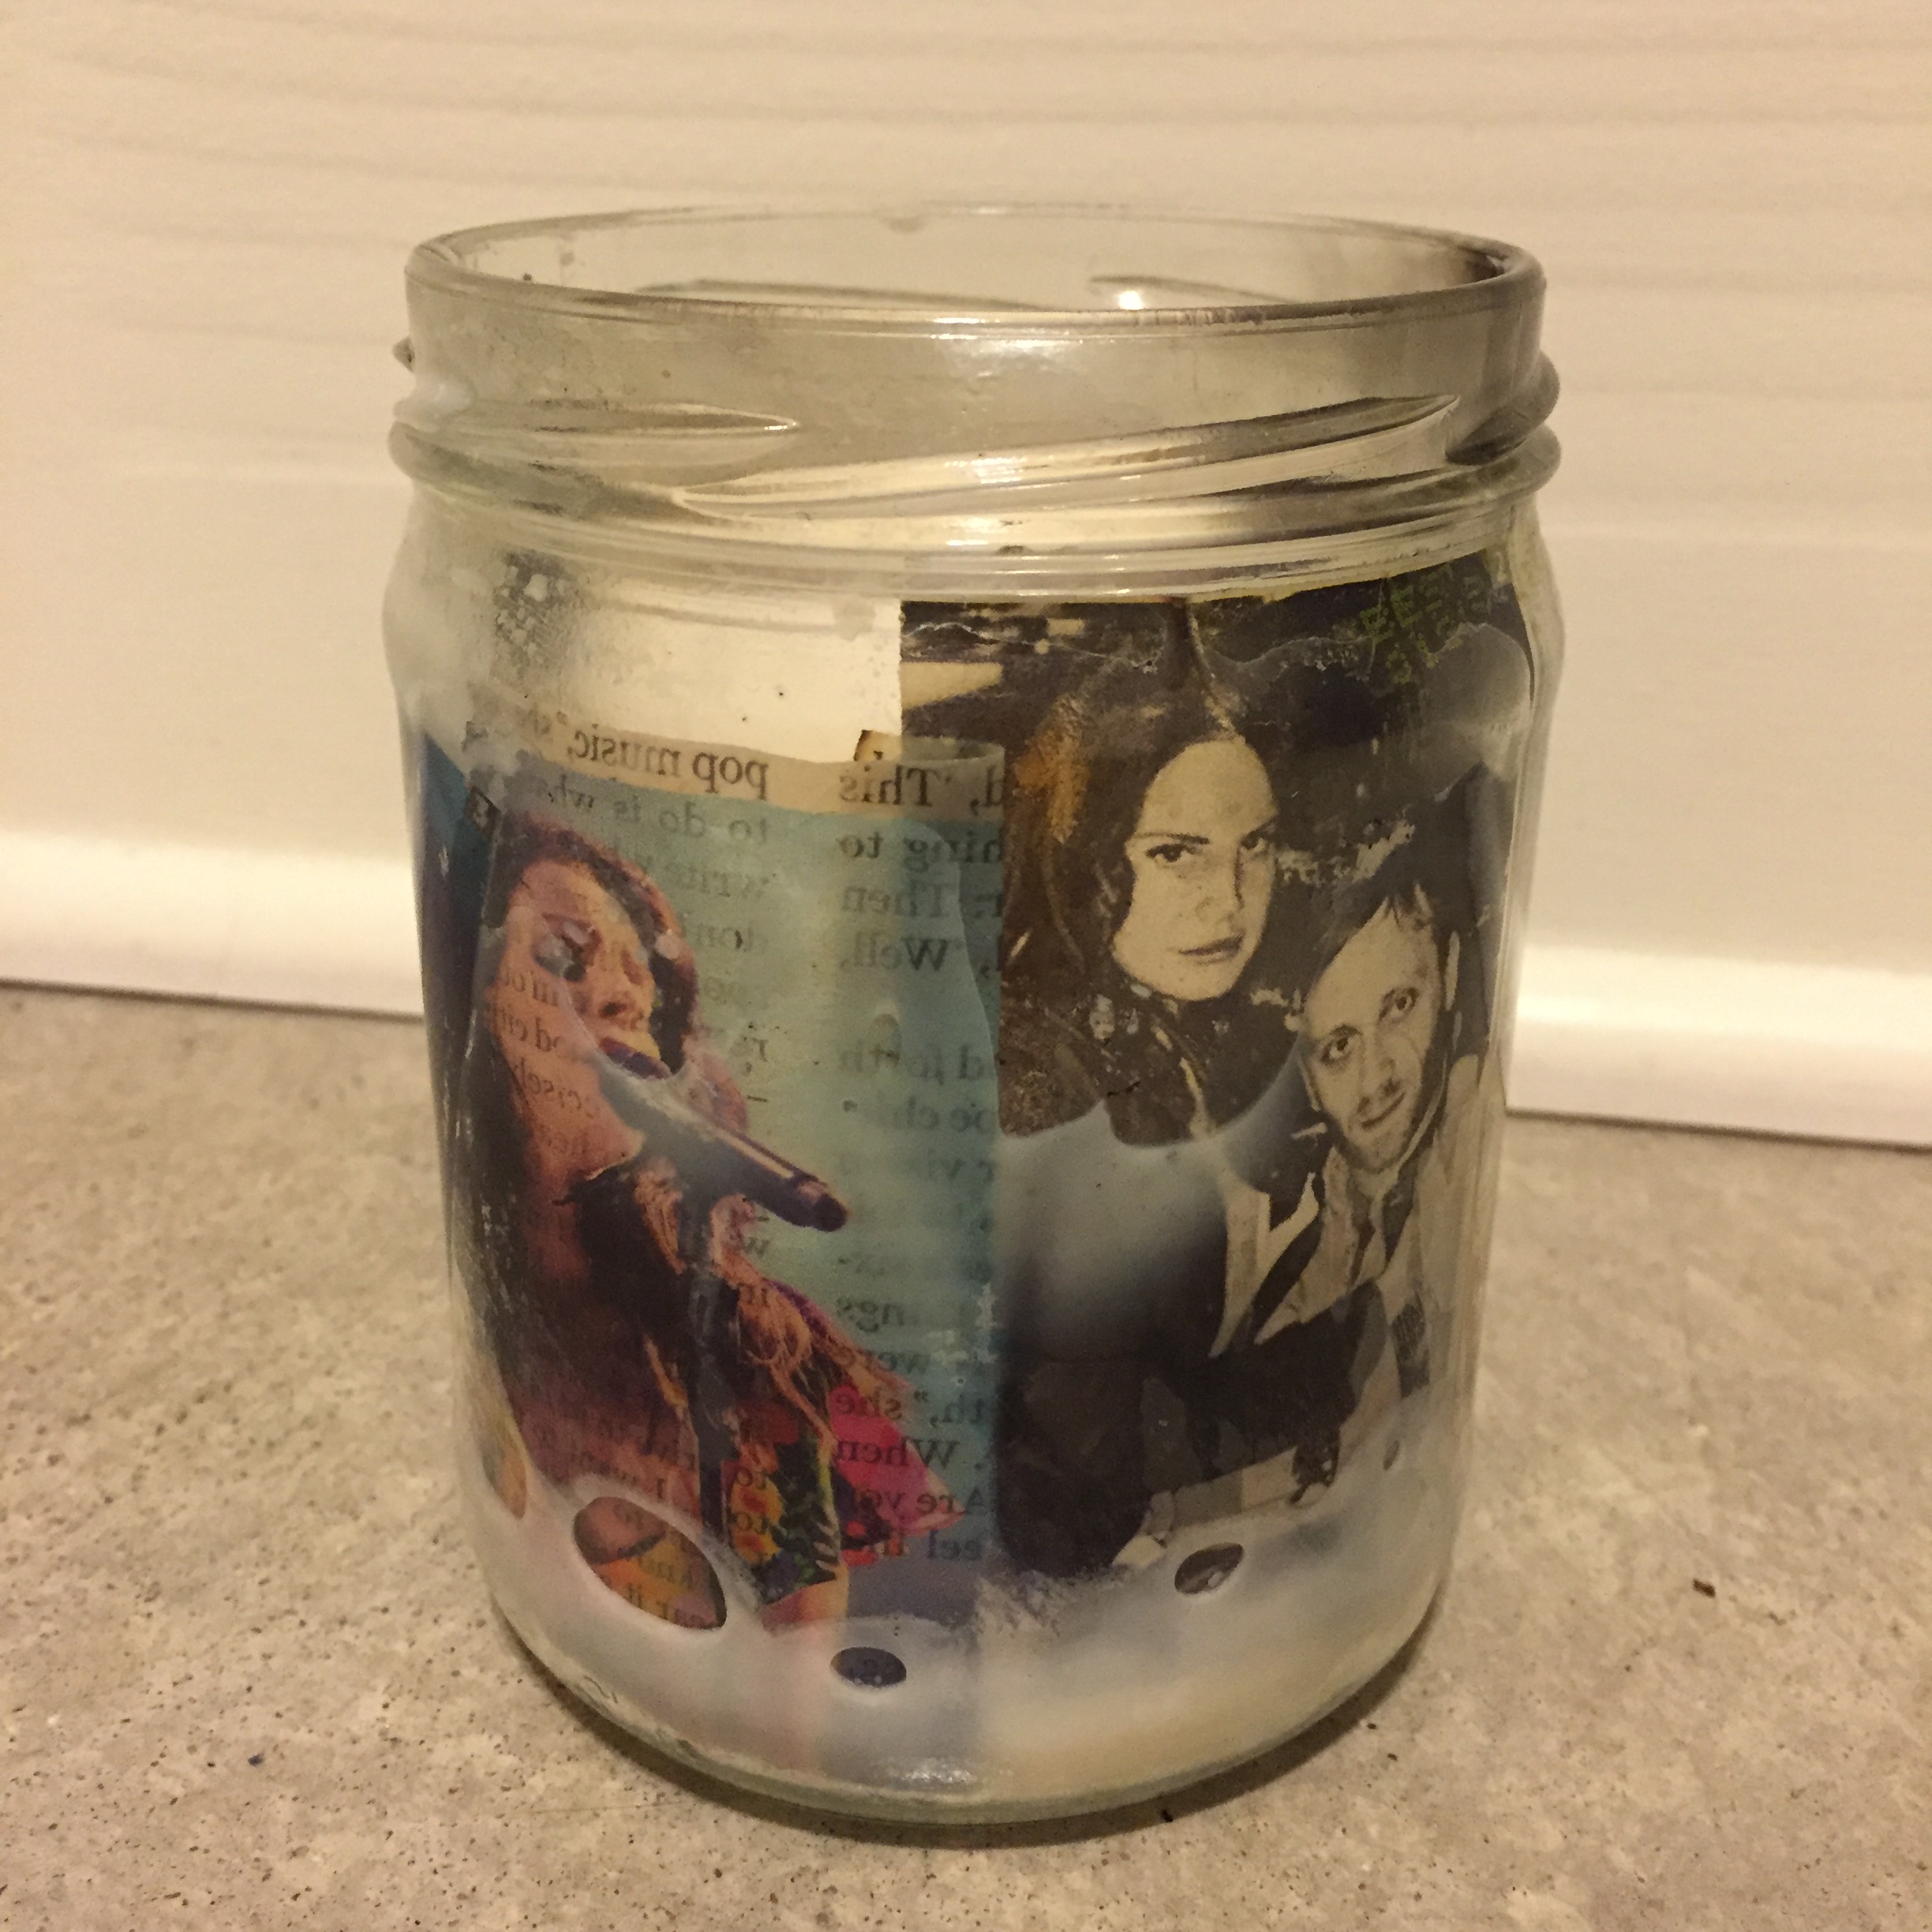
Poland Candle…Completed!
As your candle burns, the wax melts and reveals the final details of your souvenirs. It’s a slow and lovely reminder of the trip you took and the memories you made.
Hope you enjoyed this blog post…if you make any souvenir candles, show me!! My instagram is @beatbrokebackpacking, I post pictures of my travels and my blog posts. If you have suggestions for more crafts, let me know in the comments! Thanks again for reading!