Want to go backpacking in South America? Money is the primary obstacle for most travelers, so I wanted to offer some tips on budgeting for Chile and how to know that you’ve saved enough for a trip down to South America.
When I first planned my budget, I told myself that I wouldn’t spend more than USD50 each day in Chile and Argentina. When I told other travelers that, I was met with some eyebrow raises. Traveling through Chile was a lot more expensive than I thought.
(Luckily, I had recently taken on a few consistent freelance clients and was able to cover the extra expenses. You can read more about how I save for travel here.)
Use this guide to plan out your budget for Chile. Keep in mind that I traveled to Chile in February 2019, so things might change slightly depending on the season. February’s a pretty popular time to head down South, so you might find yourself saving more when it comes to accommodation and excursions.
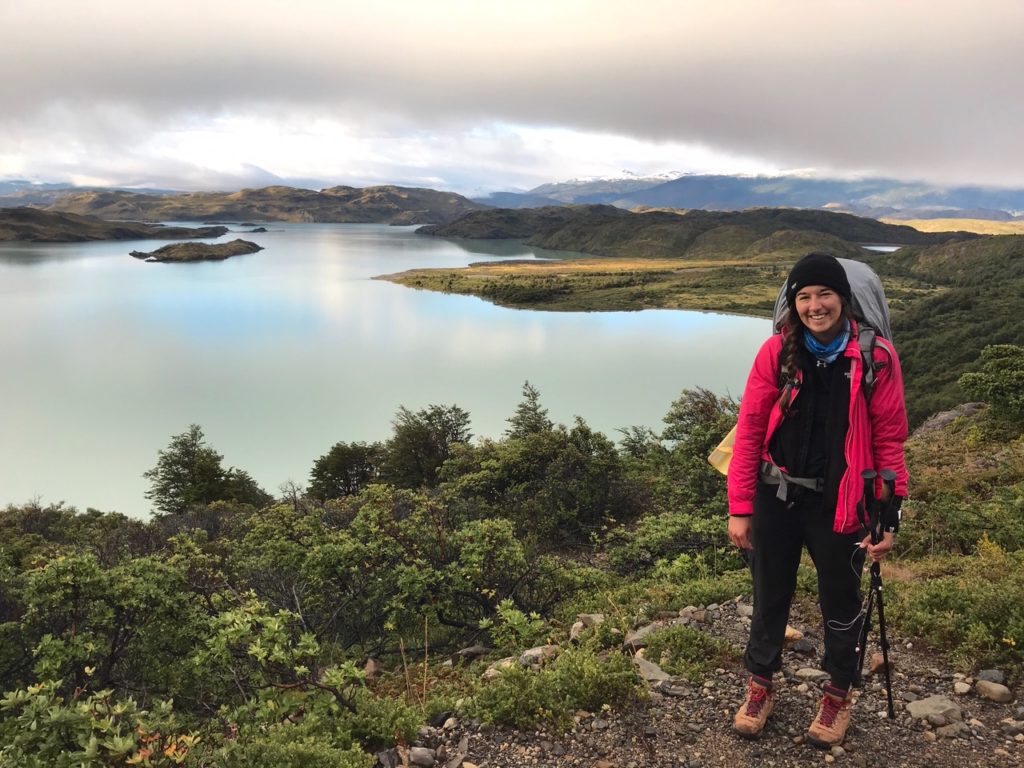
For precisely this reason…look at that view!
How Much Will You Spend Per Day in Chile?
A goal of USD50 per day was tight. Excluding expenses before my month in Chile (aka booking my spots at TDP,) I spent about USD70 per day in Chile. This included going out to eat for most meals, staying in decent (but not boutique) hostels, and enjoying a fair amount of tours and activities.
How I Tracked My Chile Backpacking Budget
I planned out this blog post before I even went to Chile, so I downloaded the WalletApp to track my expenses. After every purchase, I manually entered how much I spent and what I spent it on. The WalletApp has the option of converting any currency, so I didn’t have to worry about conversions.
The app also allowed me to see how much I was spending each day and month with statistics. How much was I spending on food vs. transportation? How much of my budget went to alcohol? Stuff like that.
The final numbers aren’t the most accurate – who wants to be standing in the club tracking how much they’re spending on pisco sours? Plus, Chile is a cash-heavy culture. So give yourself some wiggle room if you want to use this post to plan your own trip.
Chilean to American Currency Conversion
When you get to Chile, you’ll need to convert your money to Chilean pesos (CLP.) Chile is one of those countries where you have the nice facade of rolling in dough – 1 USD is equivalent to approximately 650 Chilean pesos.
When I was spending on the spot, I would just multiply the price of food/souvenirs by two and then take off two zeros. For example, A CLP7000 reusable water bottle was about USD14. In reality, it was USD10, so my quick calculations made everything seem more expensive than it actually was.
(And yes, I did eventually cover my reusable water bottle in stickers. I’m oh-so-American.)
How Much Is Accommodation in Chile?
If you want to stay in hostels, expect to pay between USD14-20 each night. Chile is by far the most expensive country in South America, so save your pennies here. When I looked for hostels, I typically looked for free wifi, a great location, and good ratings. I didn’t always choose the least expensive, but I saved my boutique hostel living for Buenos Aires.
The most expensive hostel I paid for was in Punta Arenas (USD21 per night.) The cheapest was in Valparaiso (USD14,) but it was my favorite hostel in Chile.
Planning a trip to Torres Del Paine? Get my recommendations on where to stay in Puerto Natales.
How Much Are Food and Drinks in Chile?
Here’s a secret. I can cook. But if I’m in one spot for a “shorter” period of time, I go out to eat for pretty much every meal. Sue me. The most cooking I did in Chile was in Torres Del Paine – because I was camping.
Food in Chile was almost up to American prices. Expect to pay CLP3000 (USD4.40) for a sandwich at a food truck. A single empanada, which was surprisingly filling, was CLP1800 (USD2.50.) (Empanadas in Chile are way larger than empanadas anywhere else.) Along the bike trail in Vicuña, I spent CLP5000 on a cocktail.
Food alone won’t eat up your entire budget, but you should consider how much you are going to hit the clubs or sample empanadas on your trip.
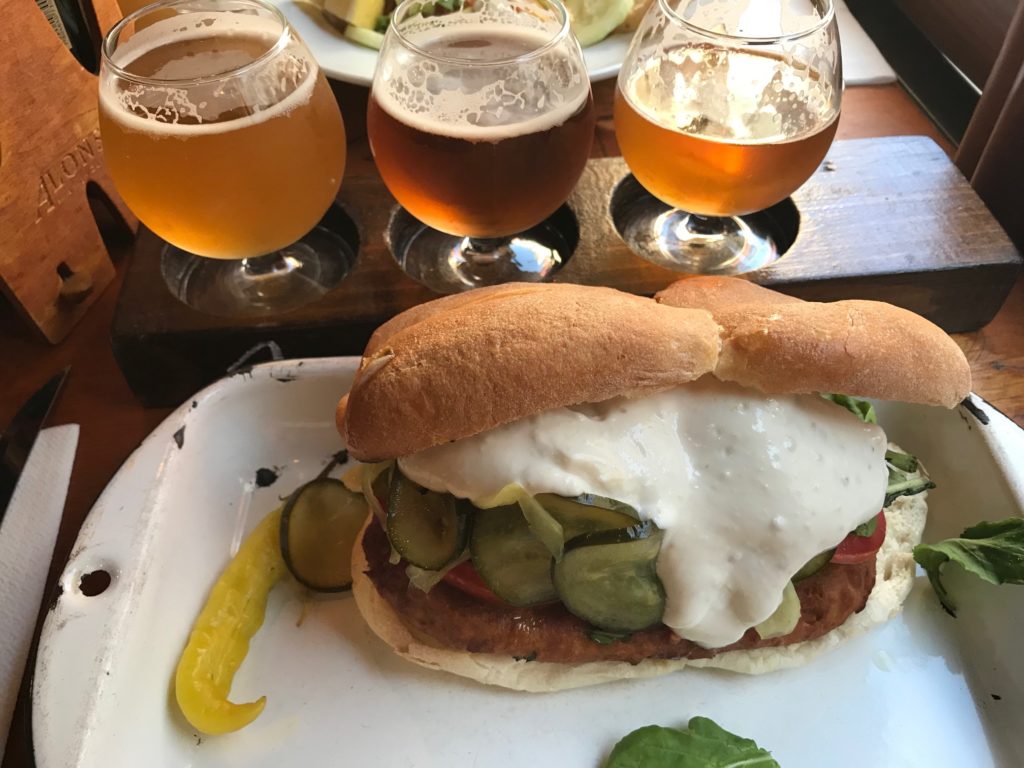
Juan Ramon 277 in Santiago. Very delicious, quite pricy. About 12000 CLP for a dang good veggie sandwich and a beer flight.
How Much Are Buses and Planes In Chile?
Transportation ate up a quarter of my budget. Make sure you account for buses and planes across South America – they aren’t always cheap.
My first big purchase was a flight from Santiago to Calama. This is how most travelers get up to San Pedro de Atacama. Unfortunately, I tried to go during the worst flooding the desert had ever experienced. (You read that right.) The flight was CLP86000, and I’m still waiting for my insurance to get back to me with a refund on that one.
Instead, I decided to take a bus from Valparaiso to Vicuña. With a stop in La Serena, the two buses to the Elqui Valley region were CLP22800. Mind you, this was over eight hours of sitting on a bus. My bus trips in Argentina were a lot longer and a lot more expensive. (But more on that in the post about budgeting in Argentina.)
My flight from Santiago to Punta Arenas was USD162, which brings me to the highlight (and the biggest expense) of my Chile trip – Torres Del Paine.

I booked a day trip (downhill biking) from Pisco Elqui to Vicuña. It was 15000CLP, totally worth it, and a great Valentine’s Day gift to myself.
How to Budget for The O Trek at Torres Del Paine
I decided to end my month in Chile with an 8-day trek, known as the O trek, at Torres Del Paine National Park. This was a highlight of my trip (and took a hunk of cash out of my budget,) but I would say that you could easily spend less or spend a whole lot more.
Let’s break this down. My goal was to be frugal, but not so frugal that I would be miserable on my first multi-day hike. (Frugal, but with a healthy amount of treating myself, is pretty much how I approach all traveling.)
Before you do the O trek, you’ll need to book campsites. I spent USD172 before the trip (solely on bookings, not including gear.) That included:
- Two USD20 meals provided at the campsites (totally optional, so you can save here)
- Tent camping for seven nights
- Park admission fees (it costs USD30 just to get into the park.)
Spending didn’t stop once I reserved my spots. I spent USD196 on transportation from Santiago to Torres Del Paine, which included:
- A flight to Punta Arenas (USD162)
- A bus from Punta Arenas to Puerto Natales (USD12)
- The bus from Puerto Natales to Torres del Paine and back (USD22)
There isn’t a whole lot of wiggle room here unless you find a cheaper flight.
Finally, I let myself spend quite a bit when I was physically on the trek…USD188, that is. Those moments of craving a beer or splurging on snacks really do add up.
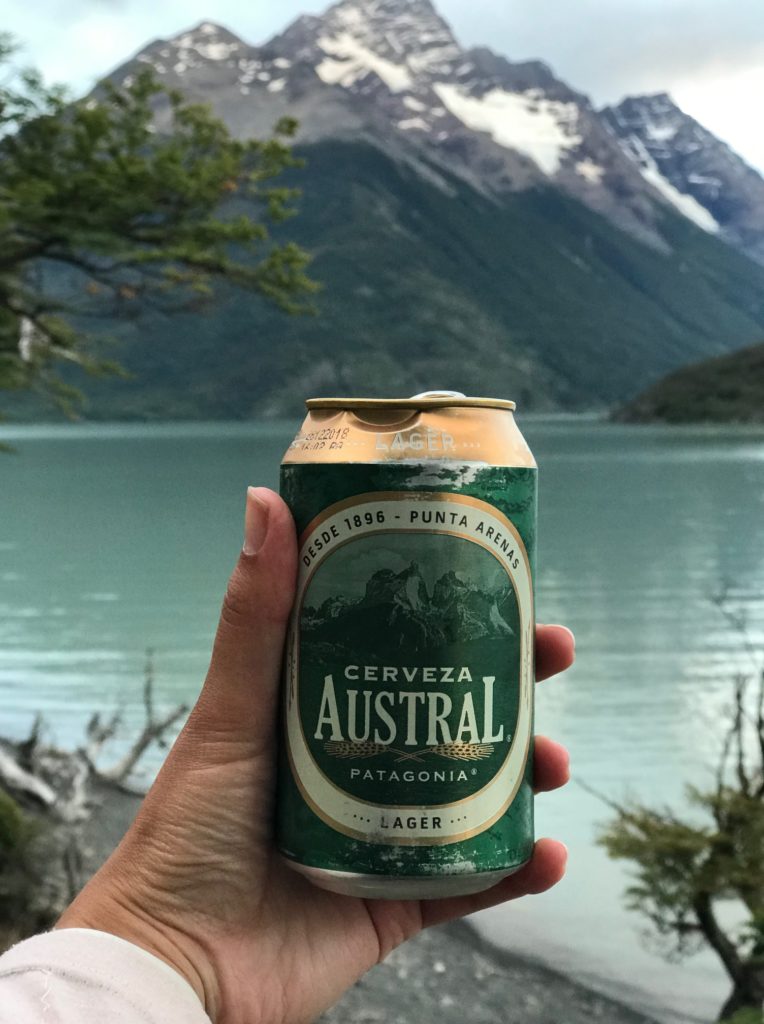
Sick view, though.
I also bought additional gear and food before I hit the trail, which I included in this big number.
My tent broke at the Paine Grande campsite (the wind is no joke,) and renting an emergency tent for two nights while I fixed it added up to USD44. So bring duct tape and plan accordingly.
Torres del Paine, San Pedro de Atacama, or other highlights of Chile will make your wallet a little heavier. But I wouldn’t take back the experience of my first multi-day hike for anything. If you’re really squeezing your budget, I would recommend looking up day hikes around Torres Del Paine.
When I briefly looked for day tours on Viator, I didn’t feel so bad about my overall spending for eight days. If you want to see the Towers at Torres Del Paine, expect to shell out around USD144 for one day of hiking. There are cheaper tours available, but you might not be able to see the towers (or get that iconic Instagram photo.)
If you’re choosing to do a longer trek at TDP, don’t expect to hit the trail and leave your money alone for a few days. TDP is pretty cozy, and who doesn’t want a full can of Pringles after 11 hours of hiking?
Quick Tips For Saving Money in Chile
Watch Out for ATM Fees
I didn’t include ATM withdrawal fees in my budget. They’re pretty gnarly in South America – up to USD10 for a single withdrawal. I’m not kidding. Plan out your cash budget ahead of time and ask the staff at the hostel where to find a cheap ATM.
Get a Card With No International Fees
When I backpacked around Europe, I did it on a debit card – and got charged 1% every time I made a purchase. But now that I’m a legitimate adult, I use two credit cards with no fees on travel. They also offer sweet deals on hotels and flights.
- American Express Hilton Honors Card (yes, this is a referral link)
- Chase Sapphire Preferred
With the Hilton Honors card, you get 60,000 points just from spending $1,000 in three months. You get 50,000 points from spending $4,000 in three months with the Chase Sapphire Card. Both are great options and don’t come with any fees for spending money out of the country.
“How Is the Kitchen?”
I don’t love to cook for myself. But if I did, I would have saved a whole bunch of money. You’re going to drop a lot of coin on excursions (going to the Atacama Desert, hiking at Torres Del Paine, etc.) The best Chilean food I had were cheap empanadas and sandwiches. I wouldn’t have felt that guilty if I spent more time cooking for myself in the hostels and using my cash to save up for big steaks in Argentina. If you’re traveling alone, I find that a “dinner-for-beer” exchange tends to work well with anyone who’s bumming around the hostel. Plus, free friends.
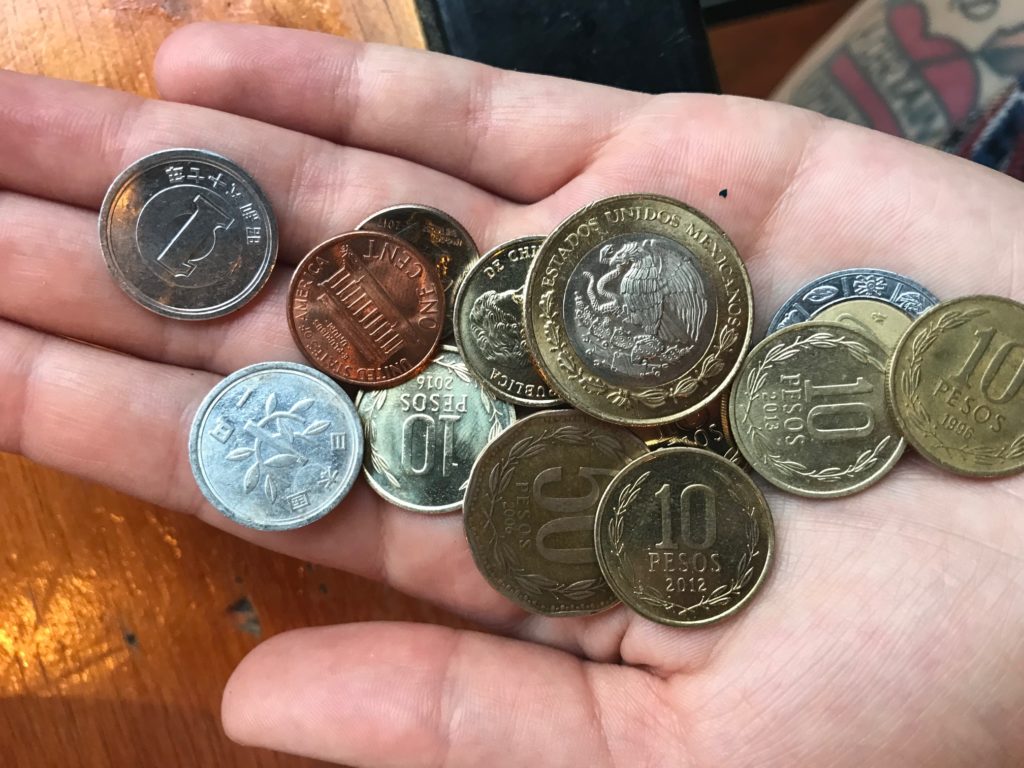
Bonus tip: do something with your coins so you don’t end up with five different currencies in your bum bag.
What Are Your Tips?
I didn’t spend a whole lot in Chile, so let me know what tips you have and what your thoughts are for budgeting in Chile!