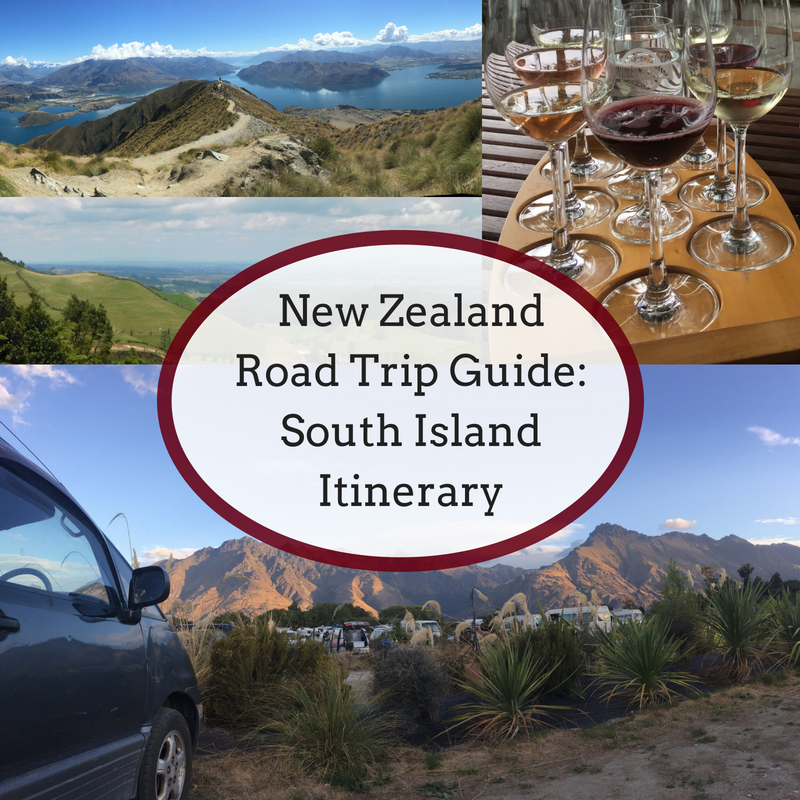
Hello hello!
So New Zealand. During our six weeks throughout New Zealand, Becky and I squeezed in three weeks of the South Island. Becky preferred the North and I preferred the South Island, which is a good sign of all-around goodness. The hikes were breathtaking, the views were unbelievable, and Fergberger. If you’re heading to New Zealand, I would definitely take some time to head south.
Below is a list of our route, what we did, and where we stayed in the South Island. Enjoy!
Want to start at the beginning? Read my New Zealand North Island Itinerary.
Day 9-10: Abel Tasman National Park
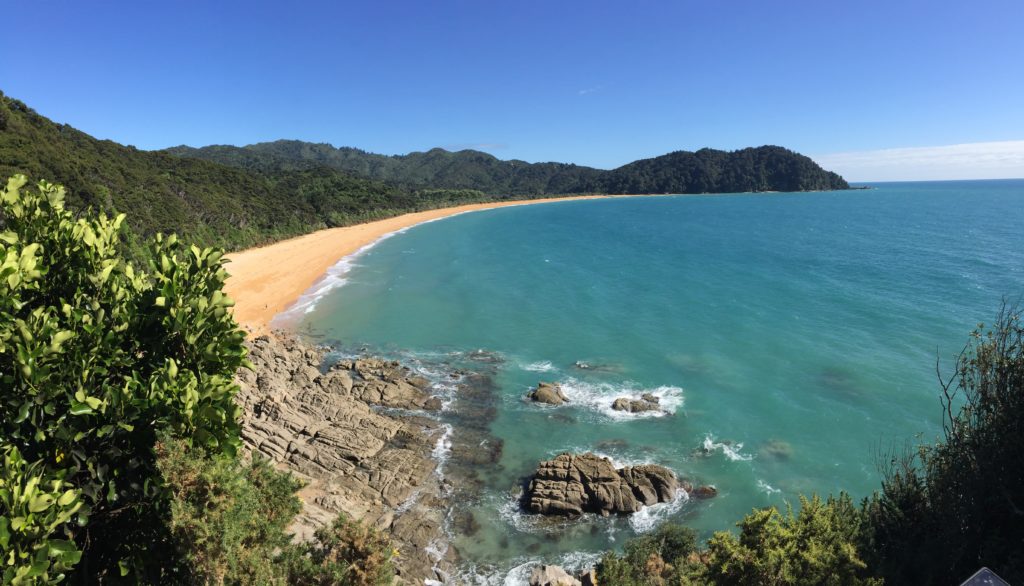
One of my favorite views!
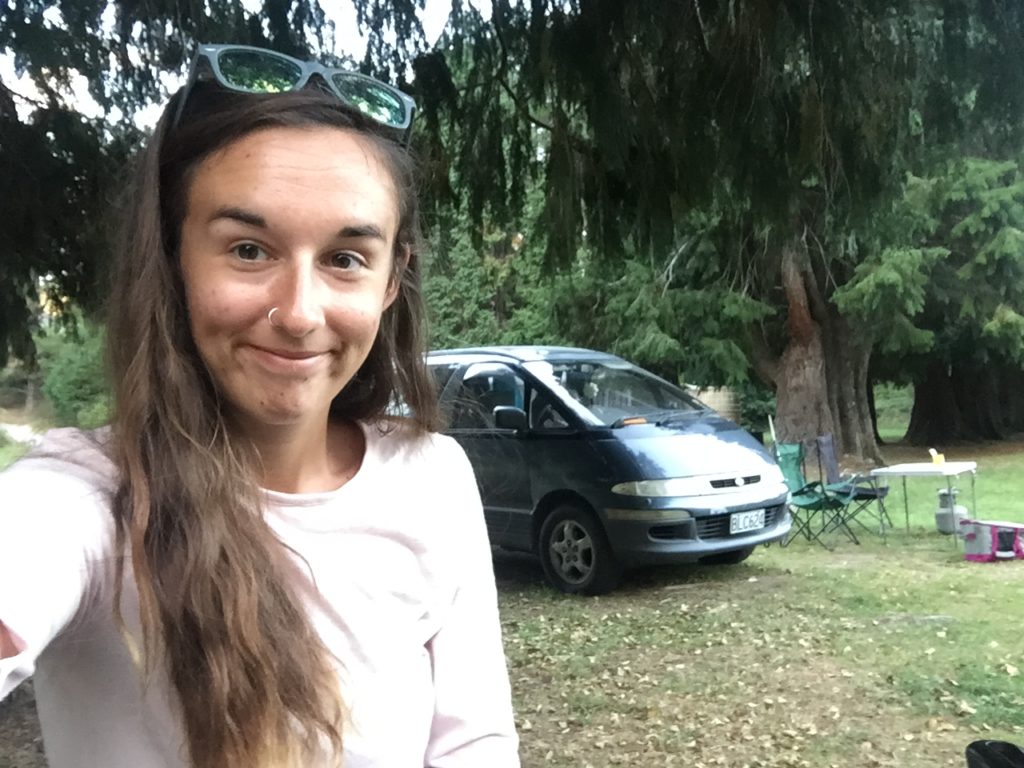
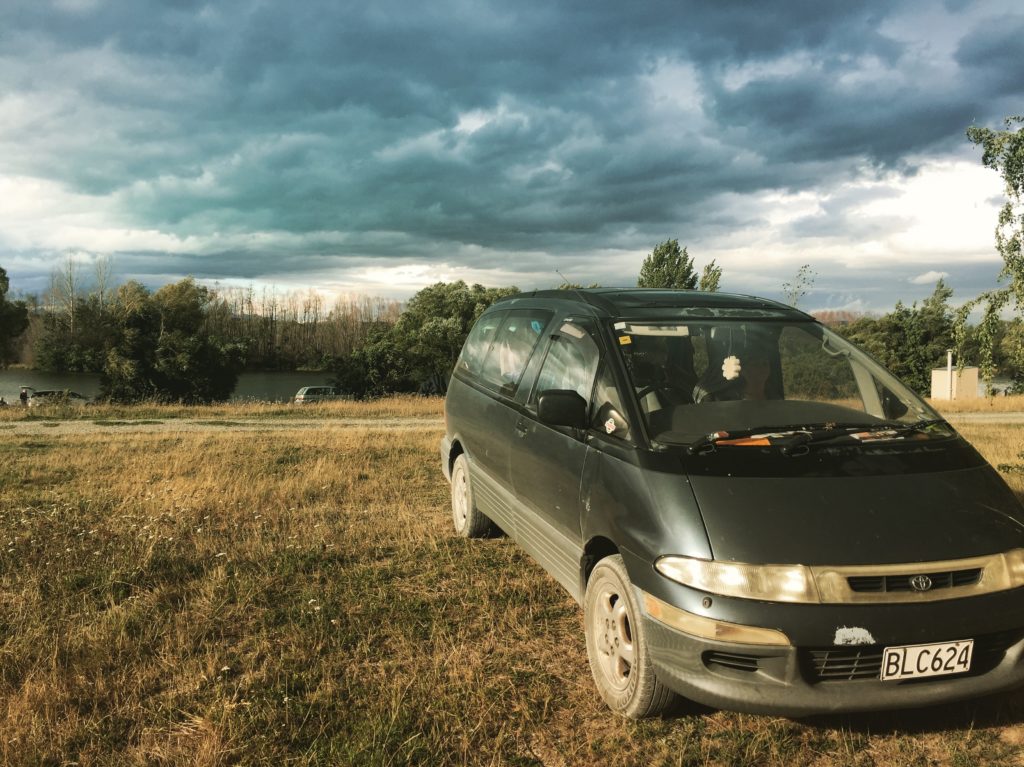
What We Did: After hopping off the ferry at around six or seven in the morning, we needed a nap. Along route 6 we were able to find a few free campsites (including the Collins Memorial Reserve, which is literally just a car park, but still operates as a free campsite.)
Our goal was to head to Abel Tasman National Park. Two days of coast walks, proper camping, and a breath of fresh air after staying in the city for a few days was exactly what we needed. Abel Tasman had a handful of easy walks that we lazily picked out. One of the Great Walks is through Abel Tasman, but…we did not do that one.
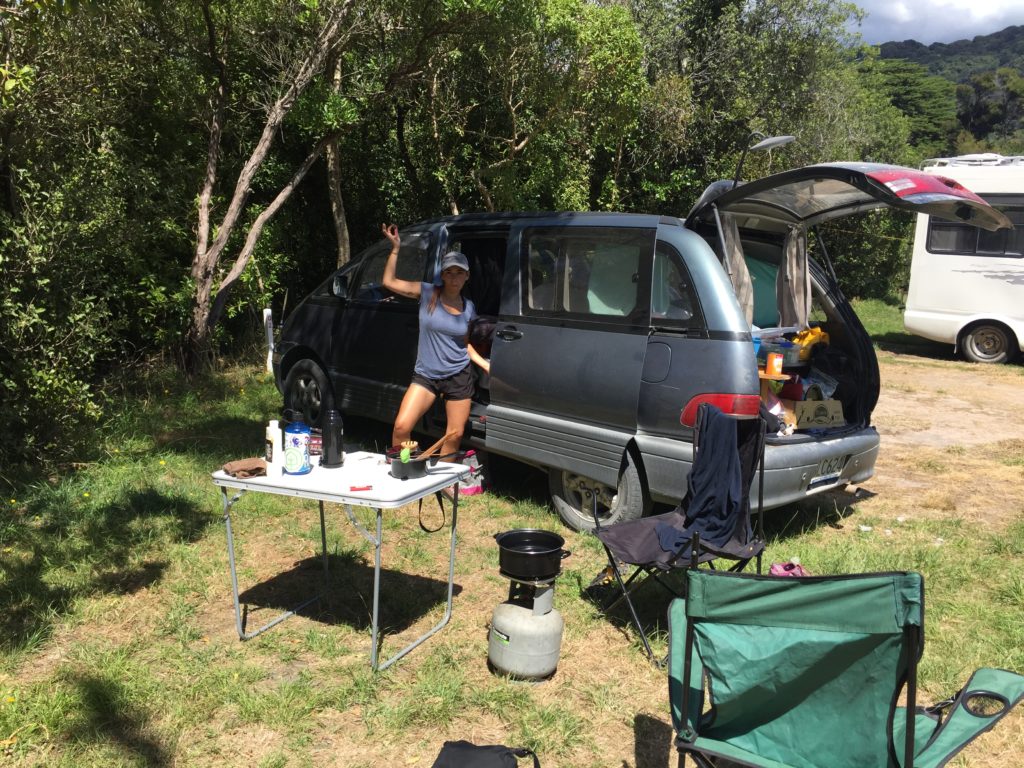
Our lil campsite!
Where To Stay in Abel Tasman National Park: The park itself has camping for $15 per person, per night. Worth it. We set up camp in a cute little cul-de-sac of campsites and enjoyed a decent shower and a minute-long walk from the beach. The store at the national park has beans and chocolate and little bits and bobs so you don’t have to worry about leaving the park for a day or two.
Day 11: Takaka
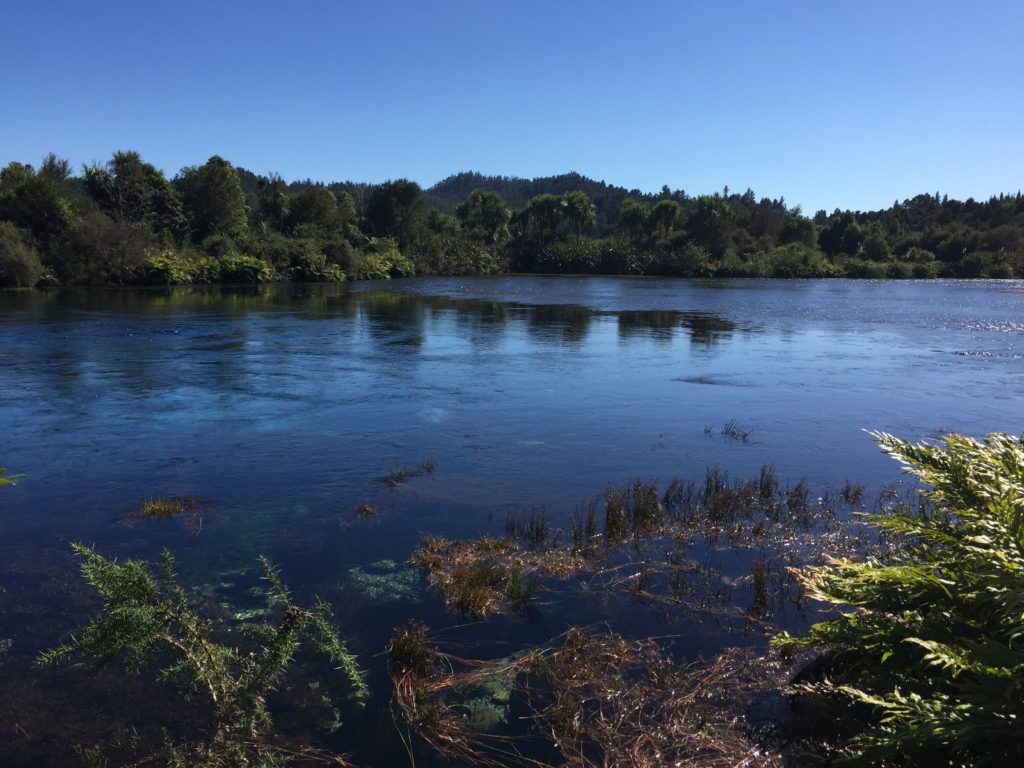
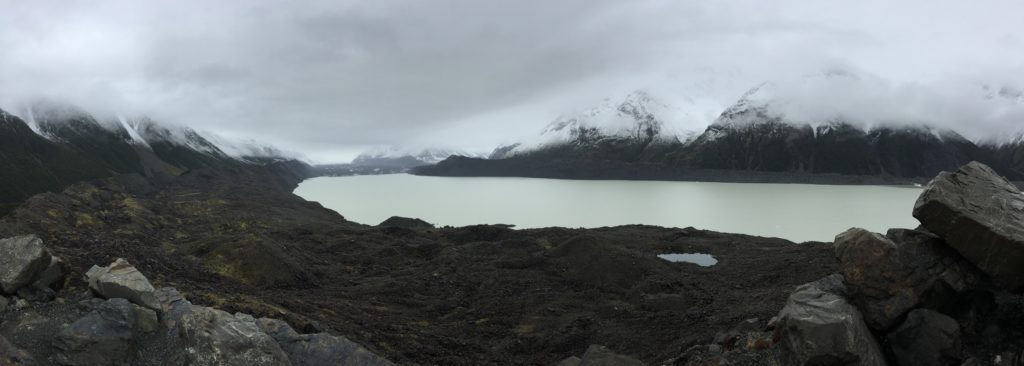
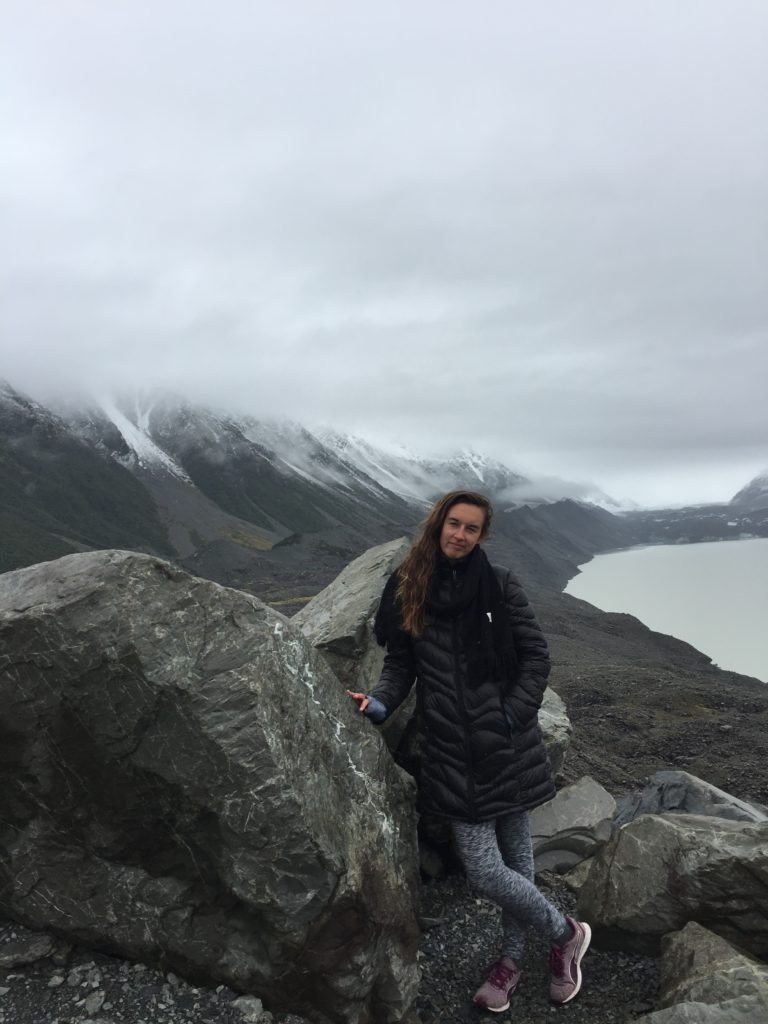
All you’re going to get is photos from the Te Waikoropupu Springs.
What We Did: After Abel Tasman, it was time to go south. We visited Takaka, one of the top small towns to visit on your trip through New Zealand. Takaka is the Pai of New Zealand, but a bit more expensive (surprise surprise.) We also went to Te Waikoropupu Springs, a free 30-minute walk with one of the most beautiful bodies of water I’ve ever seen. The area is sacred in Māori culture, so no swimming, but the walk is so refreshing and lovely. The Huka Falls of the South.
Owen River! This was a great campsite.
Where We Stayed Around Takaka: There are a handful of camping spots around Pupu Springs that seemed young and hip. As not young or hip souls (that’s a lie,) we went farther south to Owen River Recreation Reserve. The campsite is $10/person, with hot showers, a cooker, and a playground. The tavern nearby serves food and beer, but doesn’t have wifi (the woman did let us use the outlets to charge our computers though.) The stars here are absolutely stunning.
Day 12: Drive Down Route 6
What We Did: This was a stressful day, I remember. The drive down Route 6 here has a lot of rusty-looking towns and not a lot of service. I had to send in some assignments for a copywriting job and things weren’t happening. We passed straight through Greymouth with no real luck. Even the Macca’s didn’t have wifi, so the stop there was a bit of a waste. Honestly, we just wanted to get down to Arthur’s Pass.

There wasn’t too many pretty pictures taken on the drive down, so here’s a preview of Arthur’s Pass
Where To Stay on The Route to Arthur’s Pass: The Lake Pearson Campsite is actually a 20-minute drive past Arthur’s Pass. It’s free with drop toilets, and the views are absolutely stunning.
Day 13-14: Arthur’s Pass
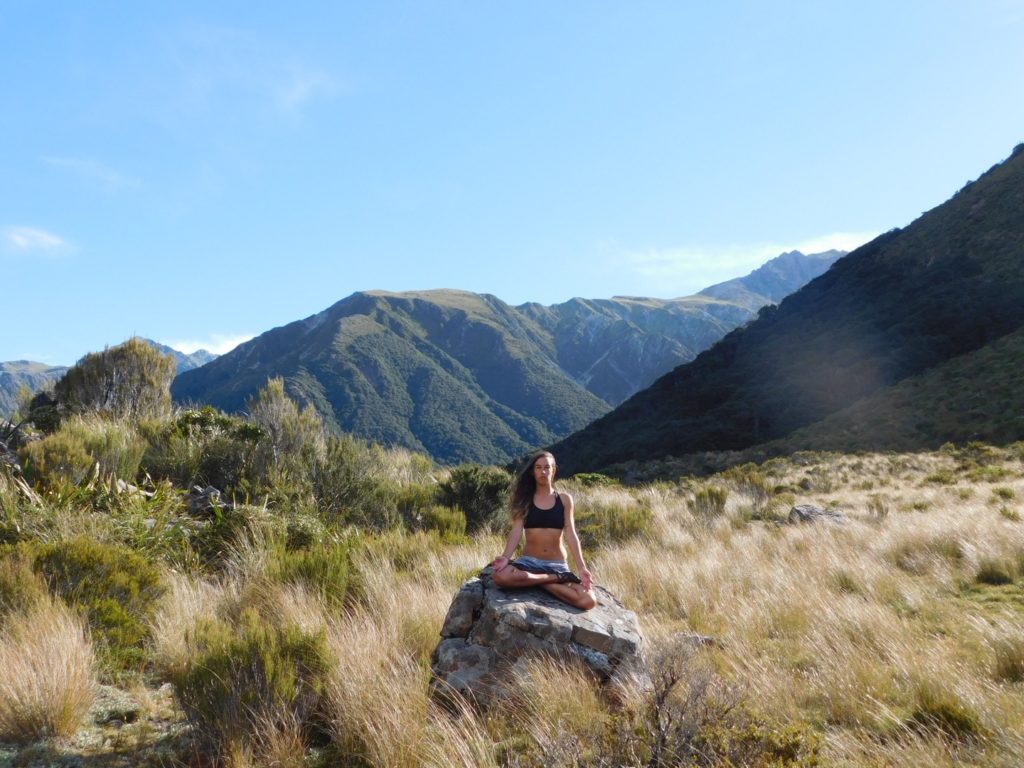
Time for a shameless yoga photo.
What We Did: Enjoyed ourselves, that’s what we did! Arthur’s Pass is a great park with a lot of different walks for people of all skill levels. The Devil’s Punchbowl is a quick few steps up to a gorgeous waterfall, and the Arthur’s Pass Nature Walk is an easy three-hour walk through the park to explore native plants and beautiful views. This was our first glimpse of snow in the summer. I definitely recommend a stop by the info center to figure out what hikes you want to do before you plan your day.
One of my favorite hikes and favorite photos!
Where To Stay in Arthur’s Pass: Greyneys Shelter is another option, and a bit closer than Lake Pearson. Still free, lots of trees for hammocks, but a vicious battle against sandflies. The Avalanche Creek Shelter Campsite is $8 per night, but has free tap water that you can use before entering the campsite. Fill up there before you head anywhere else.
Where to Get Wifi in Arthur’s Pass: There is a cafe and petrol station next to the info center. It was a bit of a decent wait for coffee, but the cafe had outlets so we weren’t complaining about having an excuse to sit around and charge.
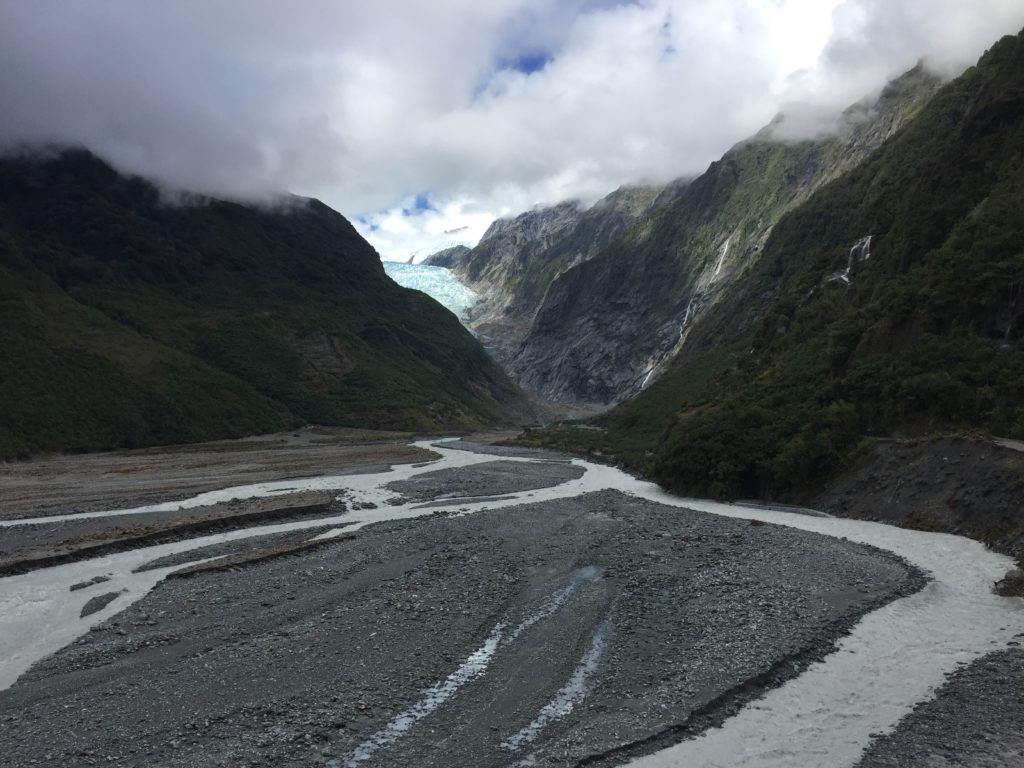
Day 15-16: Franz Josef Glacier Park
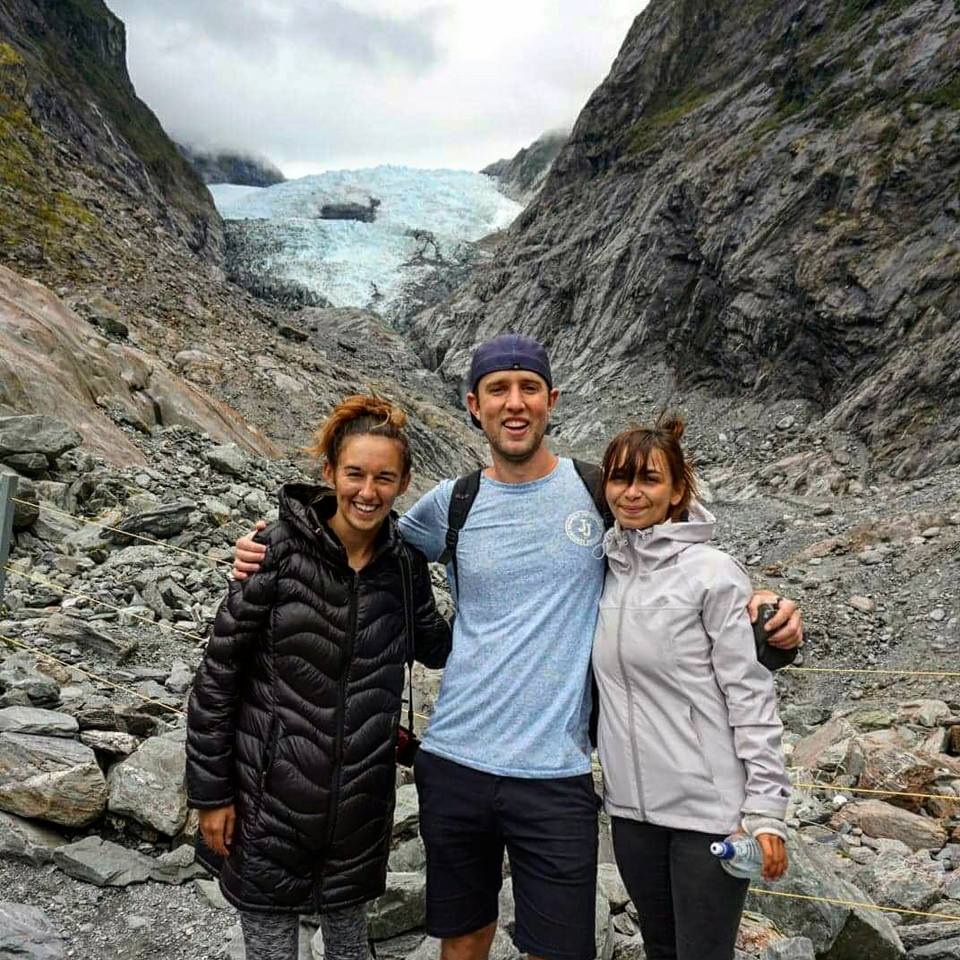
We made a lovely friend at our hostel!
What We Did: We drove down to the glacier park and spent a day doing free walks. Helicopter tours are recommended if you have that cash. (Beat broke backpacking.) We just grabbed a list of free walks from the hostel reception.
Where To Stay at Franz Josef: Yup, it was time for a hostel. We stayed at the Chateau Backpackers and paid $34/night for a 6-person ensuite room. We chose it because it had free parking and was available (booking hostels a day or two in advance is a tricky game in New Zealand.) The hostel had free breakfast, undesirable wifi, and a decent walk to bars that would have been more fun if we were a bit more wild. Overall, not terrible.
On the way out, we stayed at the Cameron Flats Campsite. The campsite was $8/person (honor system) and was located right on Route 6. You can grab tap water, use a flush toilet, and enjoy the community of the cooking shelter.
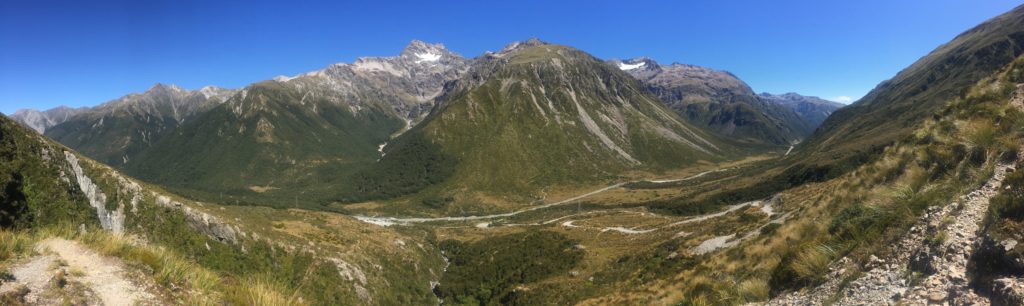
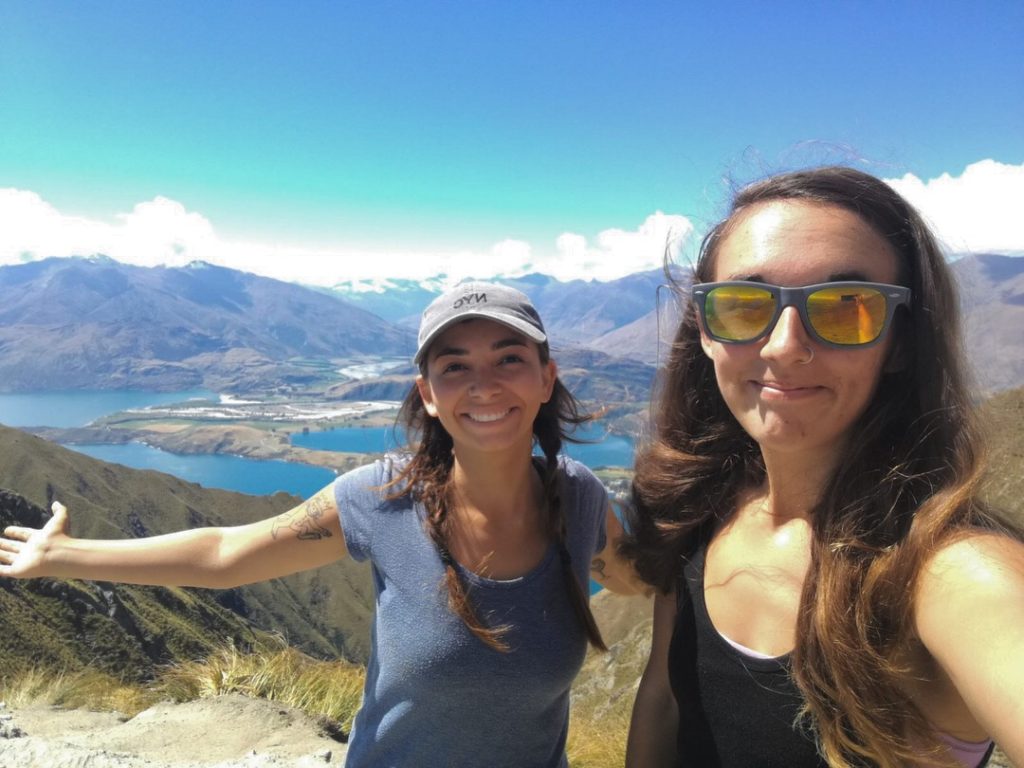
Day 17-18: Wanaka!
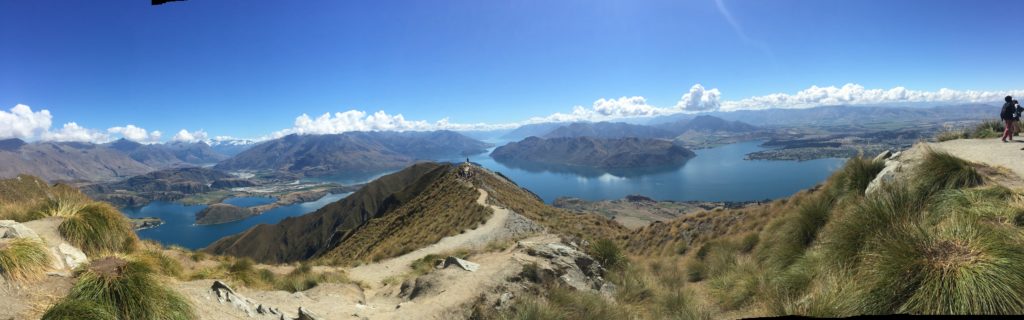
Roy’s Peak!
What We Did: Wanaka was definitely a highlight of the trip. We really enjoyed the Rob Roys Glacier Peak, which was an hour of gravel road away from Wanaka. The four-hour hike was super easy and had some of the most gorgeous views we had seen. We spent the rest of the first day chilling around the city and Lake Wanaka. The second day, we climbed Roy’s Peak. You want glutes? Climb Roy’s Peak. Stretch and pack a lot of water beforehand. The six hour hike ends with even more stunning views.
Where To Stay in Wanaka: The first night, we scrambled to find a campground and settled on Albert Town Camping Area. The campground was $10/person and had a weird alcohol ban that was not enforced. Shrug. The next night, we stayed at Glendhu Bay Motor Camp, which was a nice mix of amenities and a cheap price. We paid $13/person, enjoyed $1 showers, and splurged on $6 laundry. The motor camp had wifi, a full kitchen, and a quick walk to the lake. Cars, tiny houses, and RVs alike all stayed in the area.
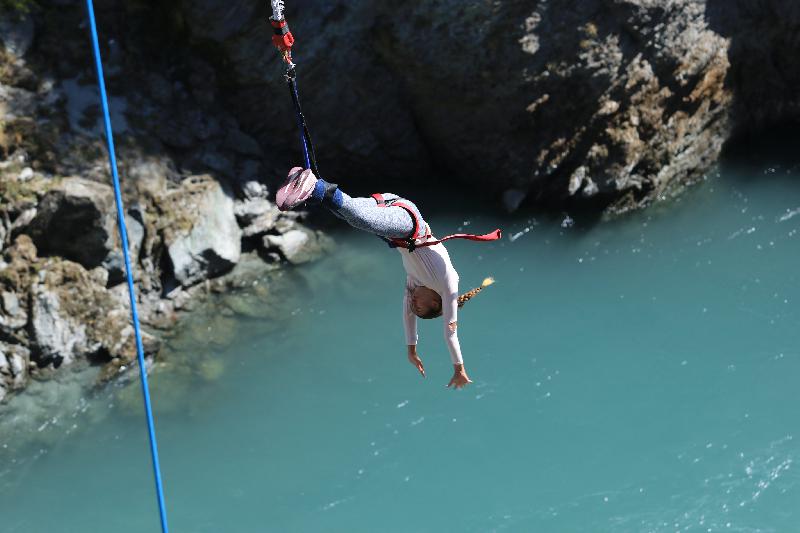
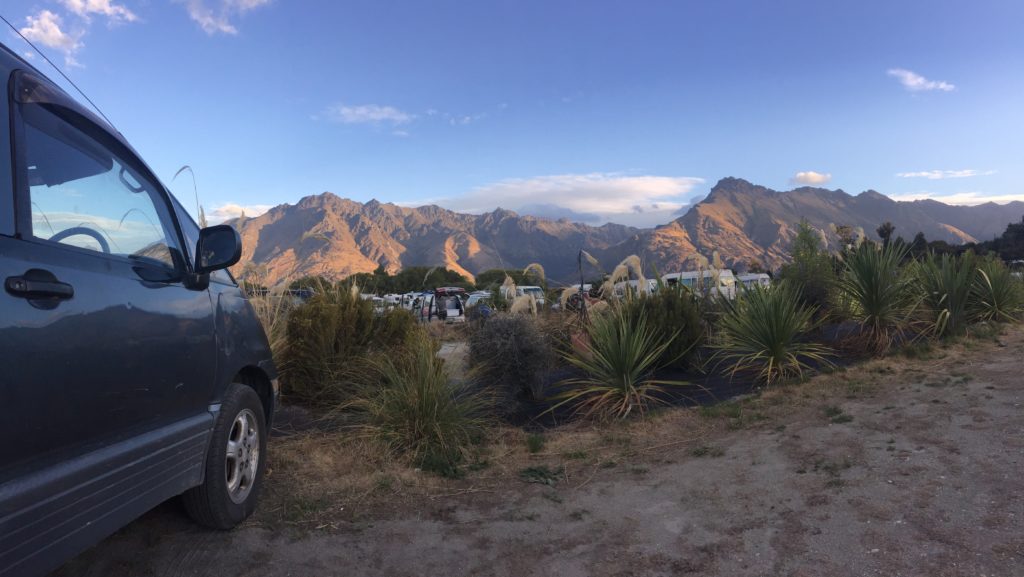
Day 19-20: Queenstown
Wheeeee!
What We Did: We used the beginning of the route to Queenstown for errands and car maintenance. Once we got there, we spent the afternoon hopping around enjoyed chocolate and coffee at a bakery called Patagonia for the free wifi. The highlight of our first evening in Queenstown was Fergberger. Two vegetarians budgeting for the world’s most famous burger place sounds odd, but their tempeh burger had me rolling on the ground. The burgers here are actually pretty cheap, considering the rest of Queenstown is super touristy and super pricy.

The next day, I bungy jumped! Whoo! The bungy jumping place had a nice cafe with free wifi and outlets, so we also just spent a bit of time in the morning recharging and relaxing before I faced my (second) biggest fear. We spent the afternoon hanging out with a Couchsurfer, eating pizza, and lounging around.
One of my favorite pictures from the entire trip!
Where To Stay in Queenstown: The Twelve Mile Delta campsite was absolutely beautiful! I would honestly recommend staying a whole day there; the campsite is connected to a lot of hikes where Lord of the Rings was filmed. Have exact change on hand before you go; it’s $13/person for untreated water and solar showers that we didn’t use.
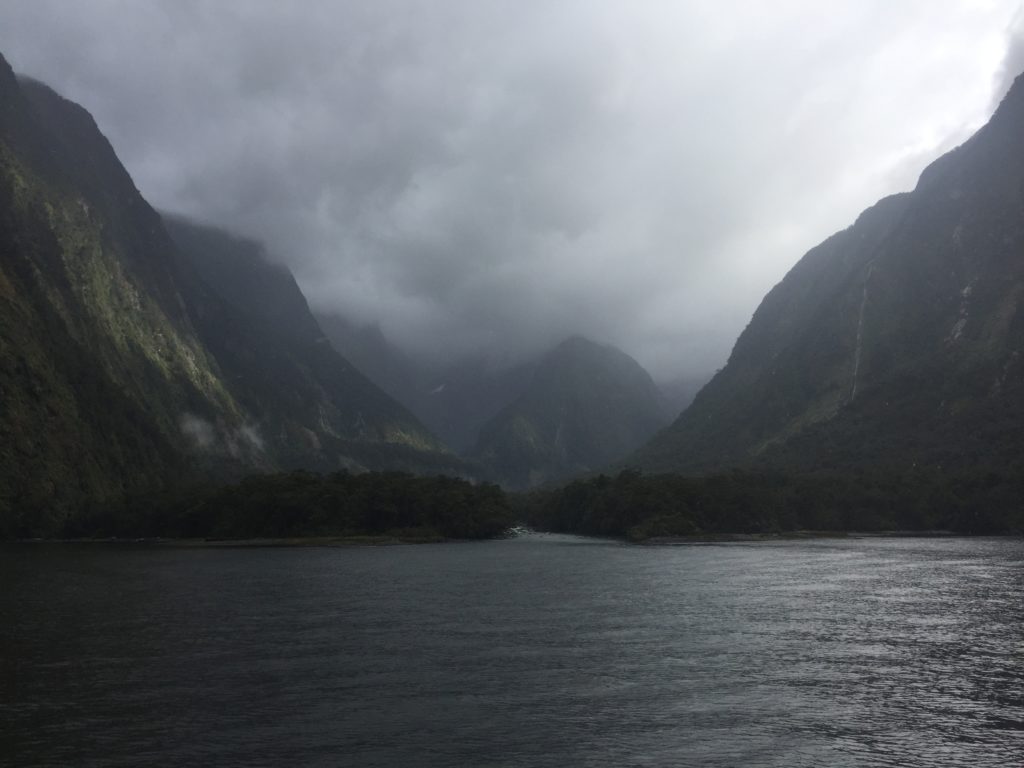
Day 21-22: Te Anau and Milford Sound
What We Did: Showered! Seriously, that was a highlight of the day. Just search “public restrooms” in Te Anau and you can get a shower for $8 (I believe.) On the way to Te Anau, we stopped at Mirror Lake and Lake Mistletoe. One of the best parts of driving through New Zealand was having the ability to stretch our legs with beautiful walks whenever we could find them. We looked around for cruises, took a nap in the car by the lake, and stocked up on beer and supplies (which you need to do before you head to the Fiordlands.)
We ended up choosing the $45 July Milford Sound tour (Beat broke backpacking, ya know,) but it was totally worth it! Two hours of enjoying the falls, penguins, seals, and a quick little dolphin sighting! Most tours are in the $100-200 range, but I honestly don’t think you’d get much more out of those tours.
(Grab some other budgeting tips on my budget post.)
Where to Stay Between Te Anau and Milford Sound: We enjoyed even more walks around the Cascade Creek Campsite! The campsite was $13/person and had a drop loo (non-flushing toilet.) It’s a nice spot outside of the Fiordlands.
Day 23: A Strange Day in Southern New Zealand
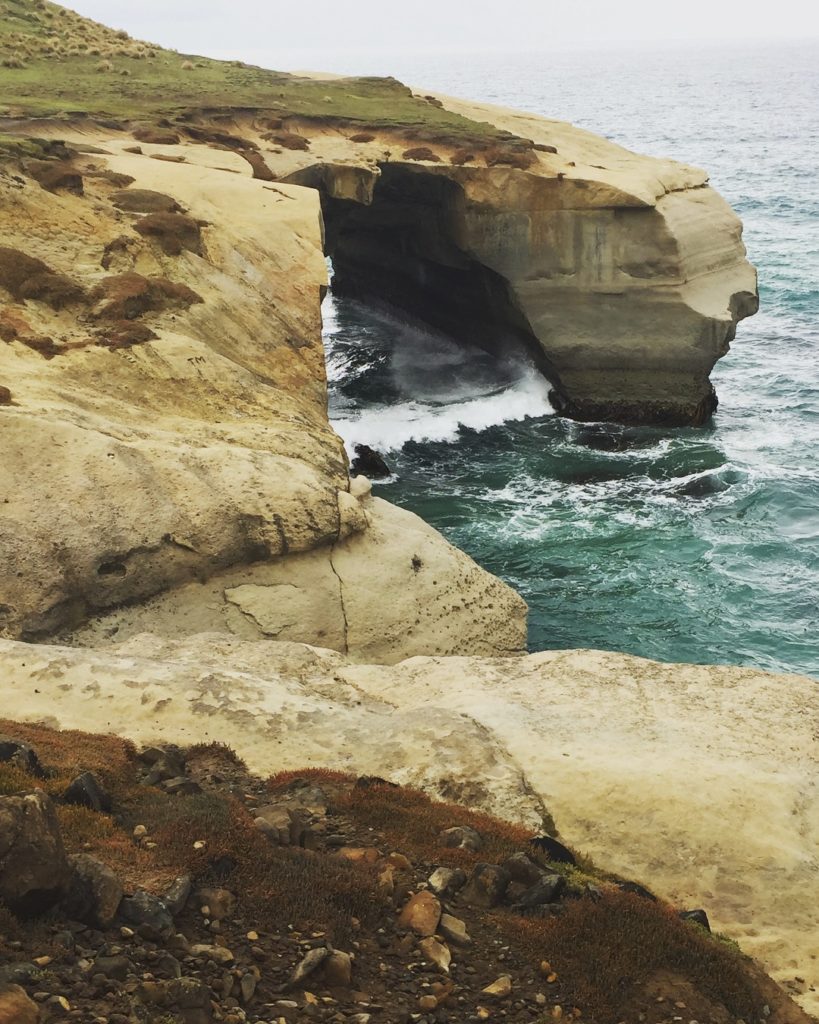
Tunnel Beach!
What We Did: Around this time, we decided to rush back up to Auckland for Auckland City Limits. We knew that we would be stressed selling the car, and just decided to gun it. So we rushed around to hit the rest of the South Island spots that we had left. On the way…we just saw some weird stuff. The Tunnel Beach in Dunedin was super cute, and we ran into a ton of op shops on the road. At a gas station, the clerk asked me, “Do ya like weird stuff?” And obviously, when some old man at a gas station in a foreign country asks you that, you’re going to say yes. He pointed us to Oamaru, which has a Victorian precinct with very weird vintage stores and art galleries. Oamaru also had a penguin colony. We saw no penguins, but got very close to some sea lions (which you’re not supposed to do, so don’t do that.)
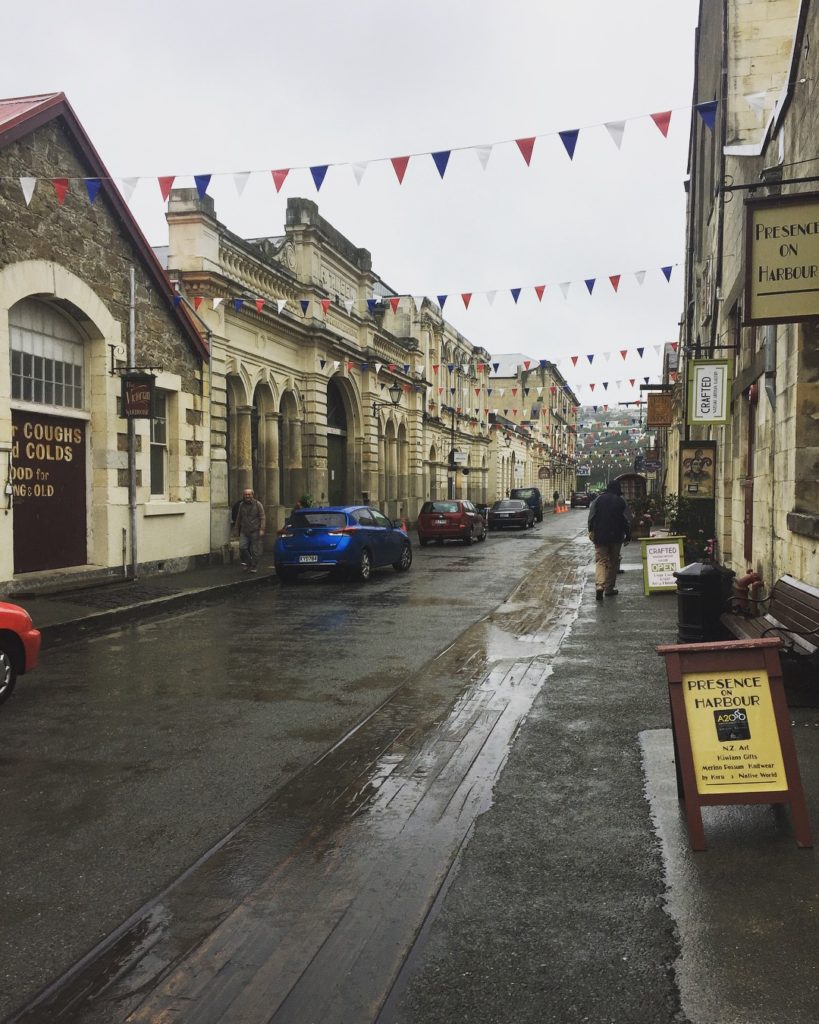
The Victorian Precinct
Where to Stay on the Route to Mt. Cook: I’m going to be honest, I’m not 100% sure where we stayed, but I believe it was the Ahuriri Bridge Campsite. Twizel has a lot of free places to stop and stay before you head into Mt. Cook.
Day 24: Hiding Away from the Cyclone
The calm before the storm…
What We Did: A whole lot of nothing, which is important every once and a while, you know? (Former) Cyclone Gita was on its way, and we didn’t want to chance anything. We scrambled for a place to stay and settled on the Countryside Hotel. It was $110 for both of us, but it was the only place available. We hunkered down, enjoyed wifi and pool, and I finally convinced Becky to watch Drag Race with me. Now she’s obsessed, so this was a big day.
Day 25: Mt. Cook + Tekapo
Cloudy Mt. Cook
What We Did: Even with post-cyclone fog and clouds hanging over Mt. Cook, the hikes around the area were absolutely beautiful. We just drove around the village finding hour-long hikes, including one at White Horse Campground (which would have been a great choice if the cyclone didn’t happen. It was $13/person and absolutely gorgeous.) In the evening, we went to the hot springs at Tekapo thanks to a friend we met on the journey. Around this area are Lake Tekapo and Lake Pukaki, which are some of the most stunning bodies of water I’ve ever seen (other than the other absolutely stunning bodies of water we saw in New Zealand.)
Fun fact: I have been carrying this coat around in my backpack for my entire trip. I didn’t need it in Asia (except for one morning in Da Lat) but I was very happy to have it in New Zealand.
Where To Stay at Mt. Cook: We crashed with a friend, but I would highly recommend White Horse.
Day 26-28: Christchurch!
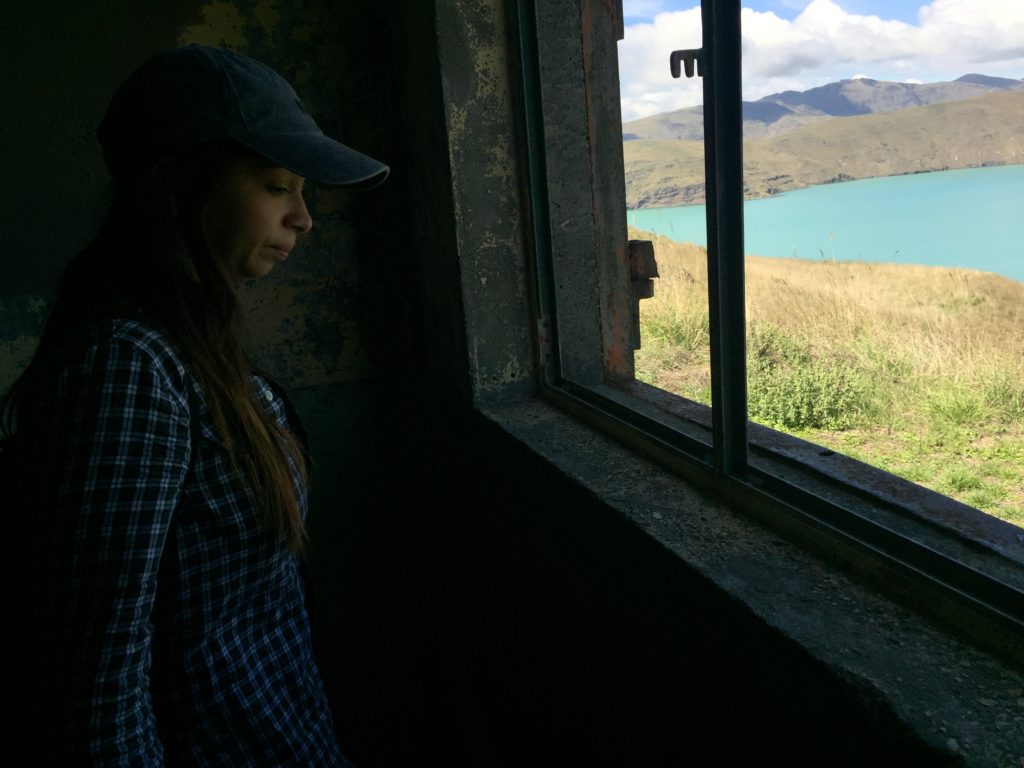
Serious Becky looking out the window in one of the abandoned army bunkers. Godley Heads Walk.
What We Did: Christchurch is cooler than a lot of people say. The art galleries were great and the Christchurch Museum had one of my favorite exhibits of all time (a selection of the best photos ever taken for National Geographic. Rad.) We grabbed some recommendations from an employee at H&M and did some walks around Rapaki Bay and Godley Head. Godley Head had some cool old army shelters, but terrible trail markings. We enjoyed absolutely stunning views of the water for four hours even though we planned to hike for one. Becky and I played a lot of chess in Christchurch, and I enjoyed a beetroot latte at C1 Espresso, which I highly recommend for coffee lovers.
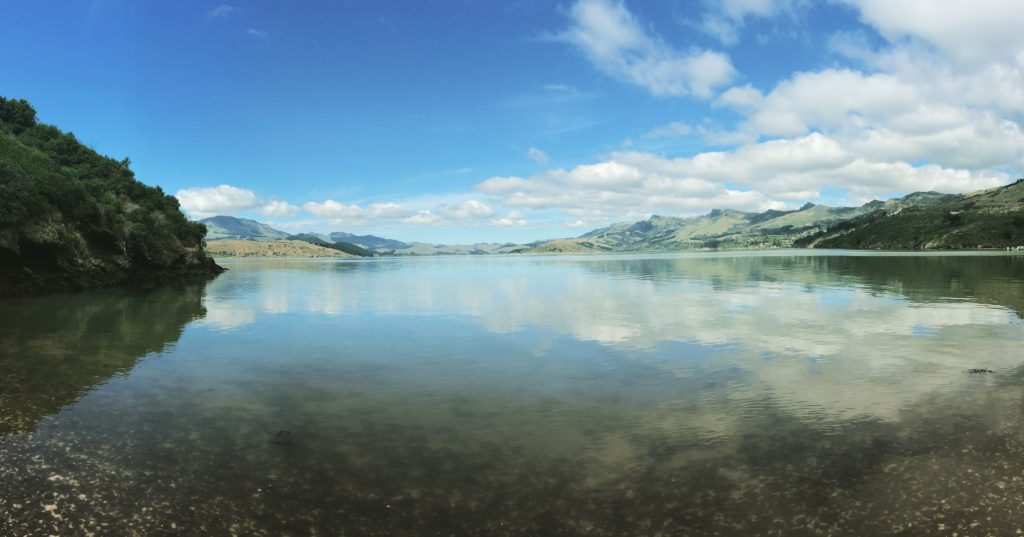
Rapaki Bay was absolutely stunning.
Where To Stay in Christchurch: The Chamberlains Ford Recreation Reserve is a free campsite about 30 minutes outside of the city. On our way out of the city toward Renwick, we also took a little nap at Balmoral Campground . If you’re heading north and need a cheap place to stay, I recommend it. For $5/night you can get amazing views, a drop loo, and a bunch of shady trees for a hammock nap.
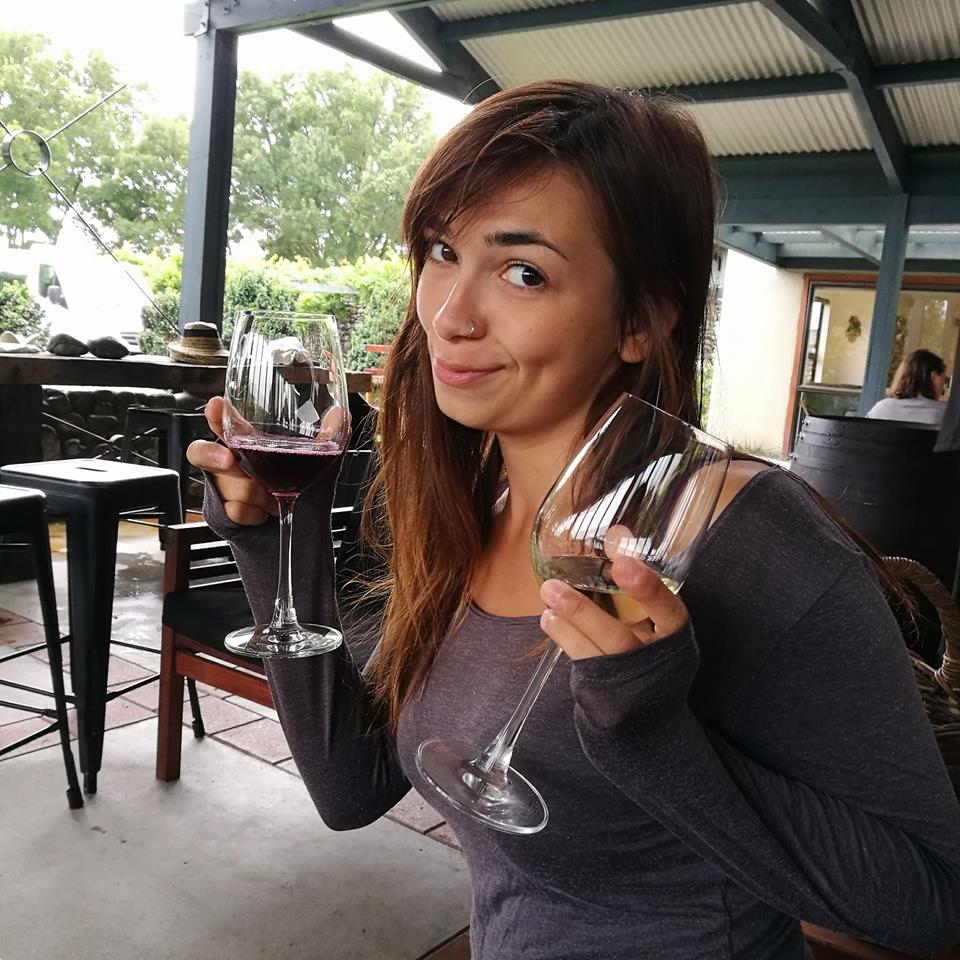
Day 29-30: Renwick!
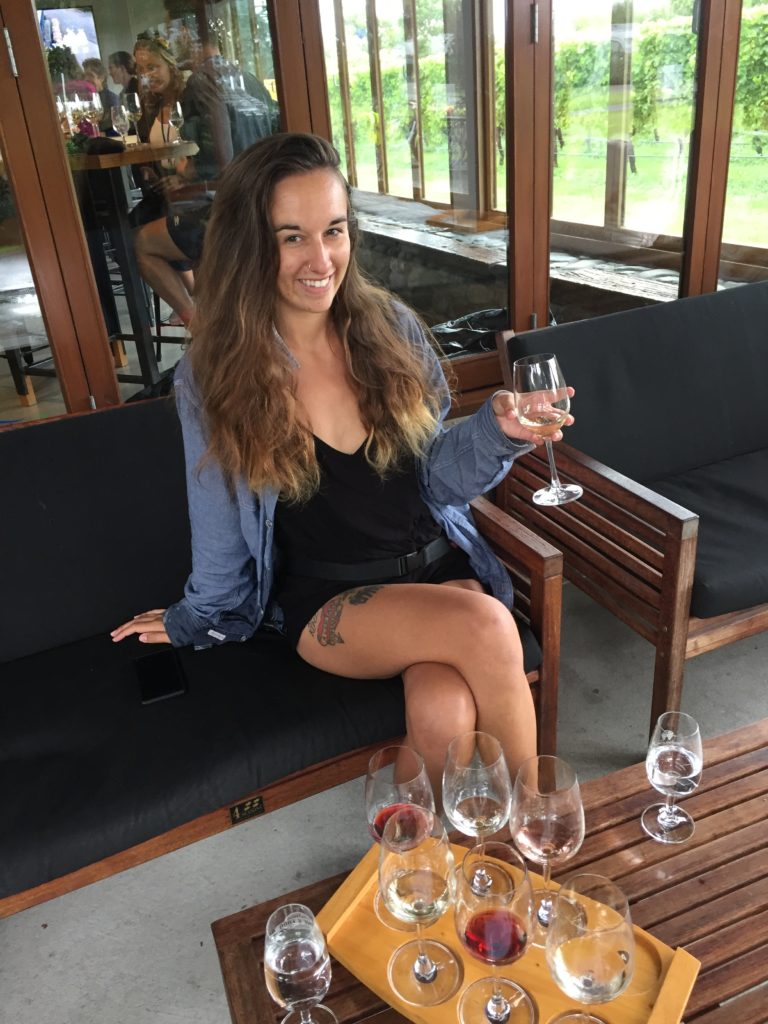
What We Did: We wined and dined! I have a whole blog post about our winery trip in Renwick. Becky and I hopped (literally, we just walked) to a handful of wineries and spent less than $10 on tastings. It was a fantastic way to end the South Island. We were well-rested for the ferry the next day…and then it was back to the North Island!
Quick bonus picture of Becky because she is adorable.
Where to Stay in Renwick: We got an AirBNB-type situation, but I’d recommend the Onomalutu Campsite.