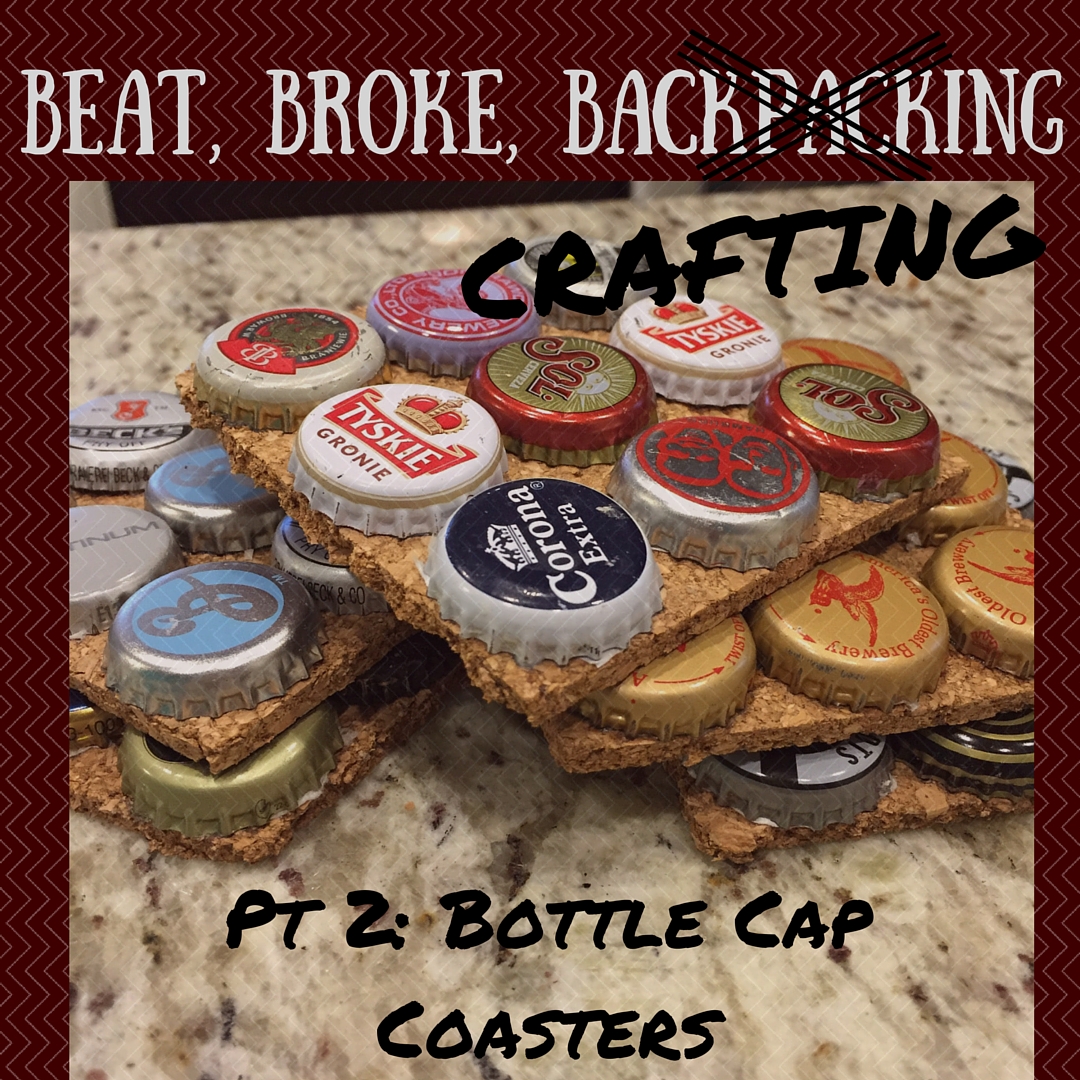
It’s no secret that I love a good beer. One of my favorite pieces of travel advice is, “Try the local beer.” I tried quite a few while in Europe, and because I’m a hoarder, I kept a few of the bottle caps. Bottle cap coasters are another easy craft for making cheap souvenirs and putting them to good use. These are super easy to make, so let’s get started!
Step 1: Collect Your Bottle Caps!
You all know how to do this. Drink up (if you’re of age. Soda caps work just as well!) Nine bottle caps makes a nice coaster, so collect bottle caps from your friends if you need to!
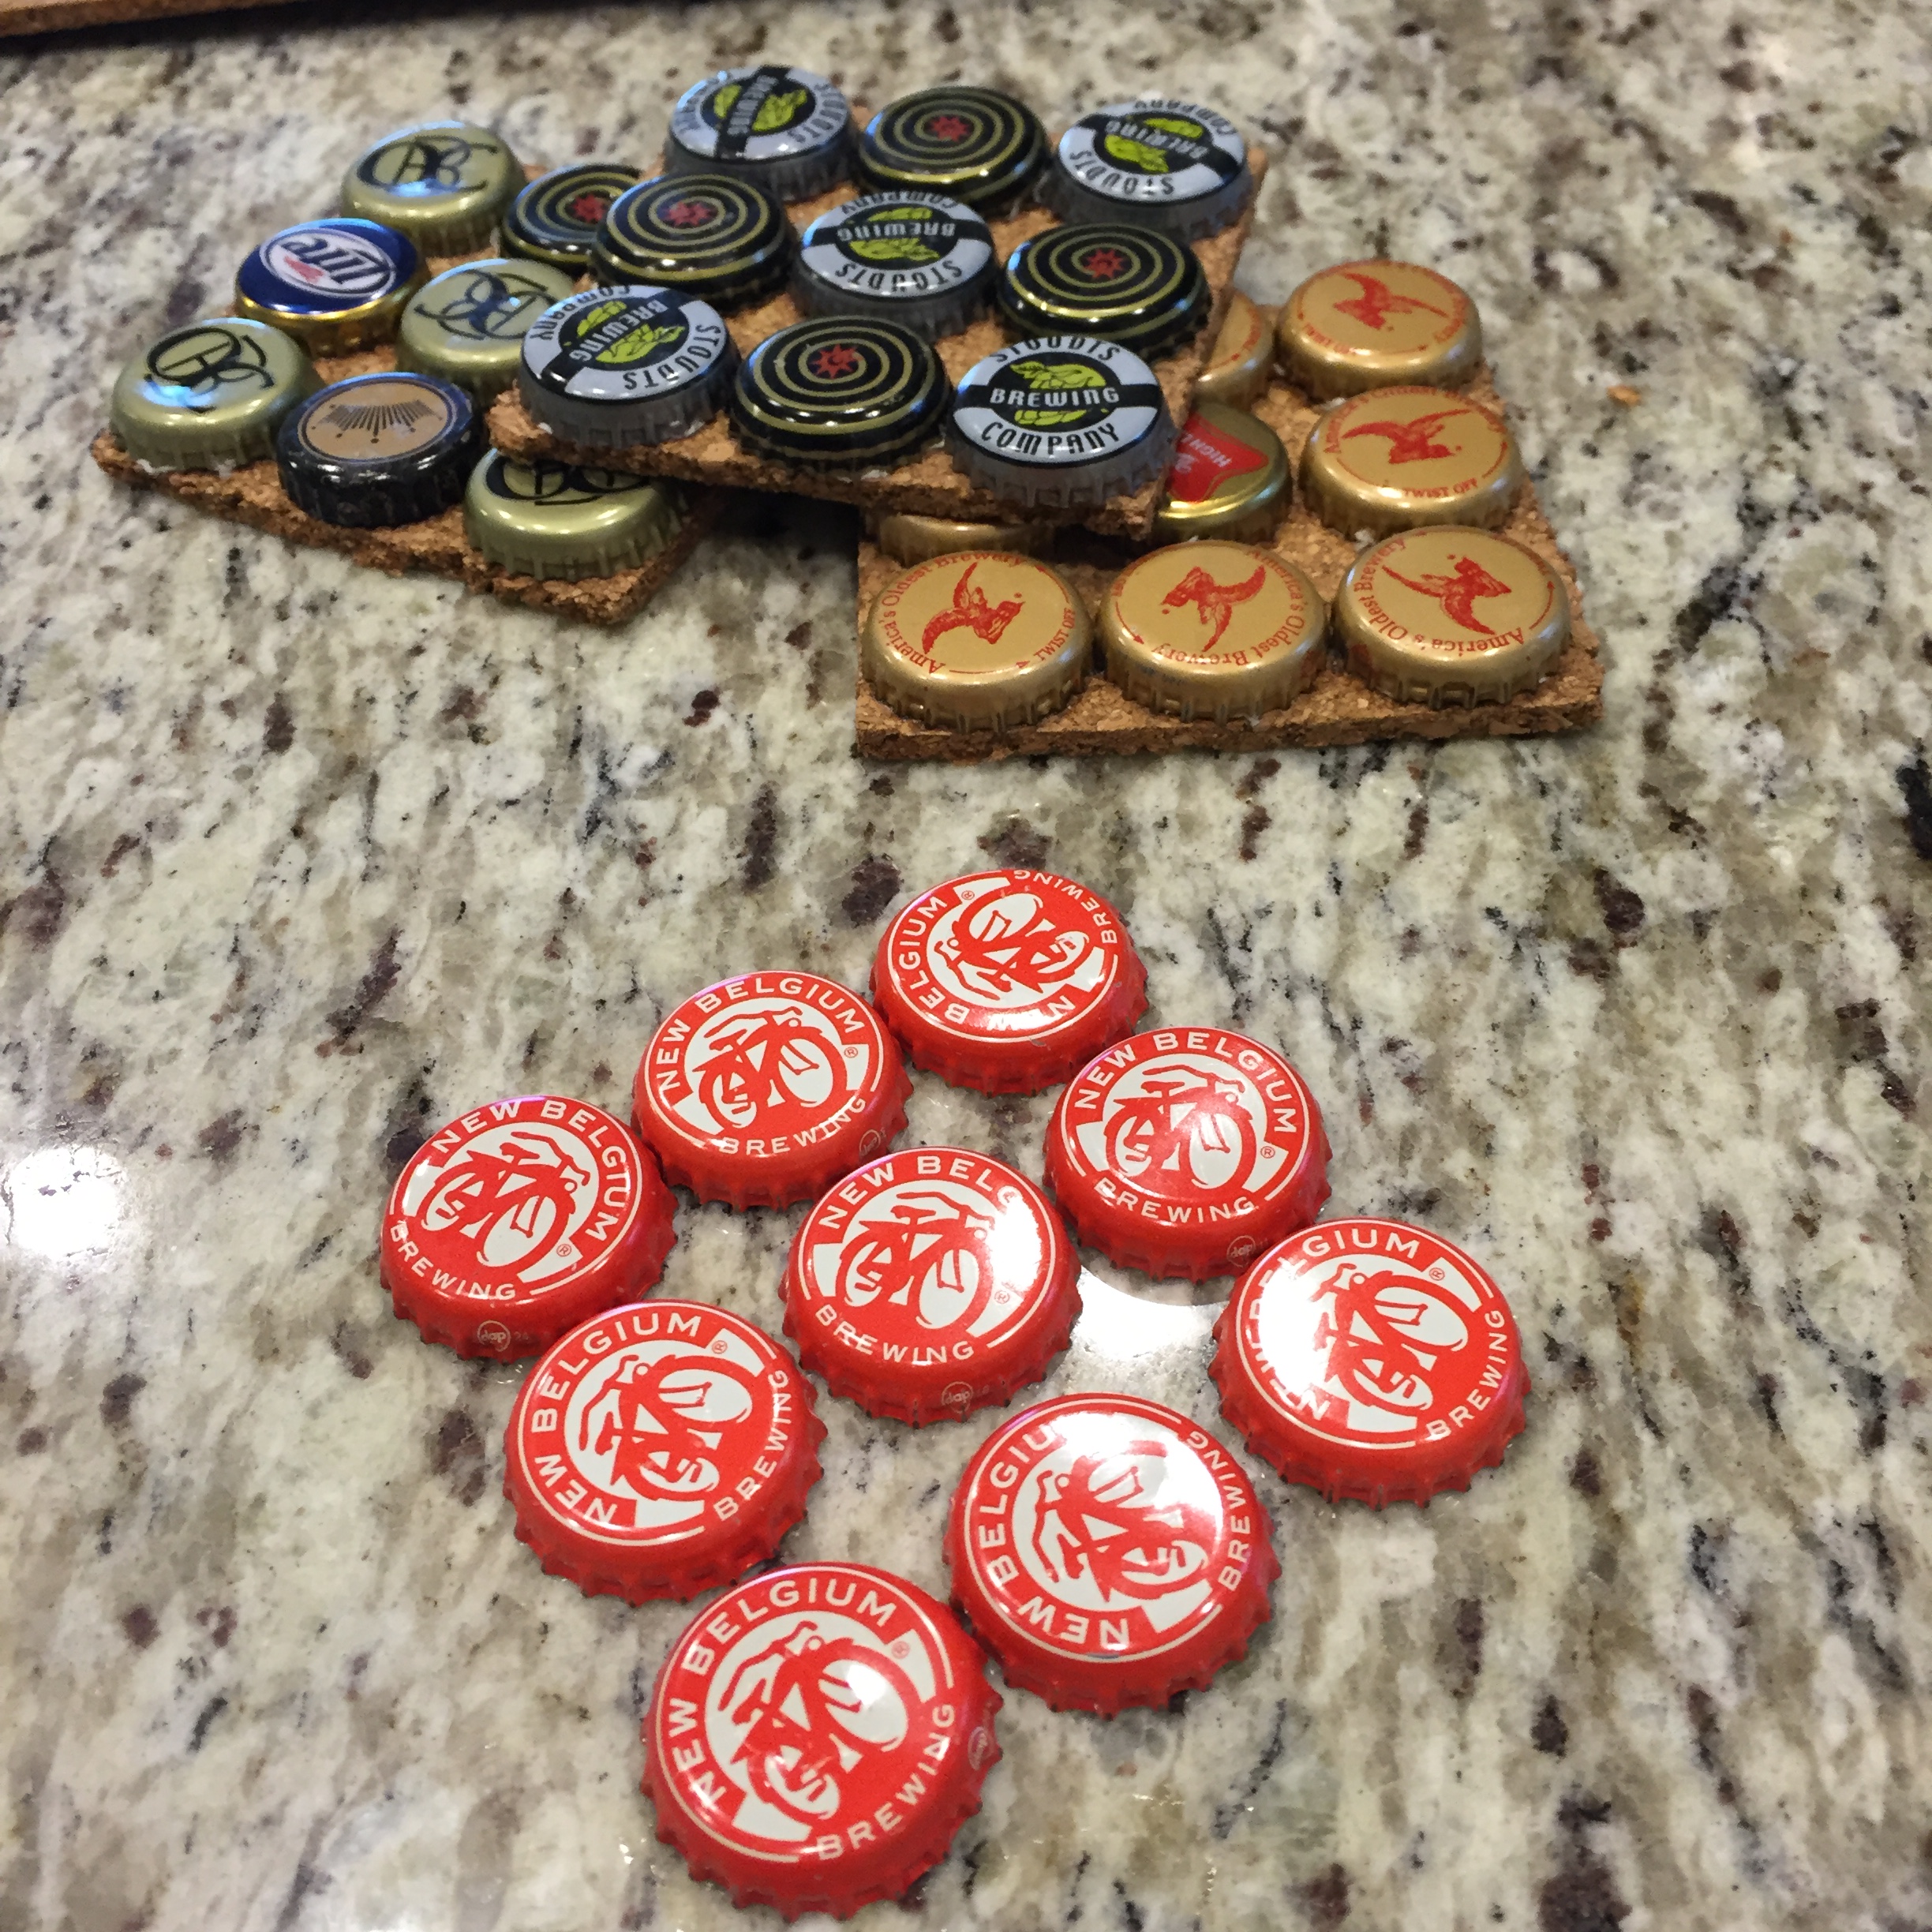
Clearly these aren’t from my trip to Europe…
Step 2: Collect Your Materials!
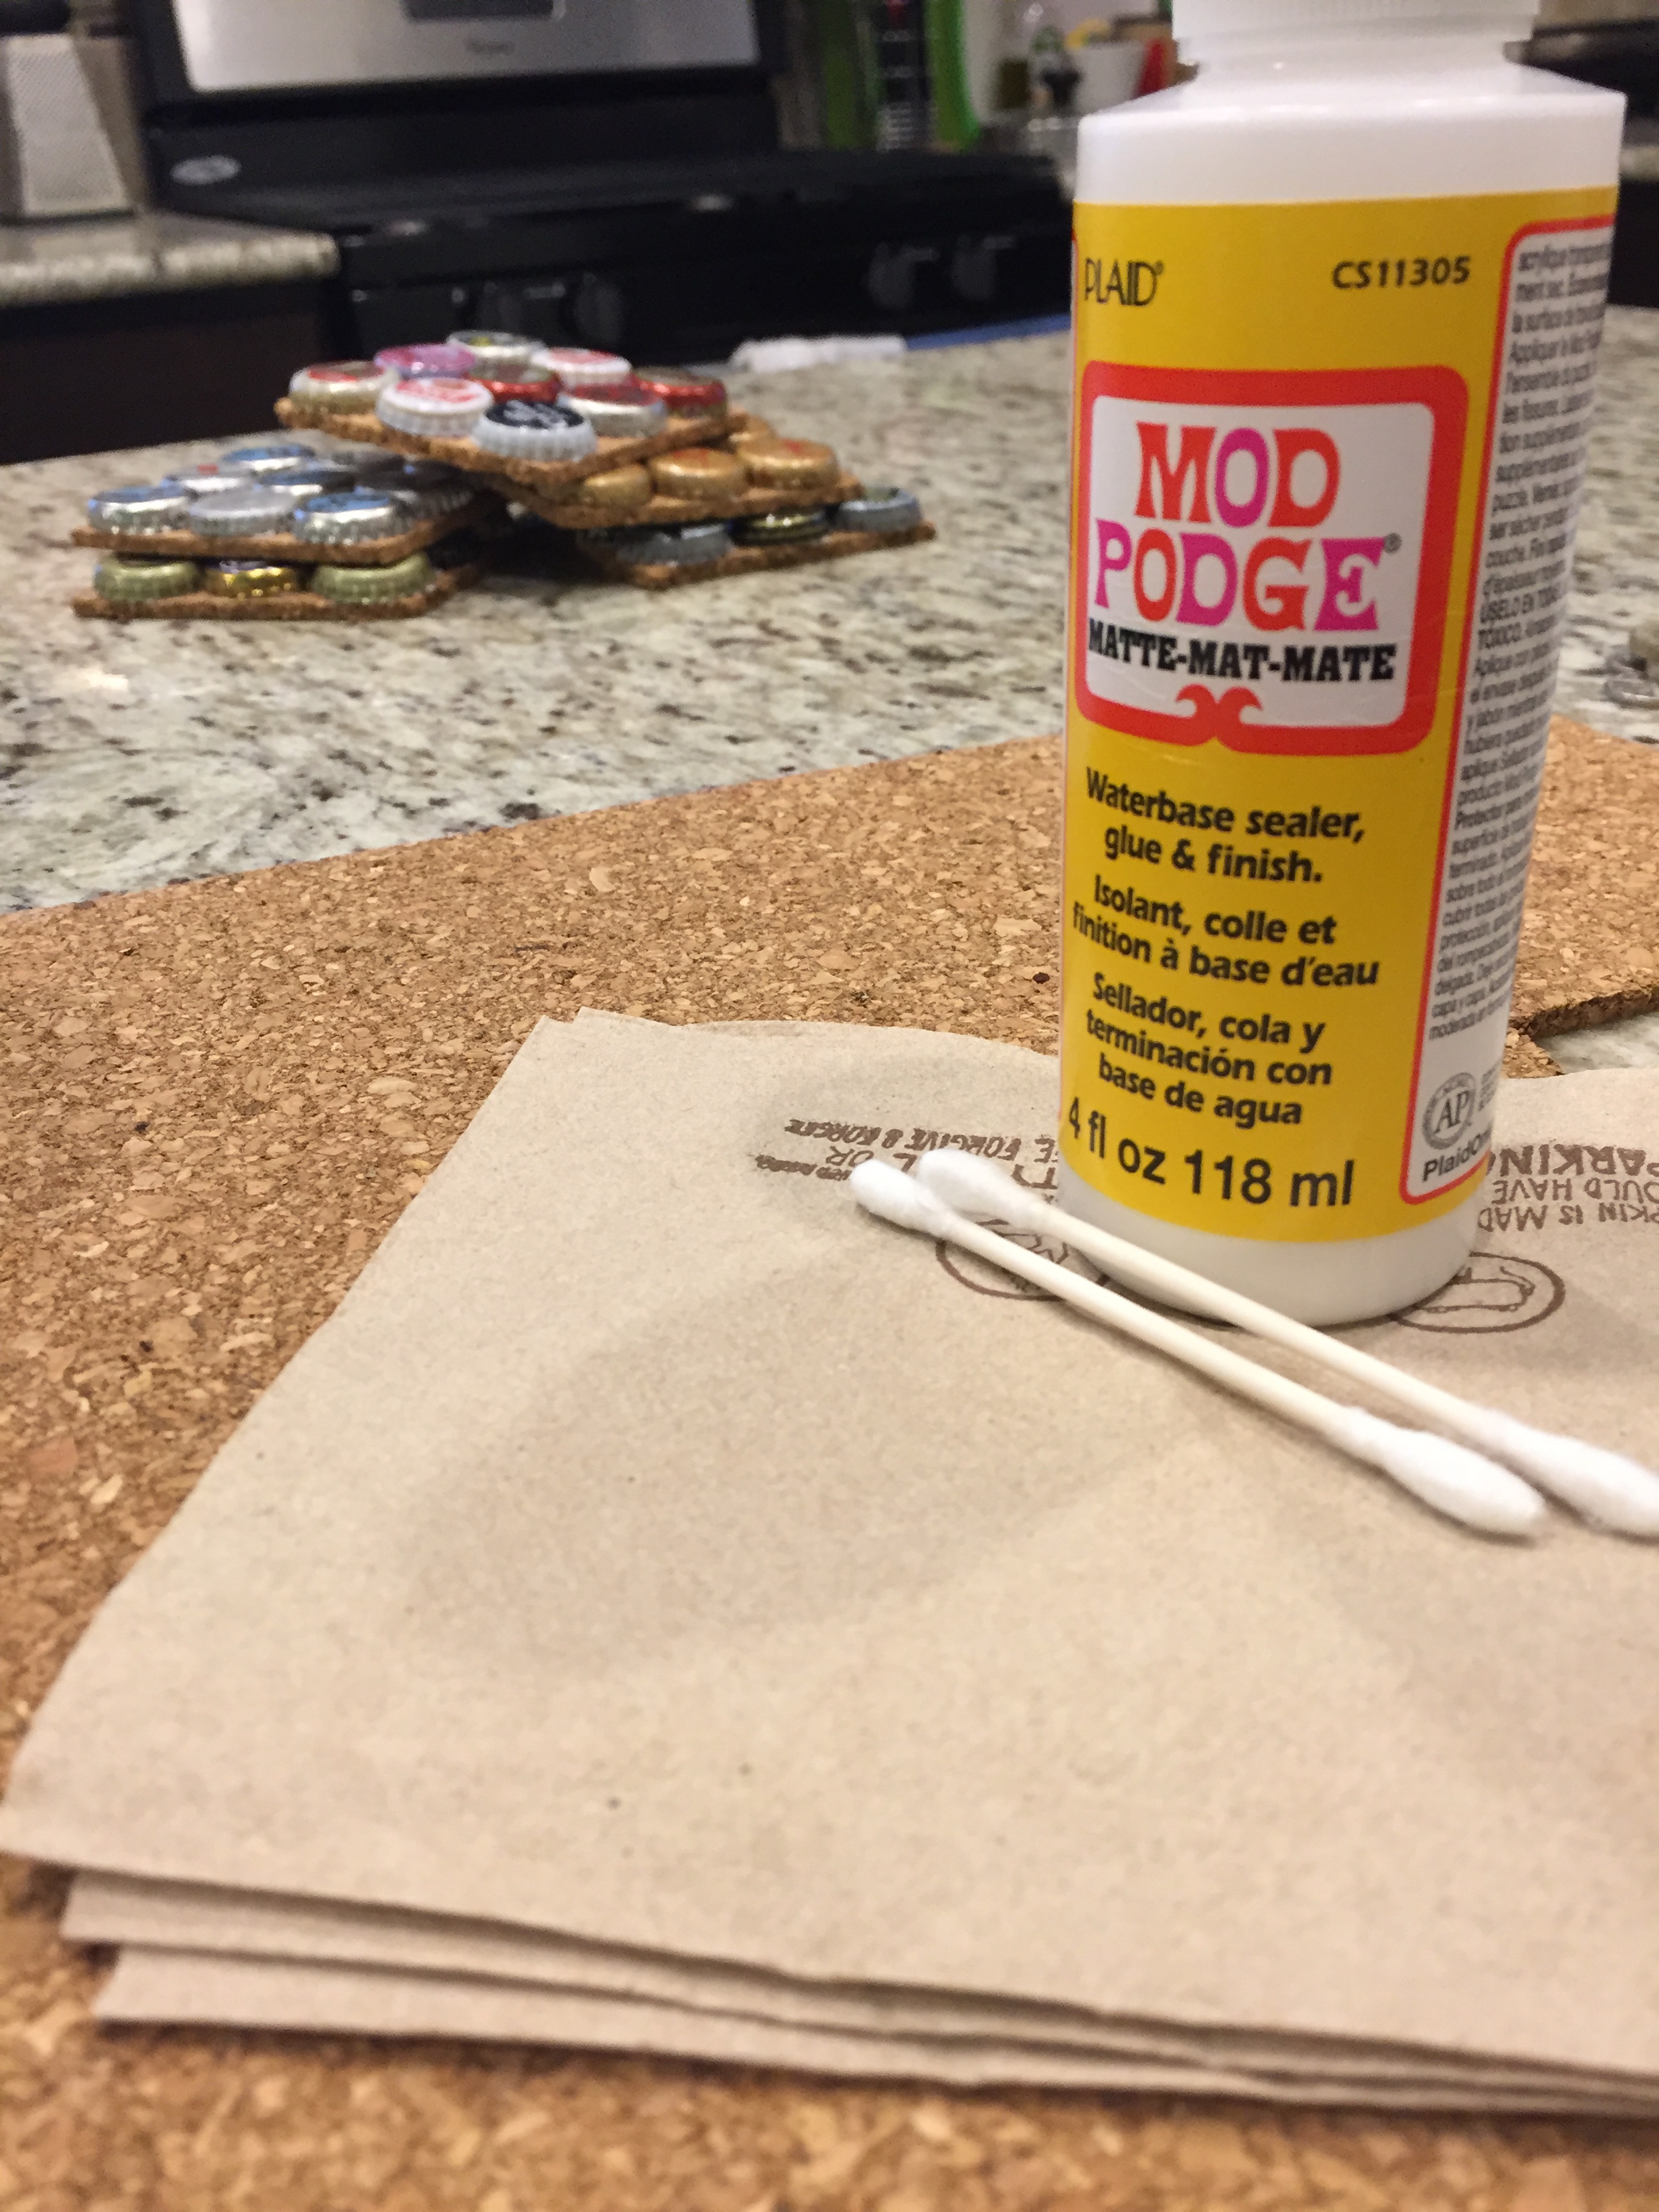
For bottle cap coasters, you’ll need:
- Corkboard
- Knife or Scissors
- Mod Podge/Glue
- Tissues/Napkins/Cotton Balls
- Q-tip or Small Paint Brush
Step 3: Cut Your Coasters
Measure out a square of corkboard. To cover a coaster in nine bottle caps, you’ll need at least a 3 3/4″ x 3 3/4″ square, but you can have fun with it! You can cut it with scissors, but a knife works just as well (better, in my opinion).
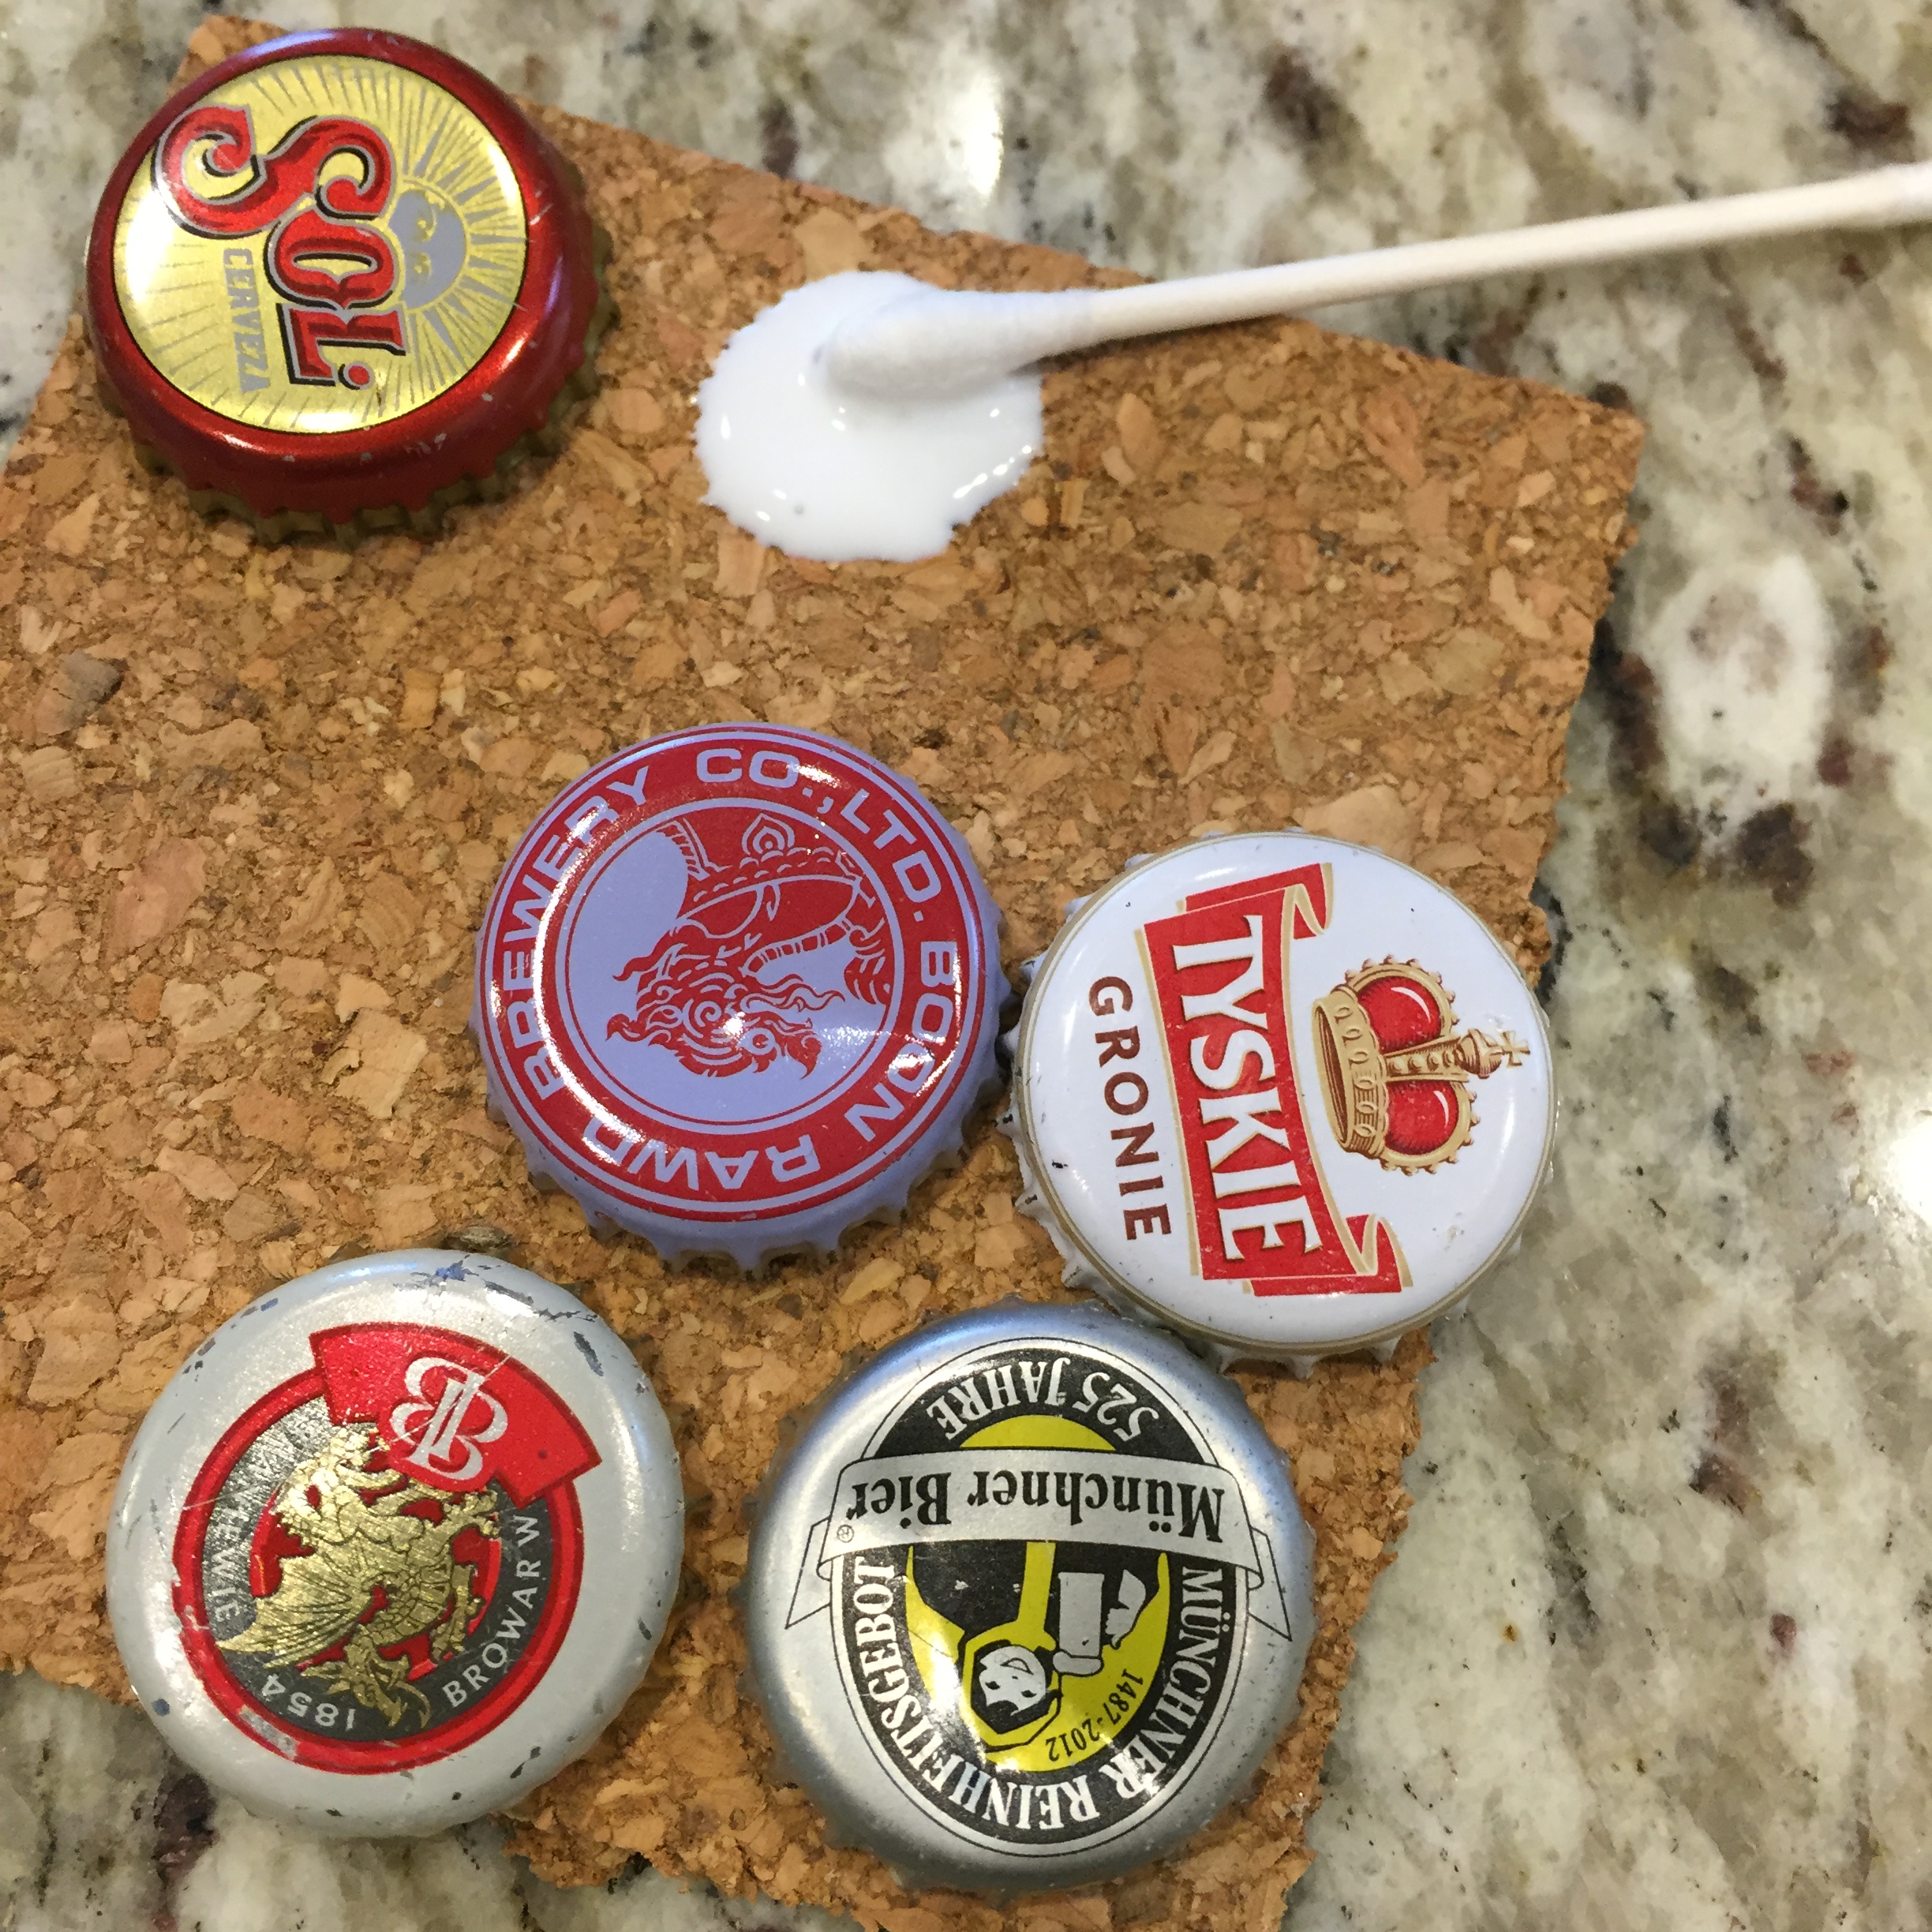
Step 4: Apply the Bottle Caps!
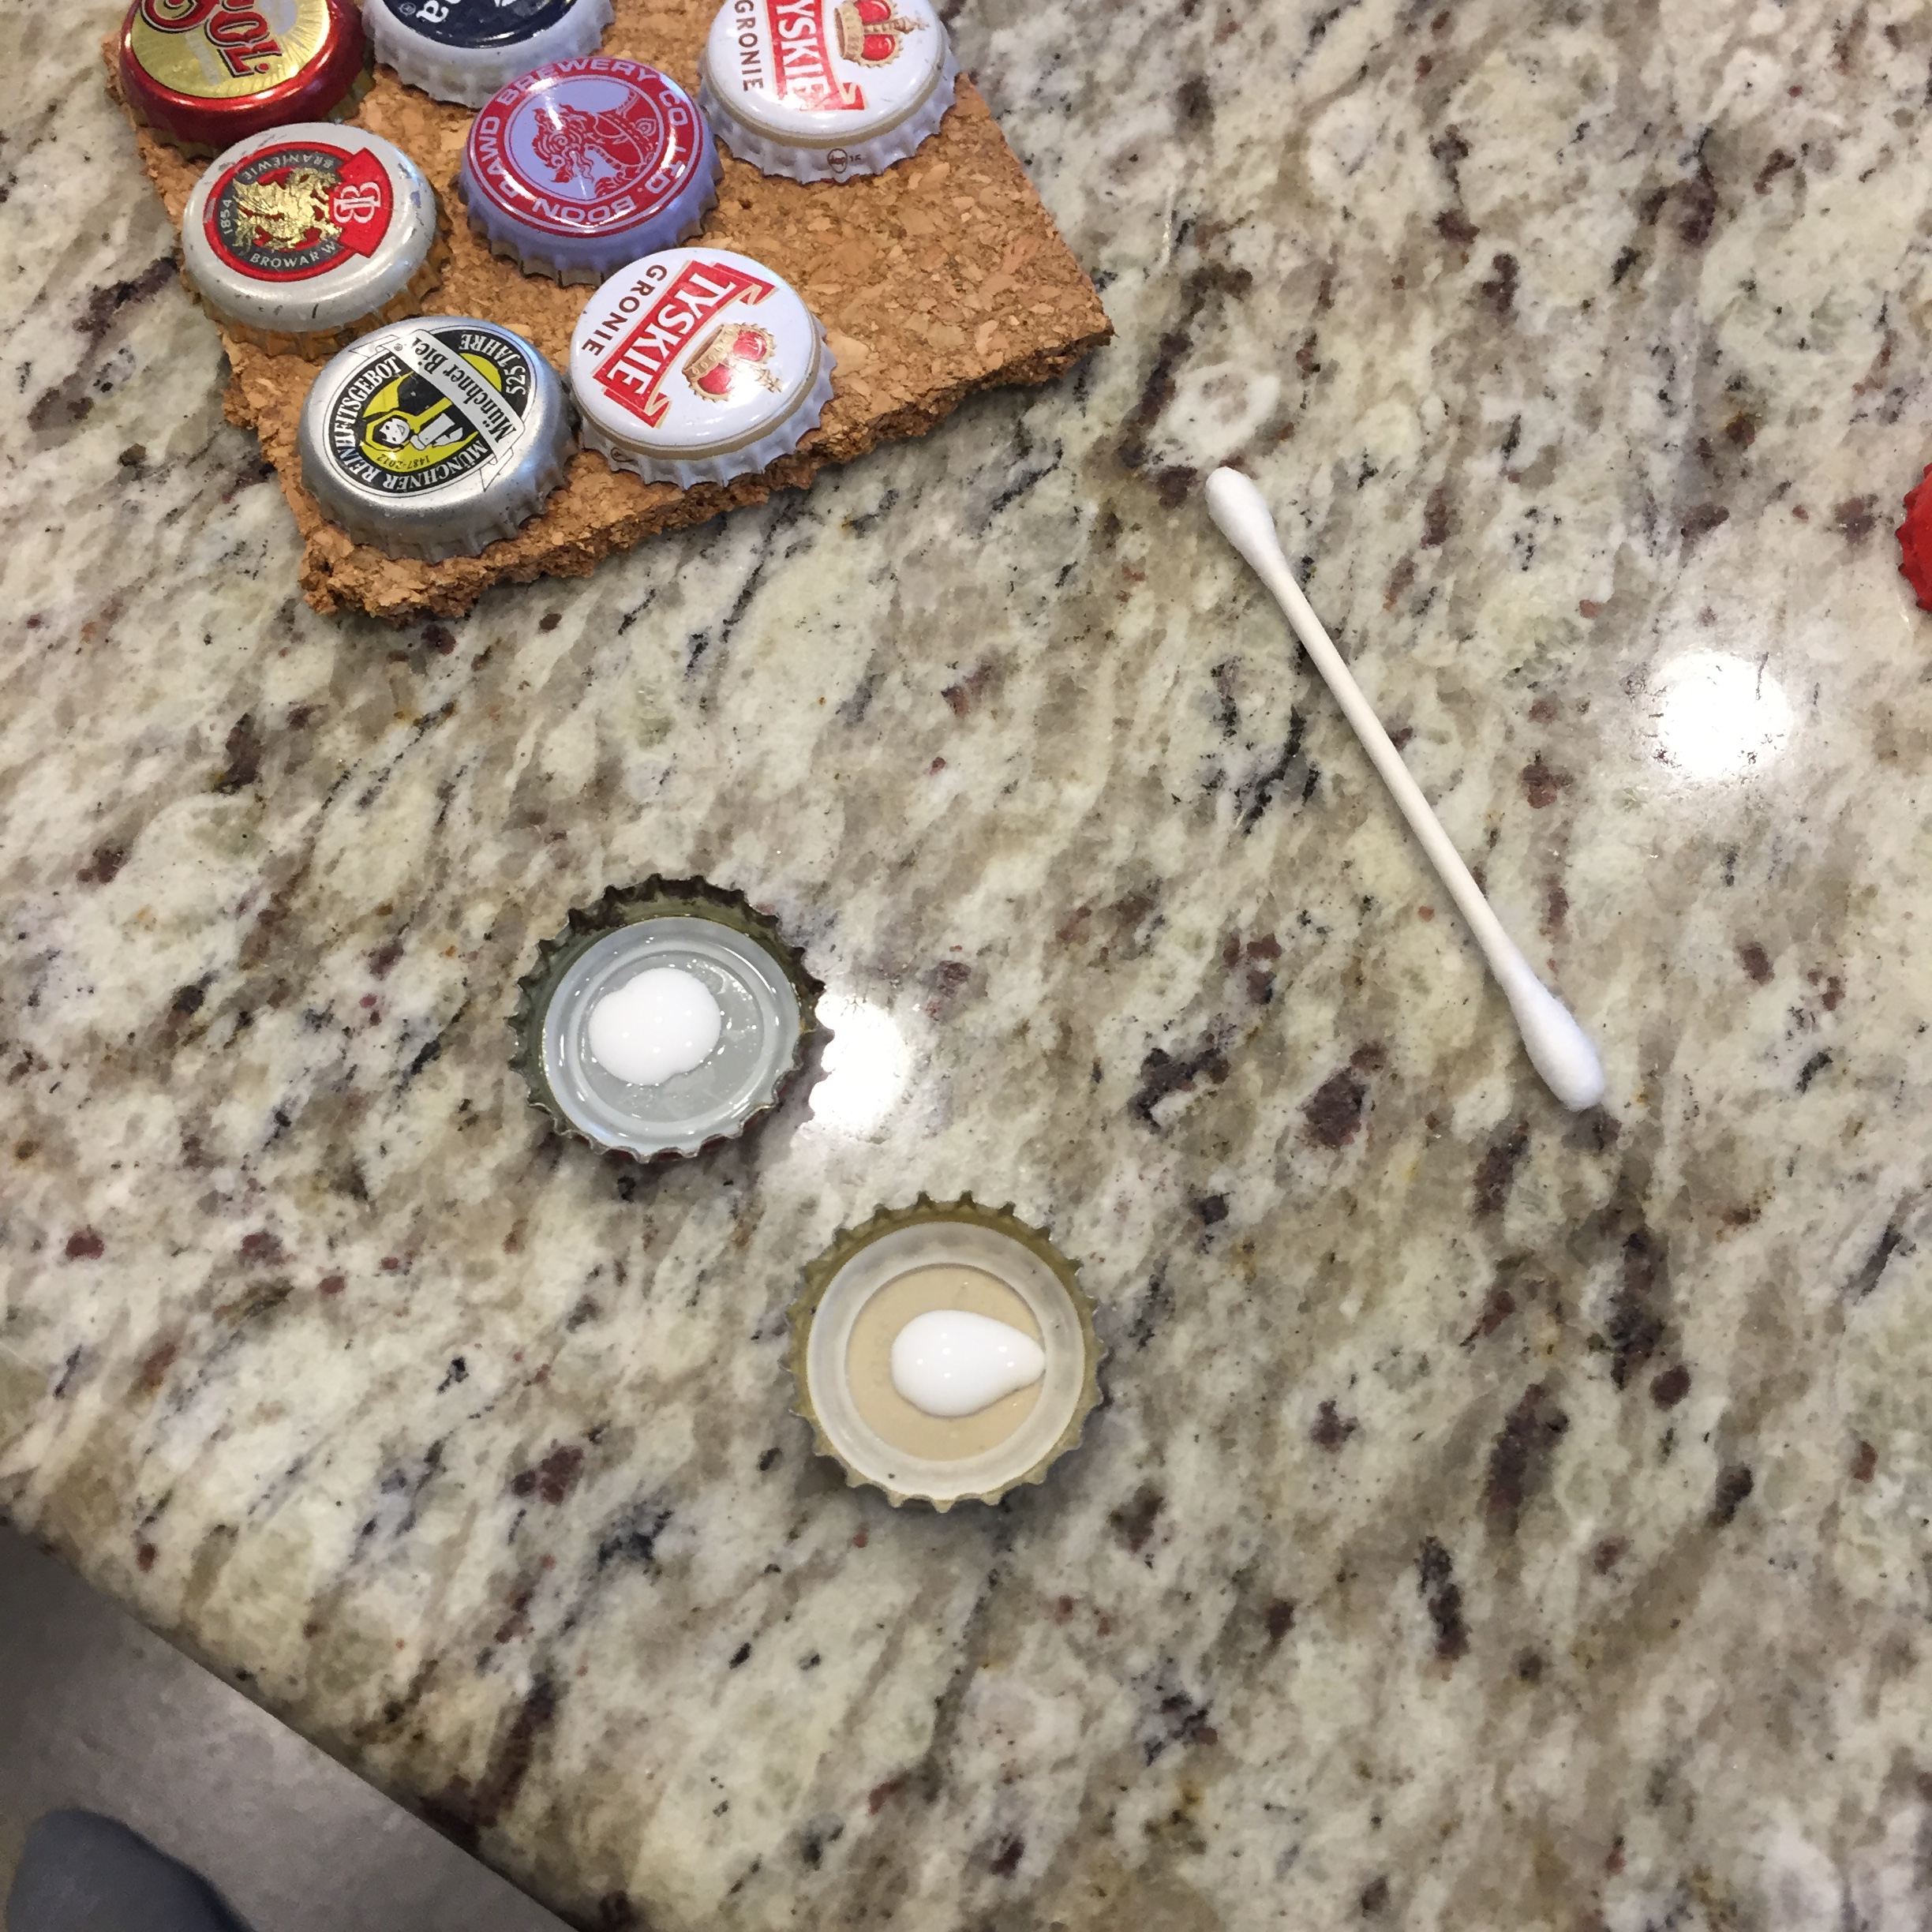
This is the trickiest part, and why you’ll need tissues. To most effectively glue the bottle caps to the coaster, you’ll need to add glue to the inside of the bottle cap (a Q-tip or a small paint brush are great tools for spreading glue to the inside edges). Then, stuff the inside of the bottle cap with a napkin or a cotton ball. The more the better, as long as nothing is sticking out after the bottle cap is applied. Spread glue on the corkboard where the cap will go, and voila!
Step 5: Let Your Coaster Dry
This will take a little bit. When first glued, the bottle caps may puff up or slide around. Placing a weight on top of your coasters will keep it together while they’re drying.
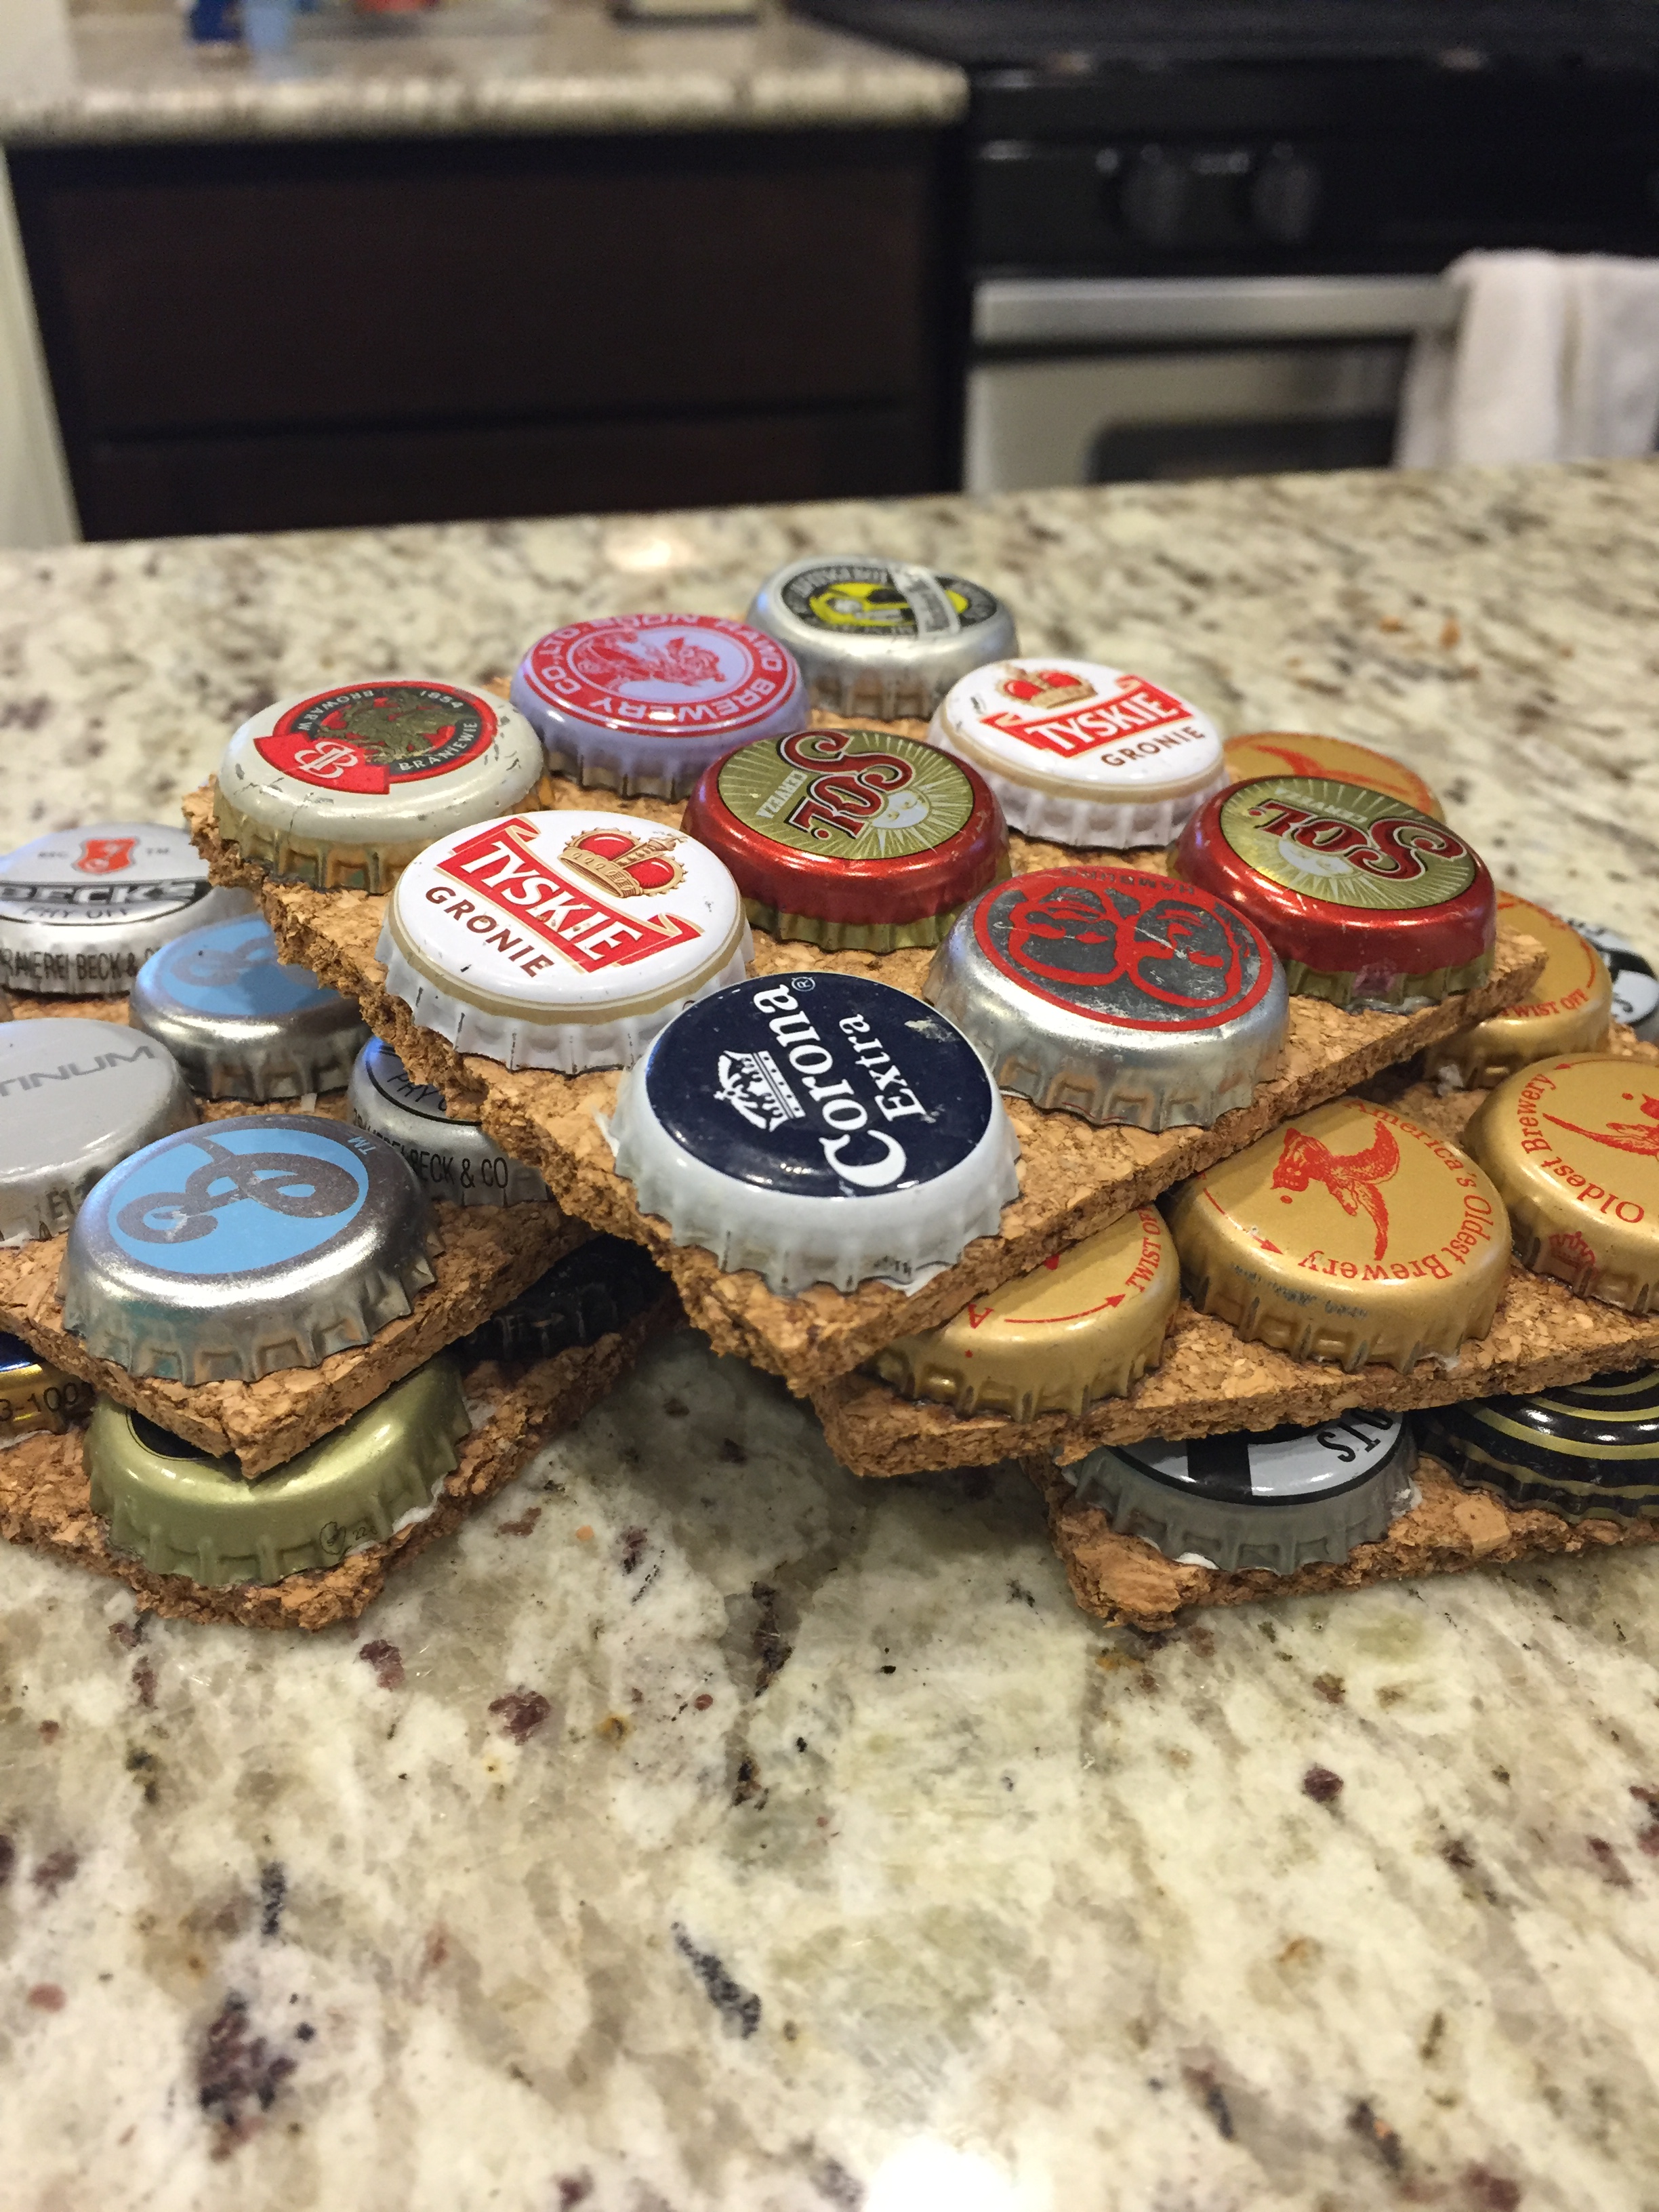
And you’re done! Homemade coasters for even more beer, or soda. Or coffee.
Hope you liked this post, give my blog a follow if you did! As always, comments and feedback are welcome! Thanks again for reading!